Category Archives: Uncategorized

March Fat Stacks

014
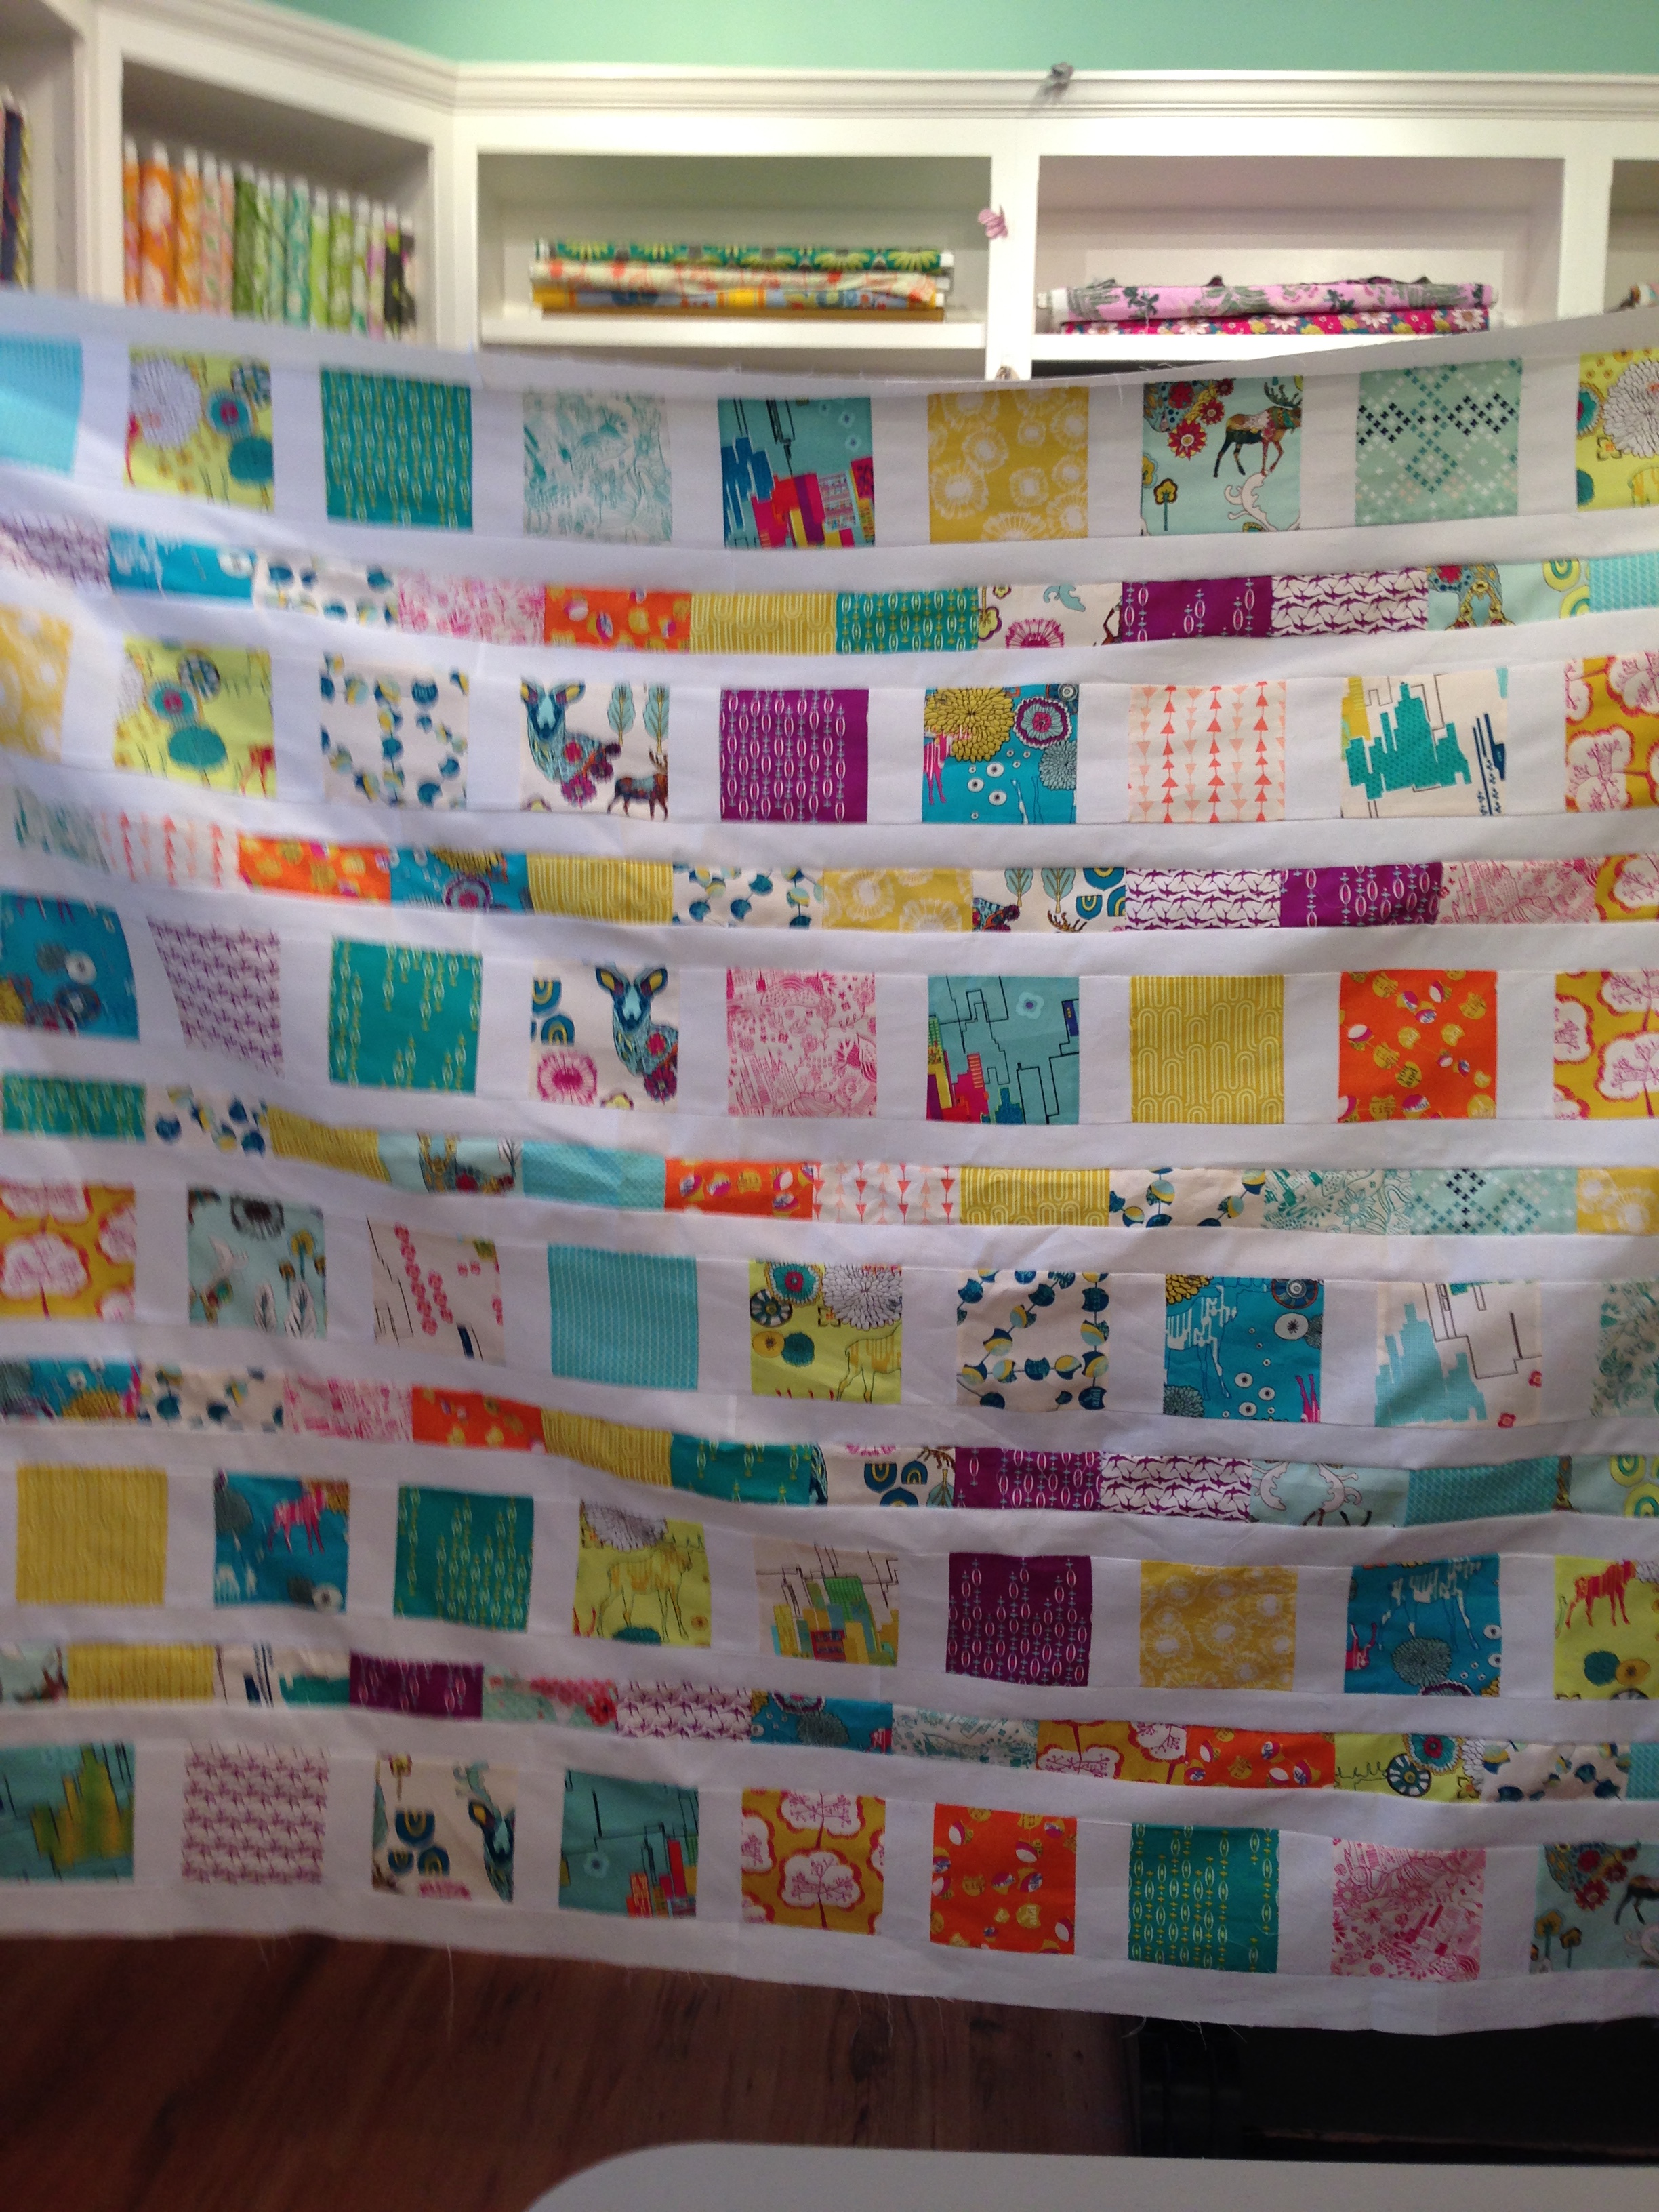
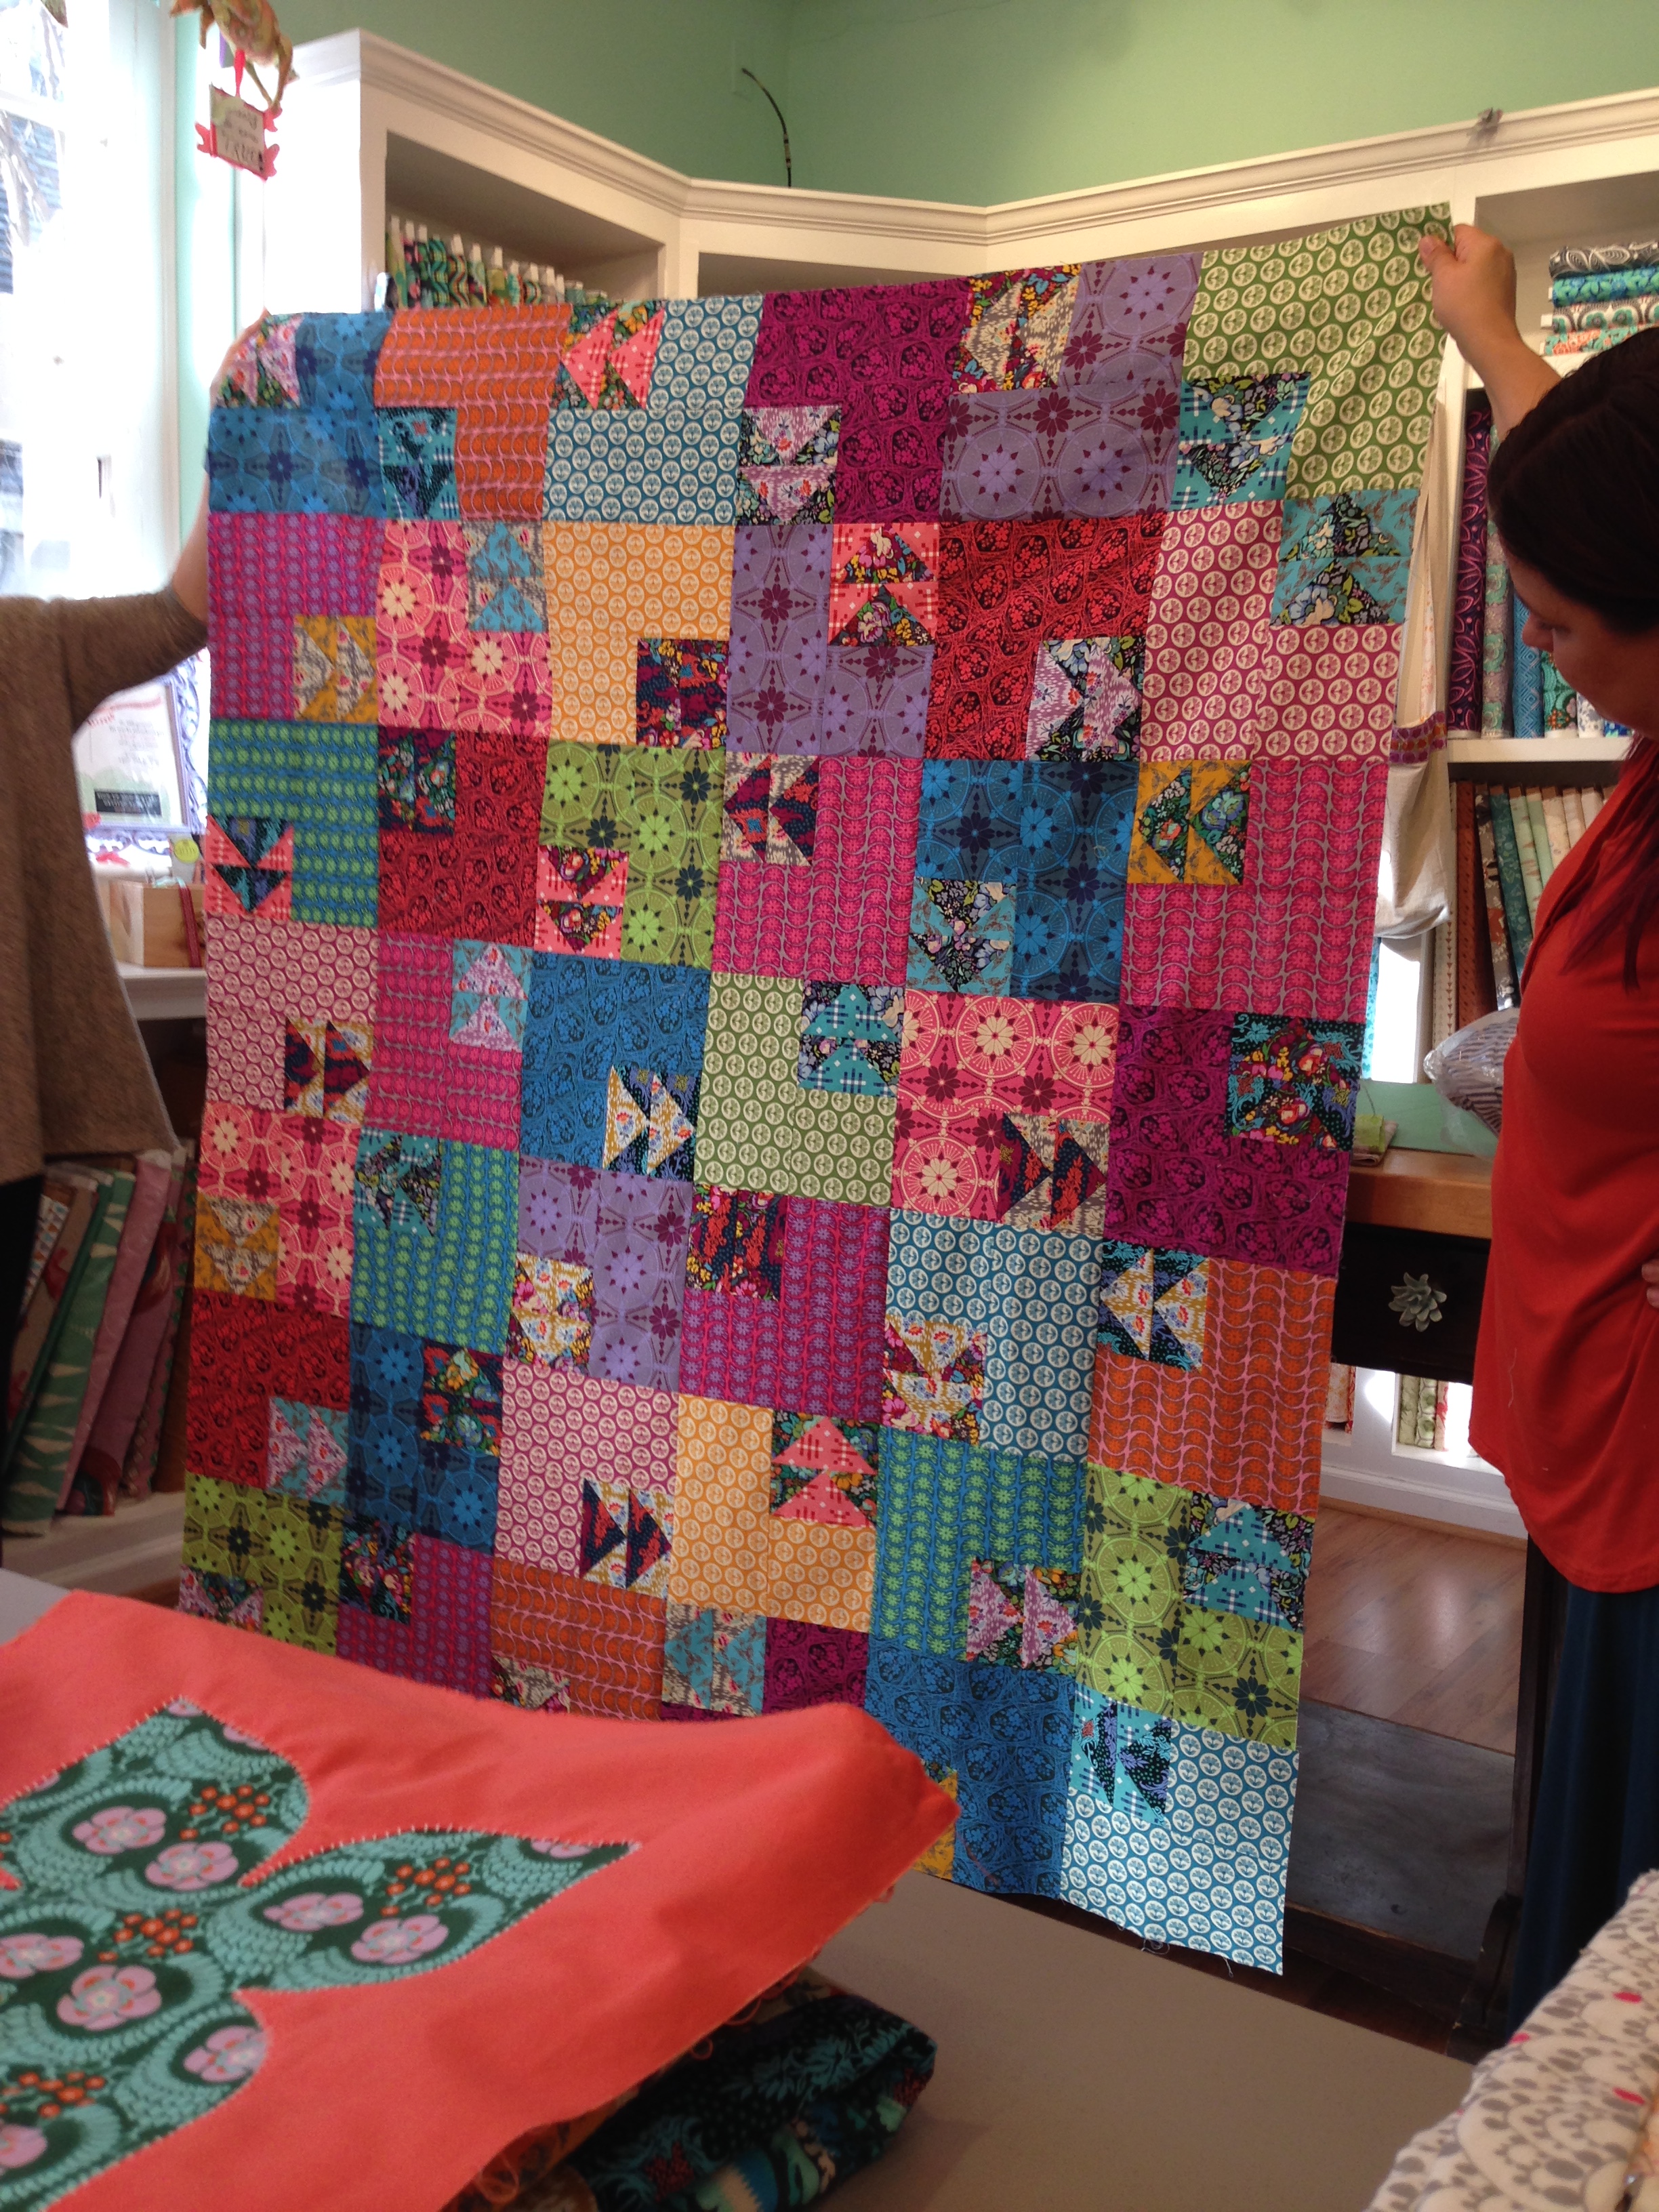
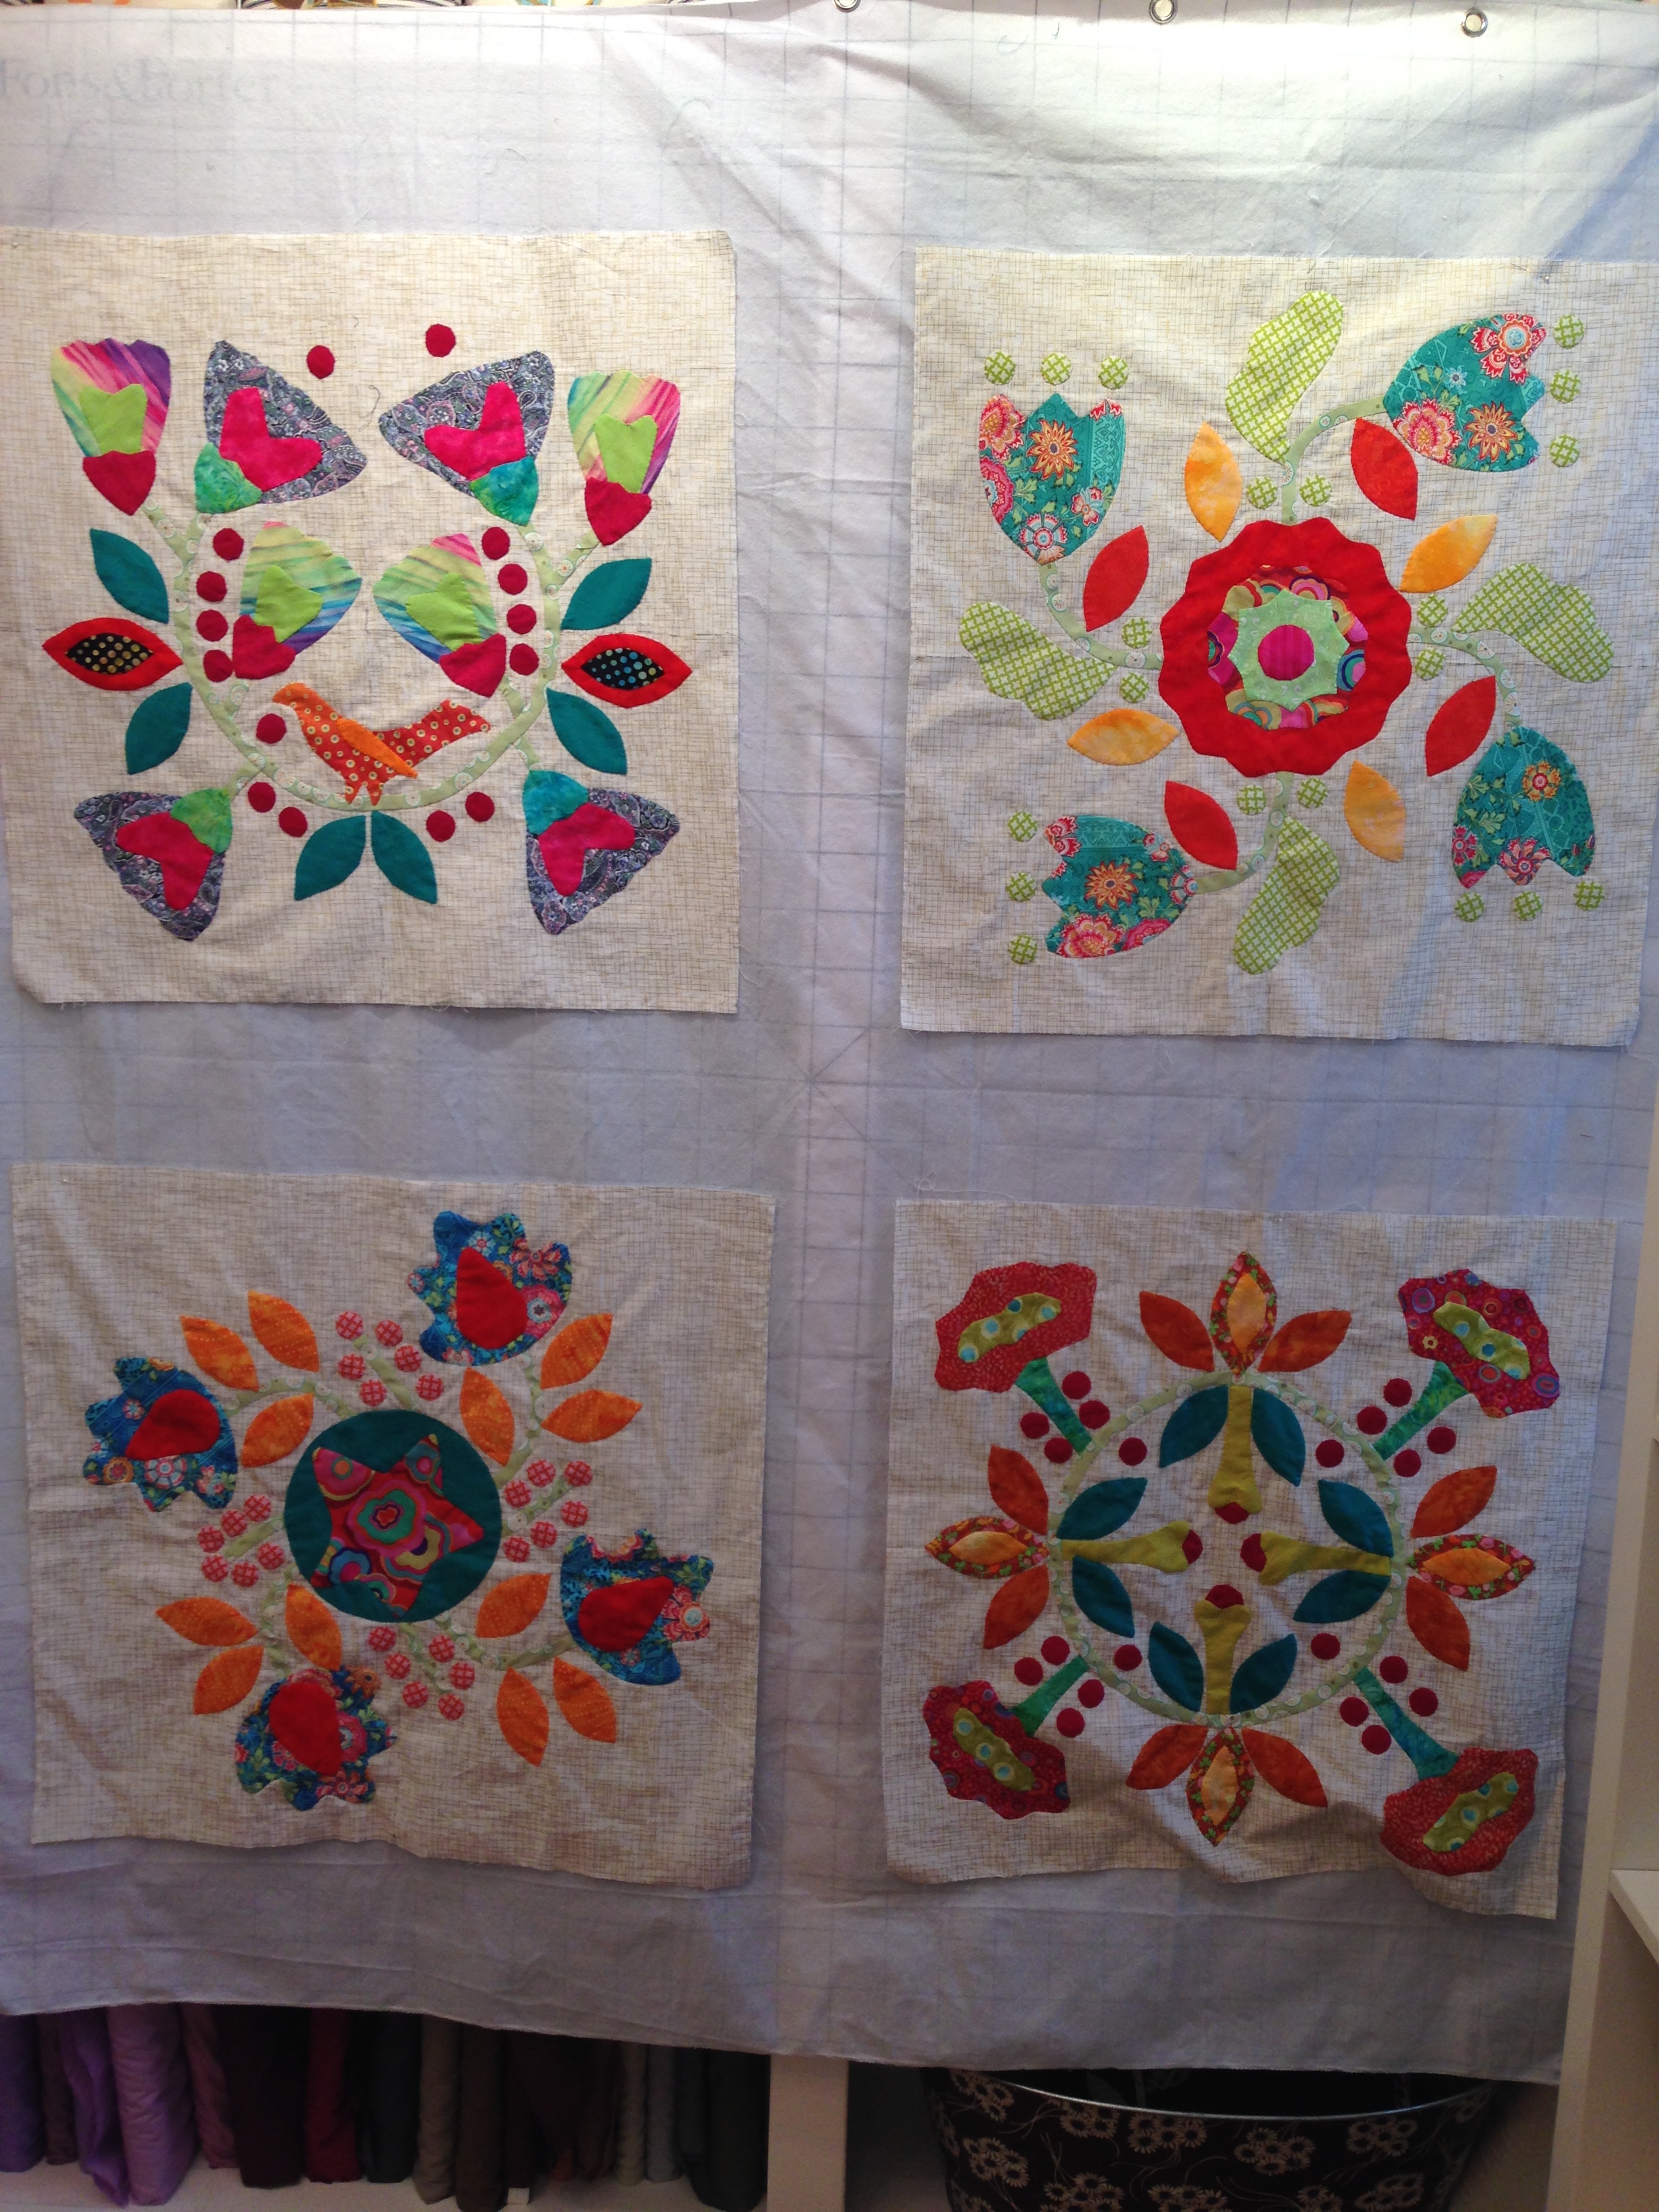
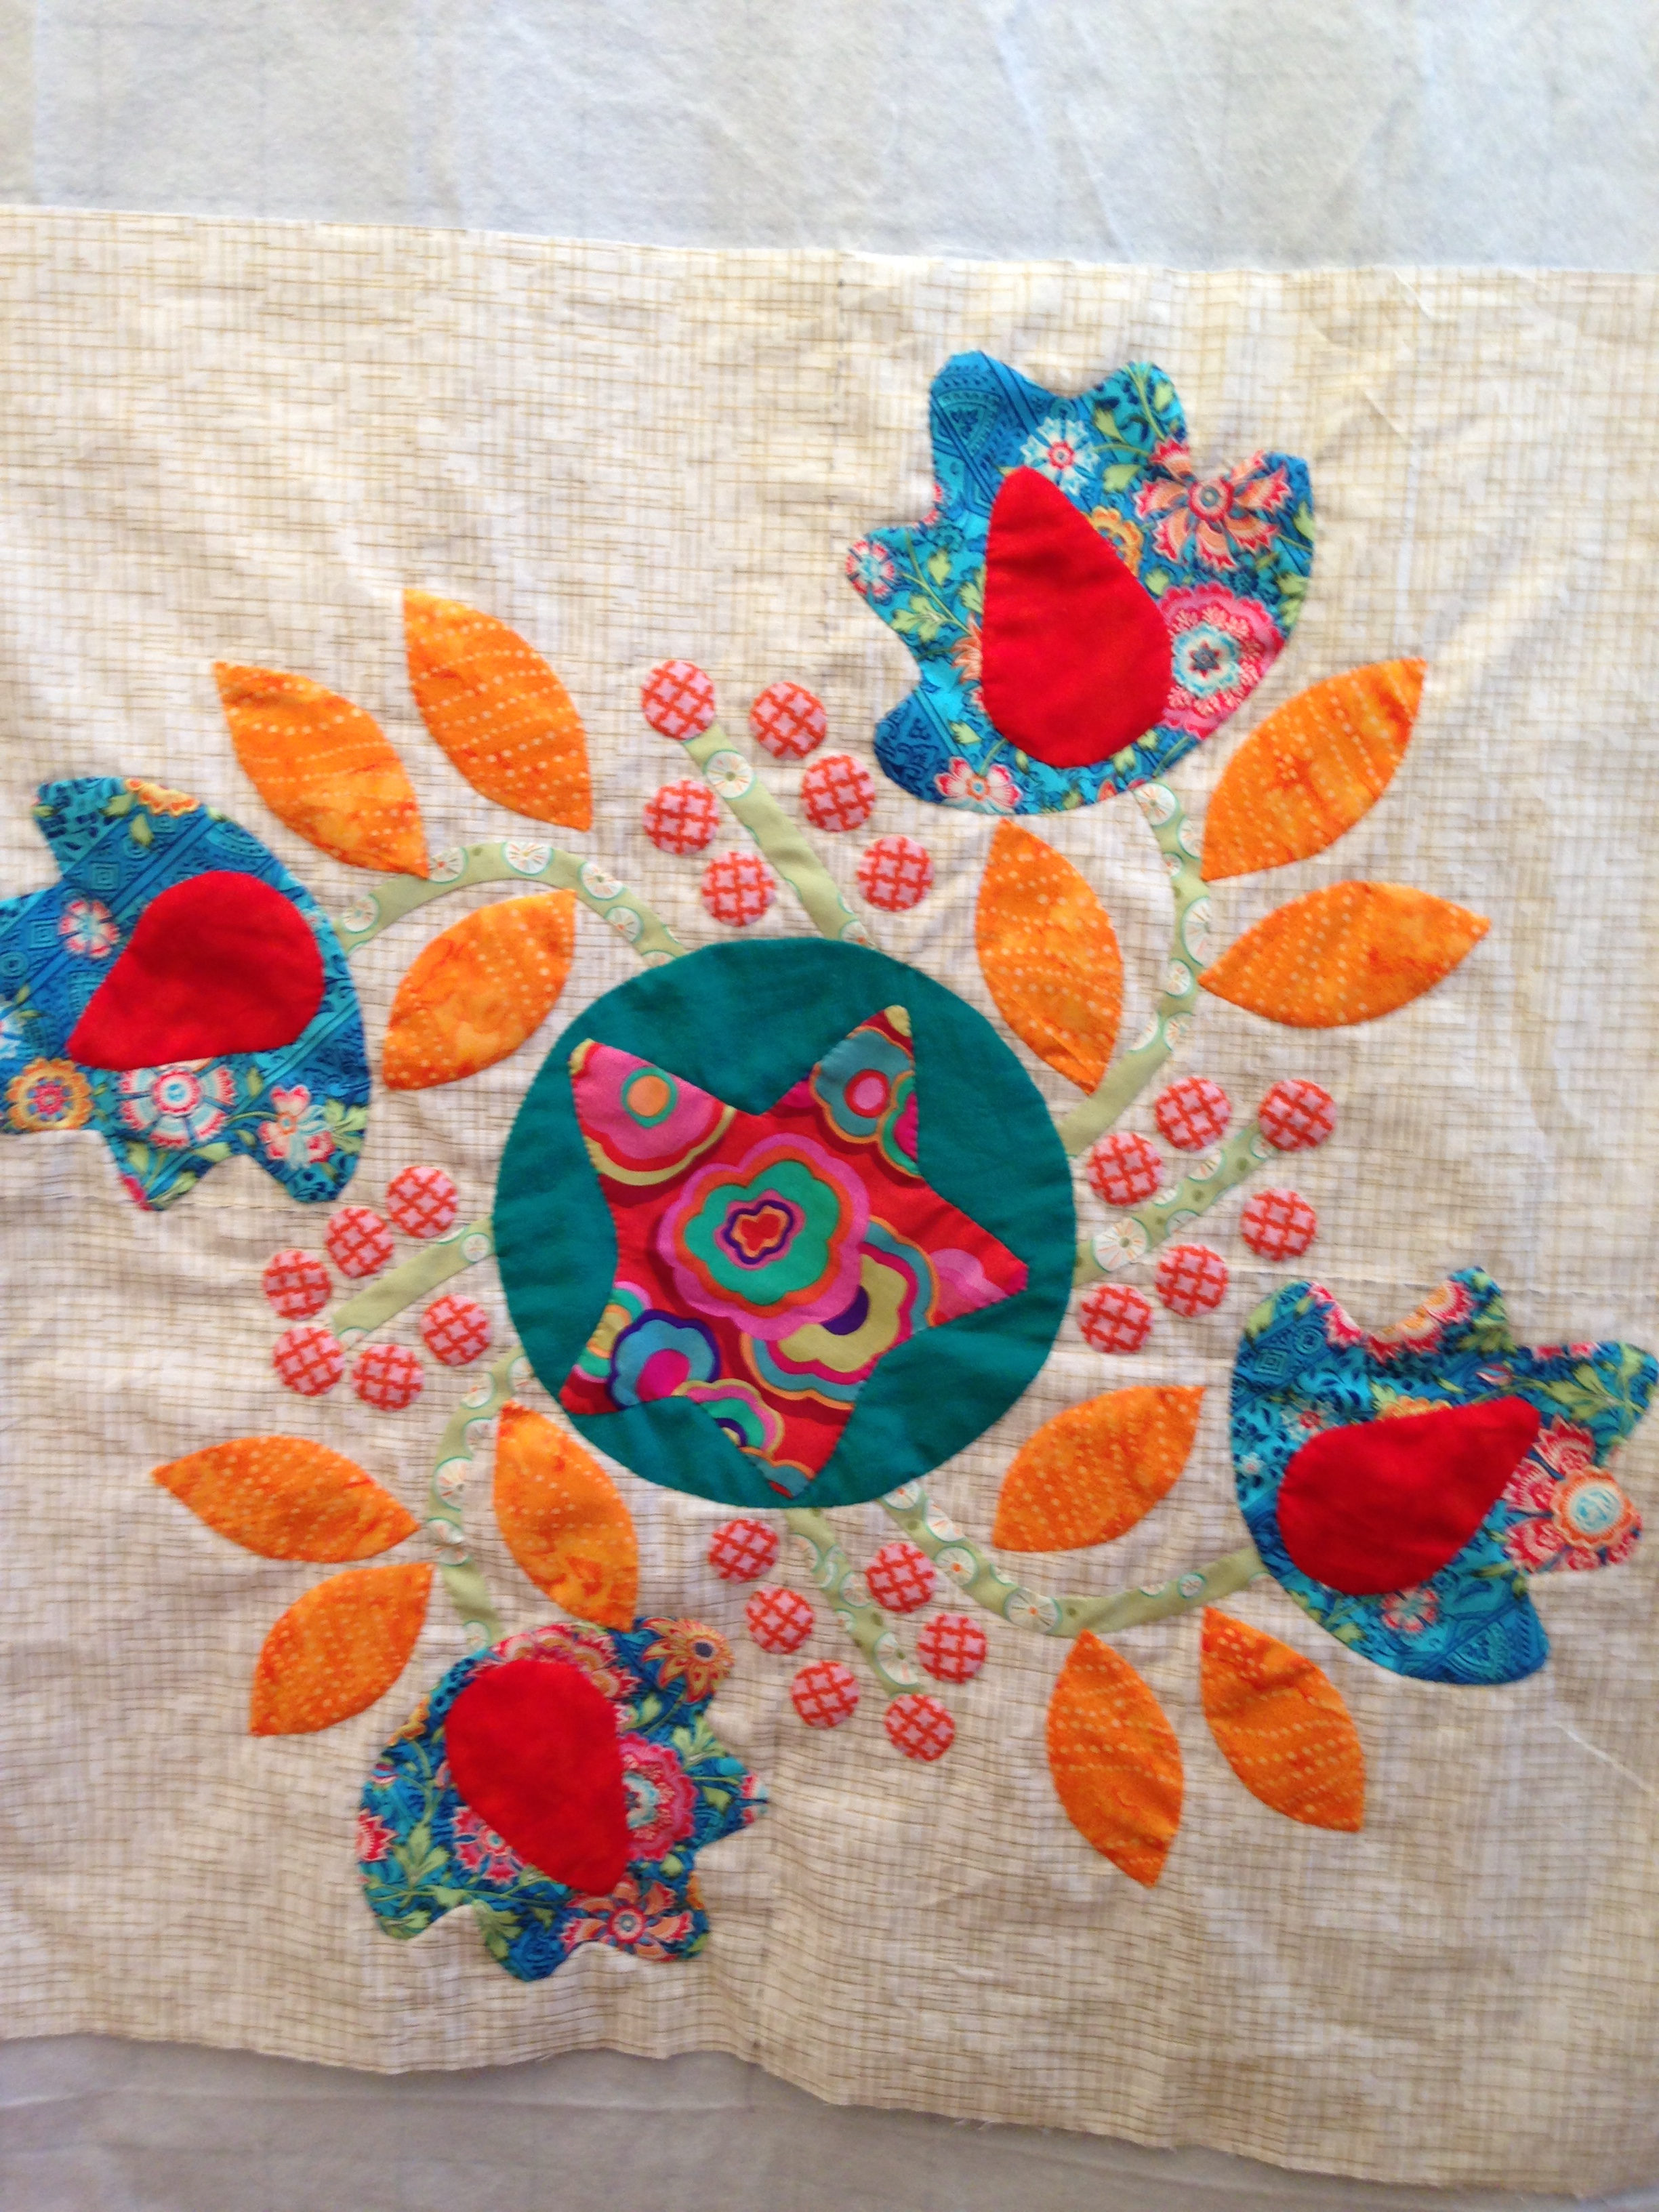
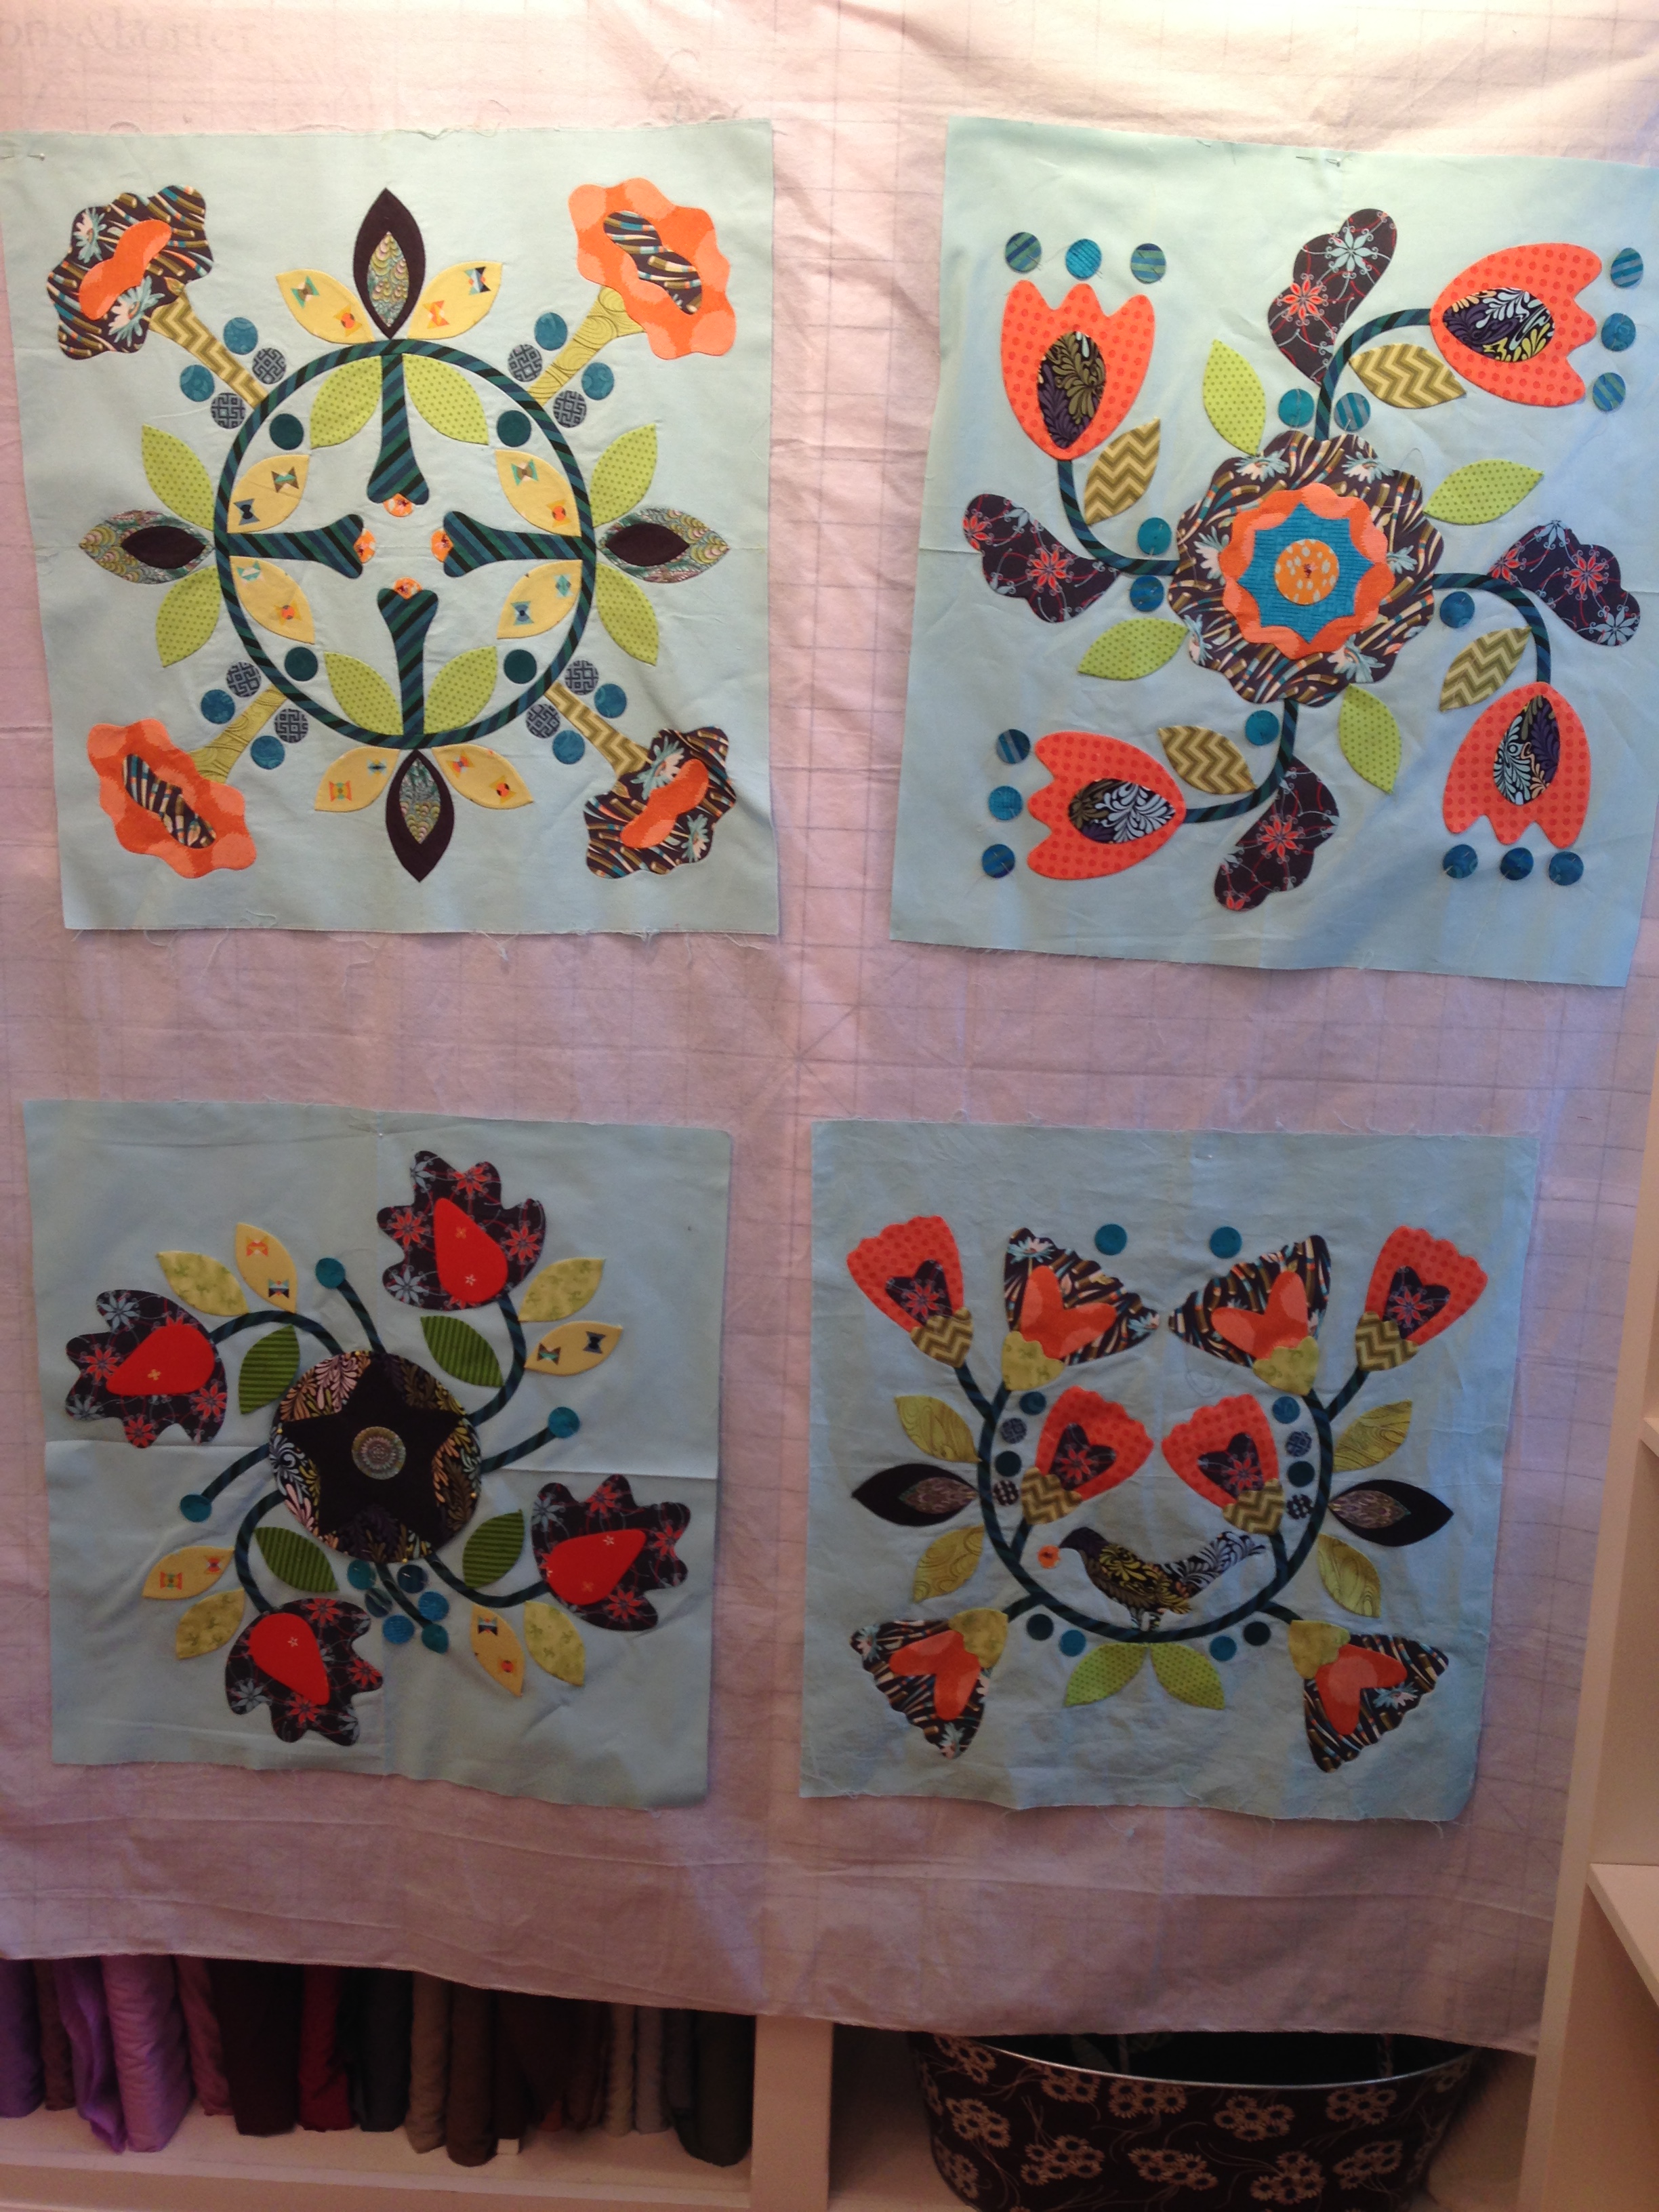
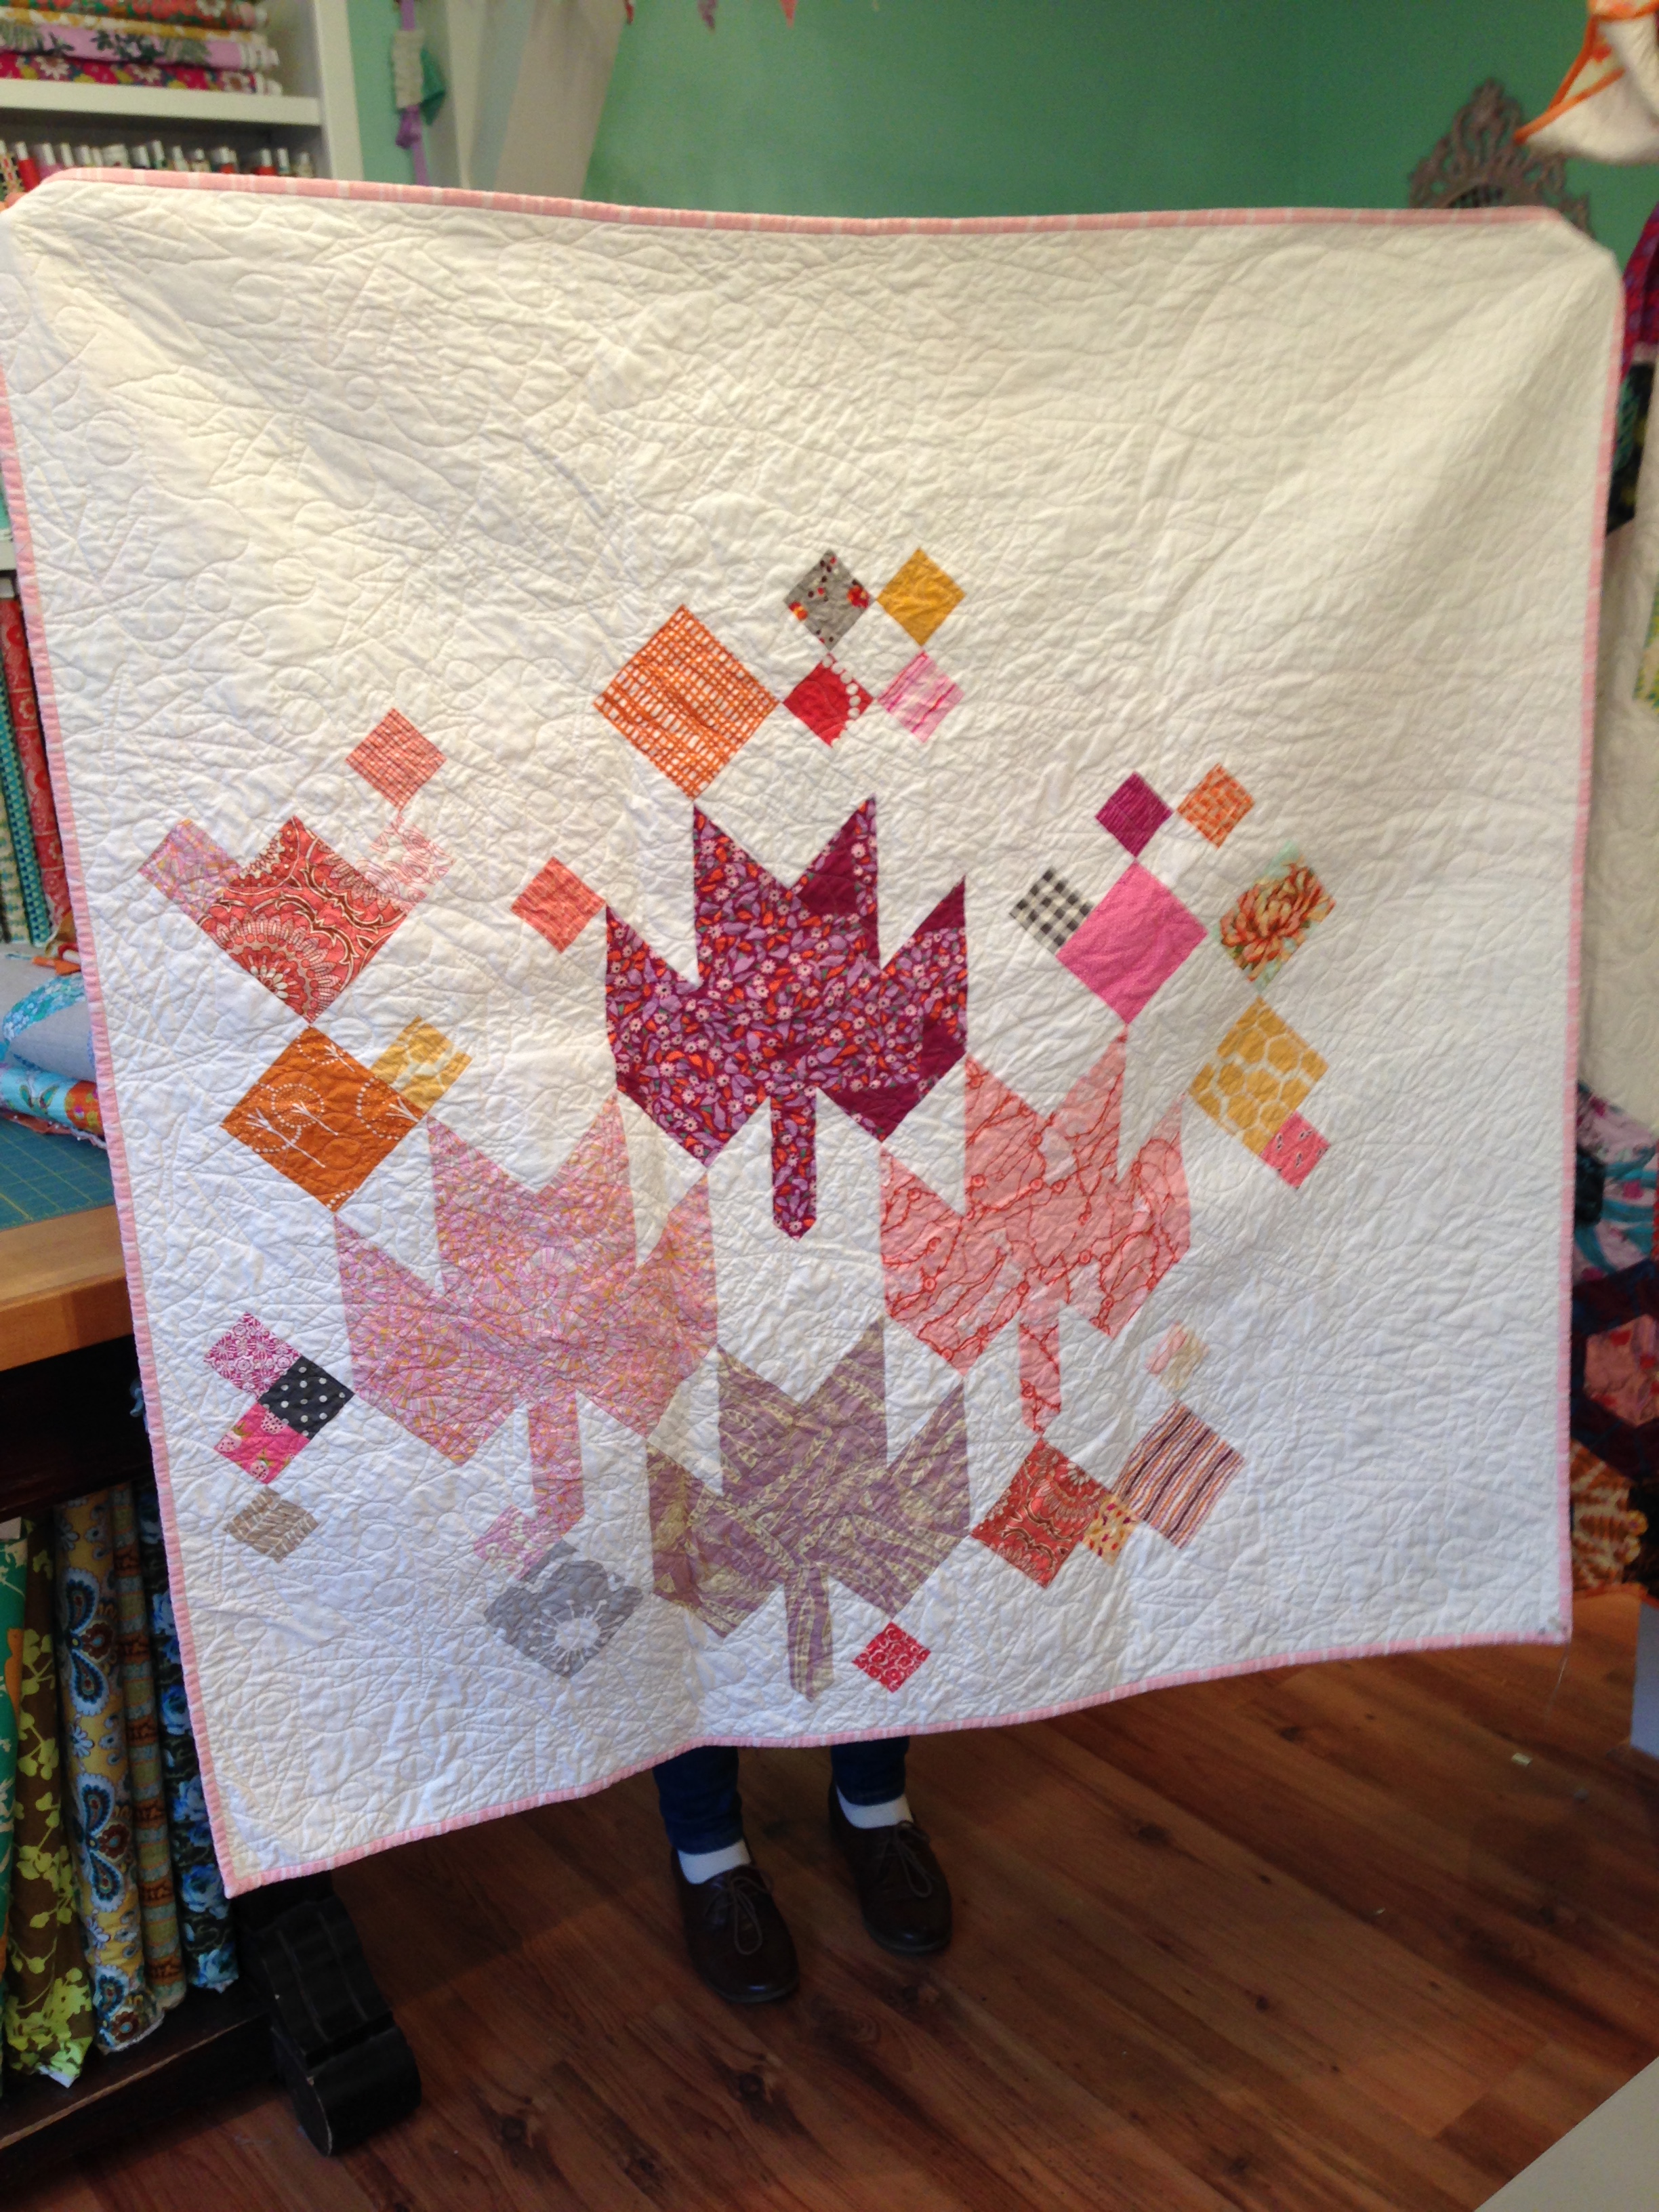
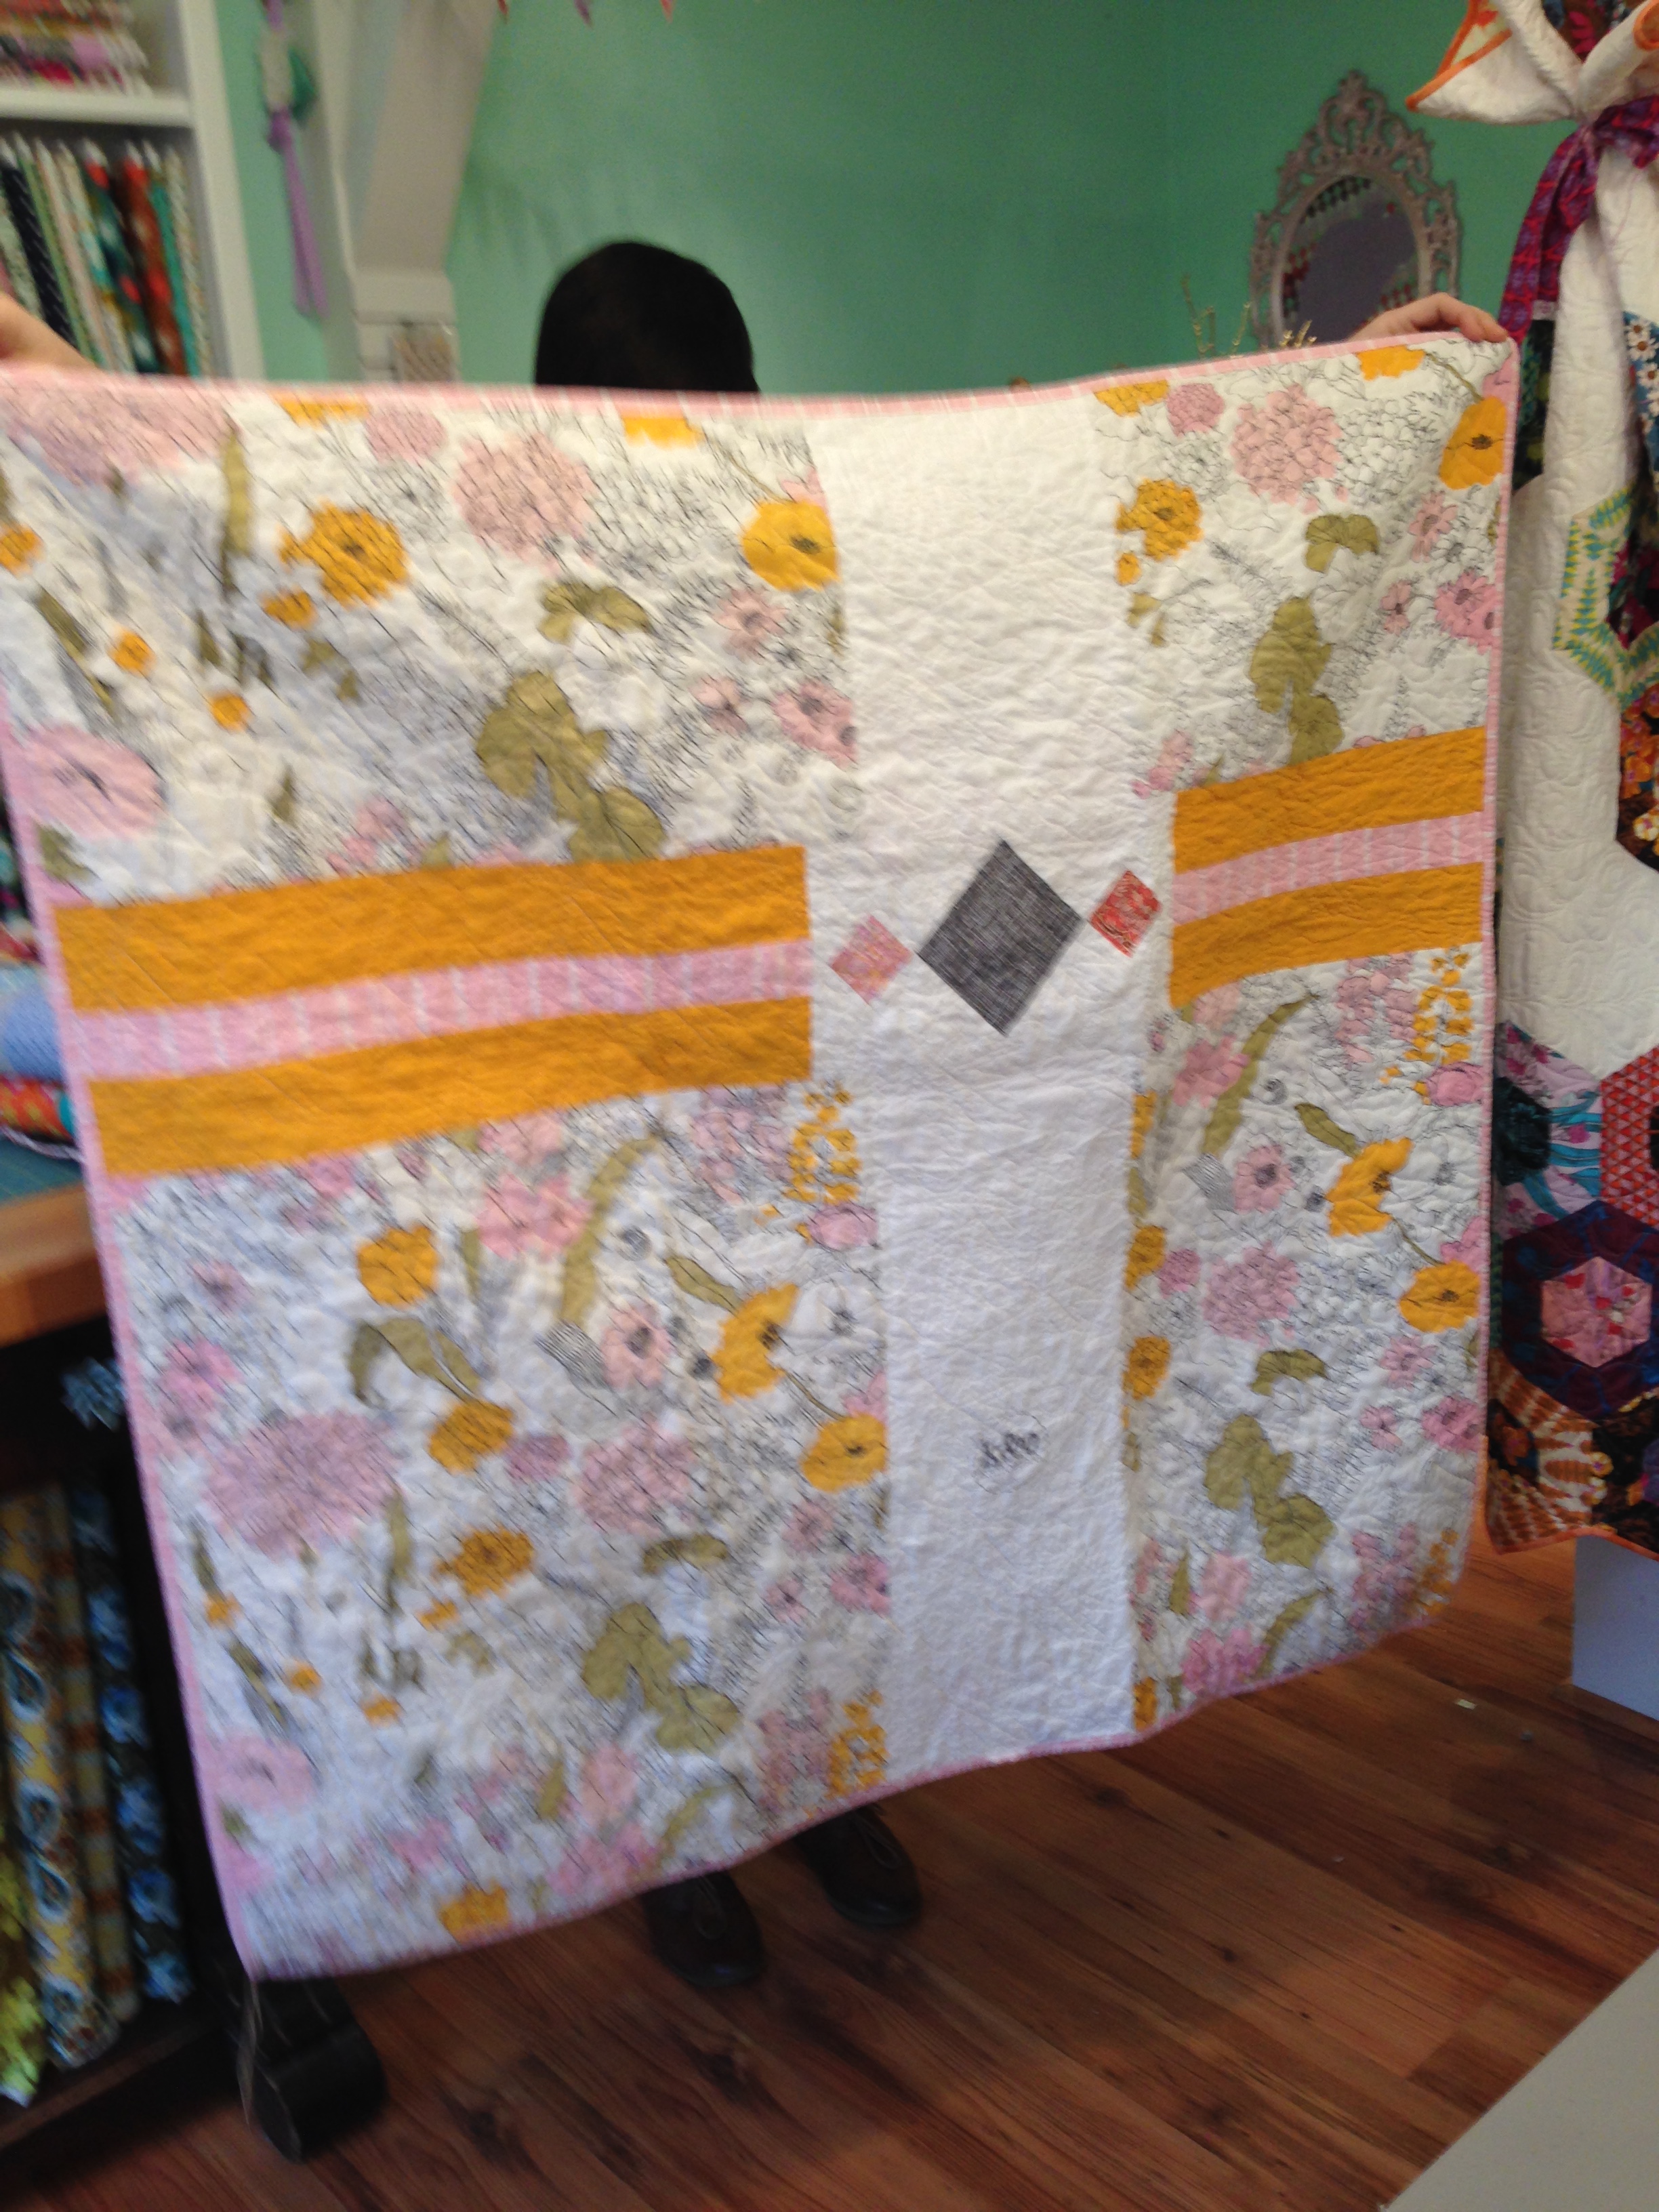
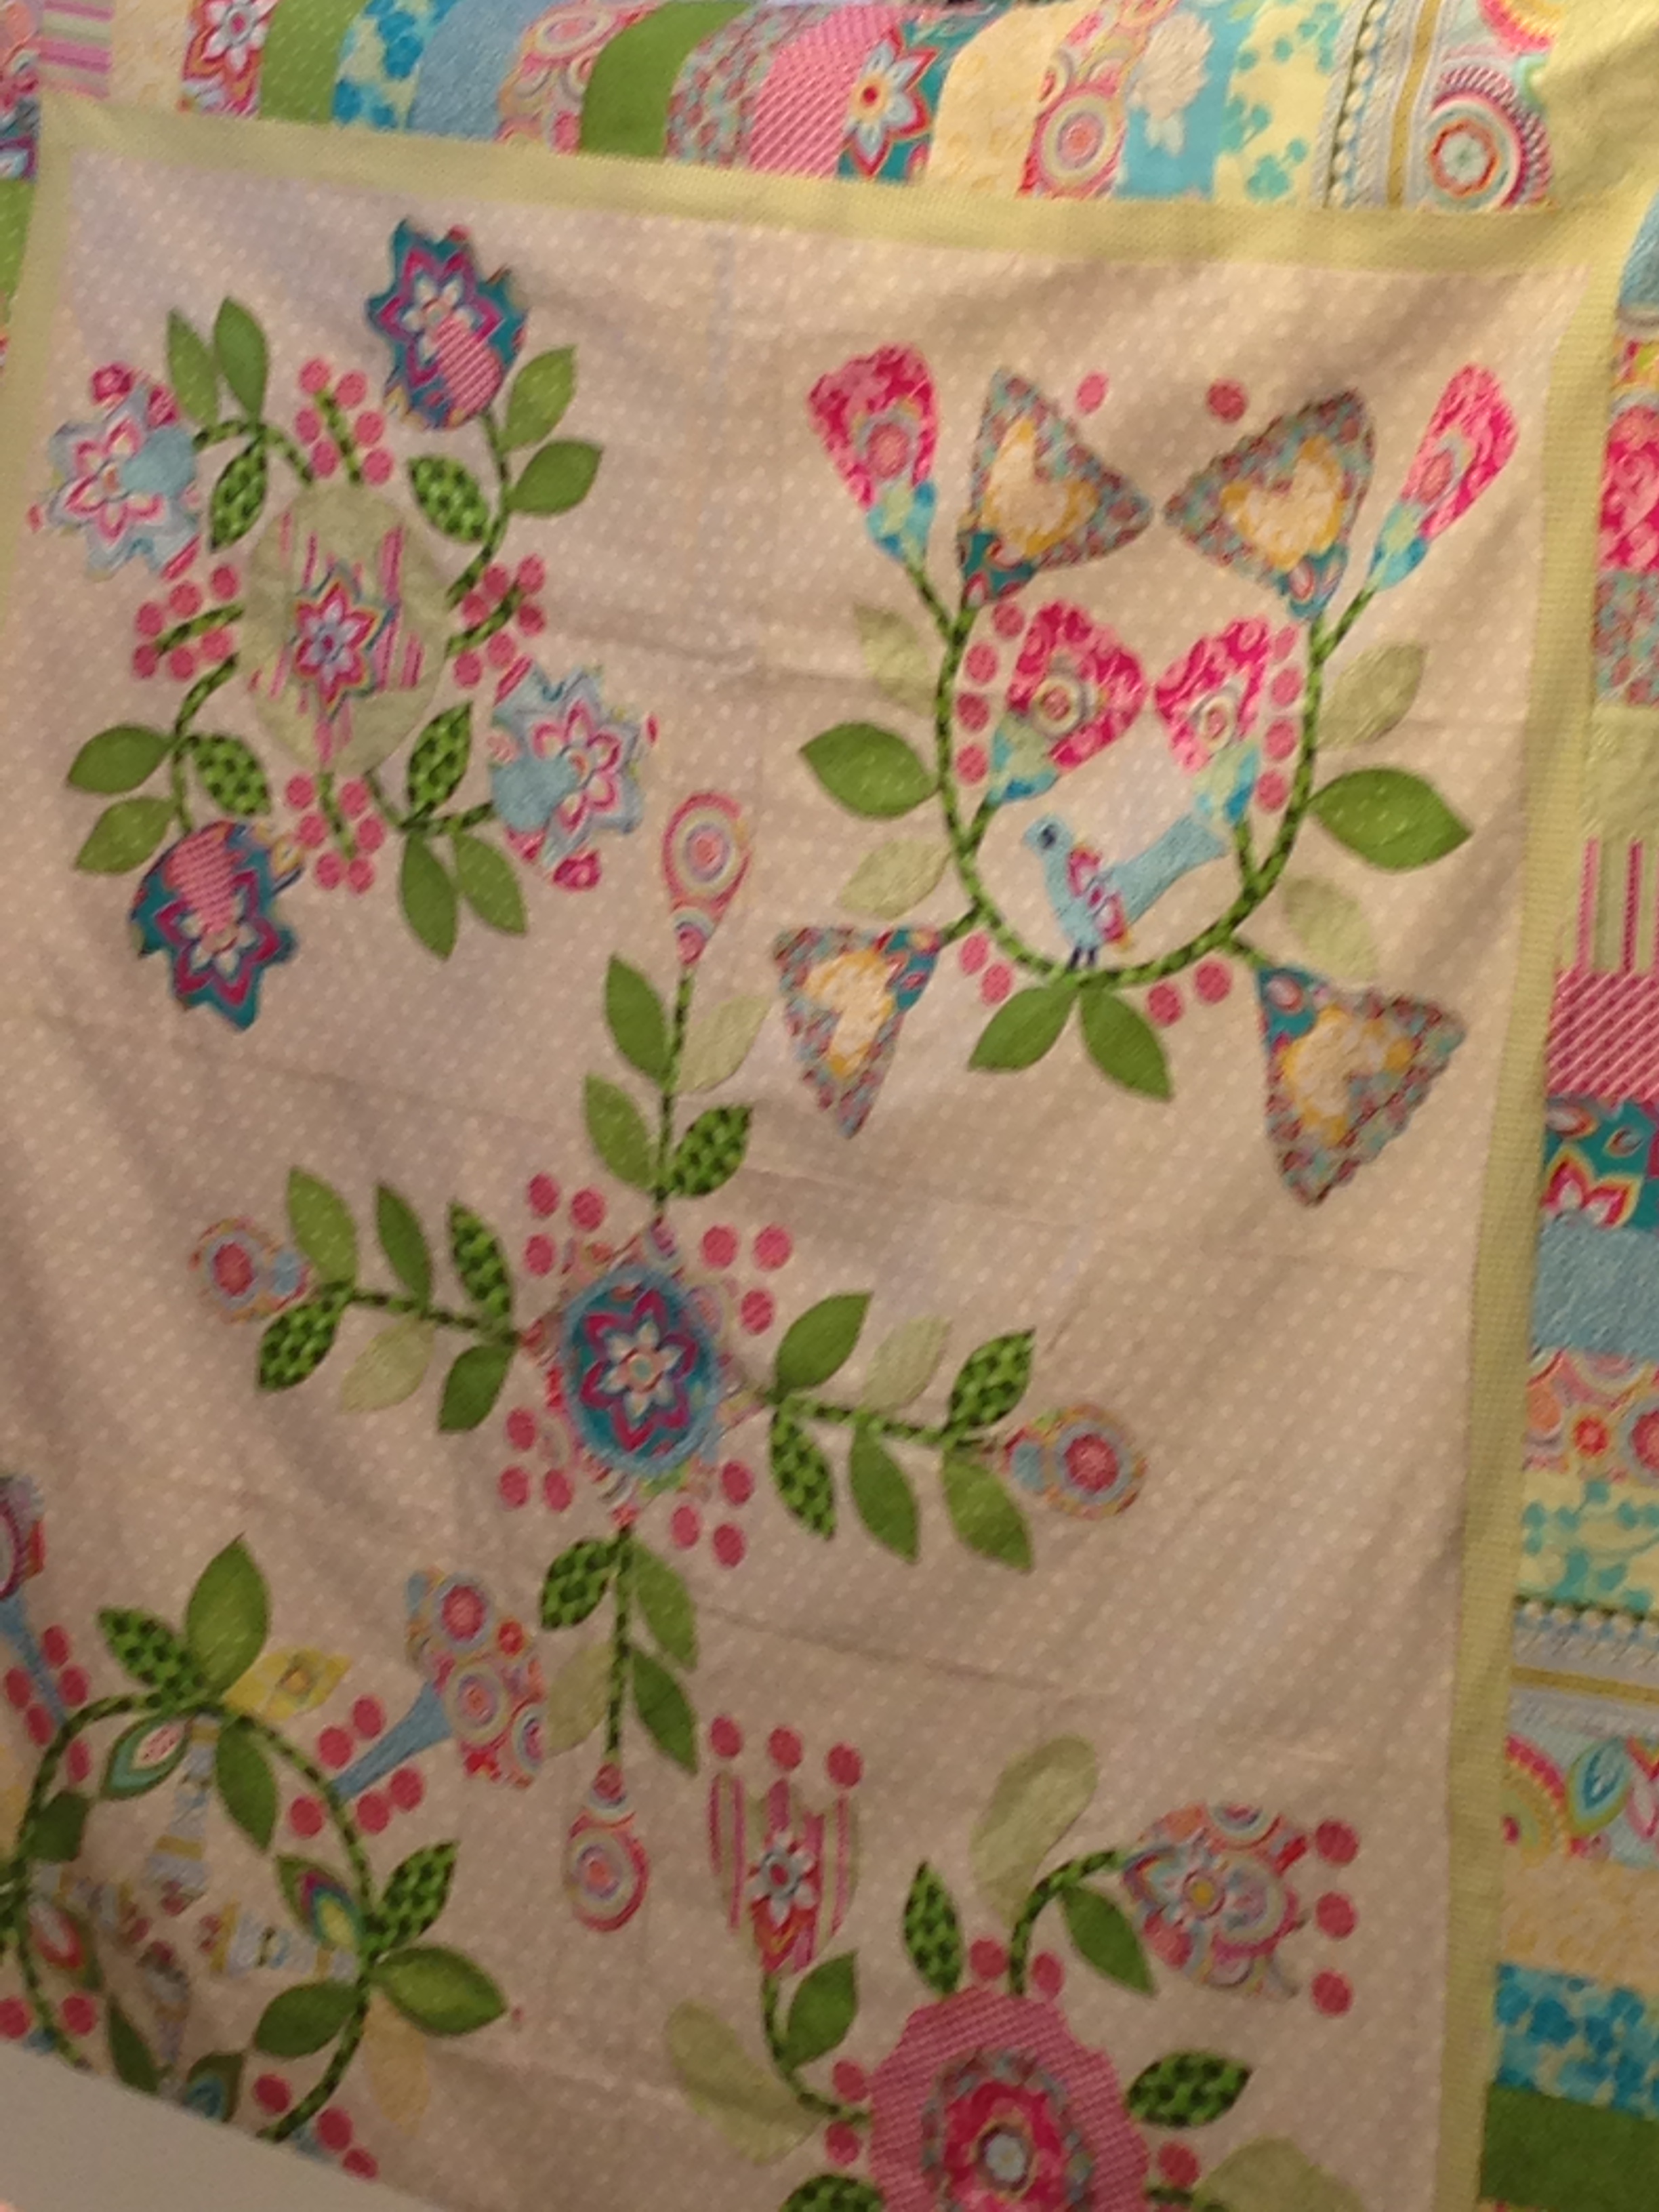
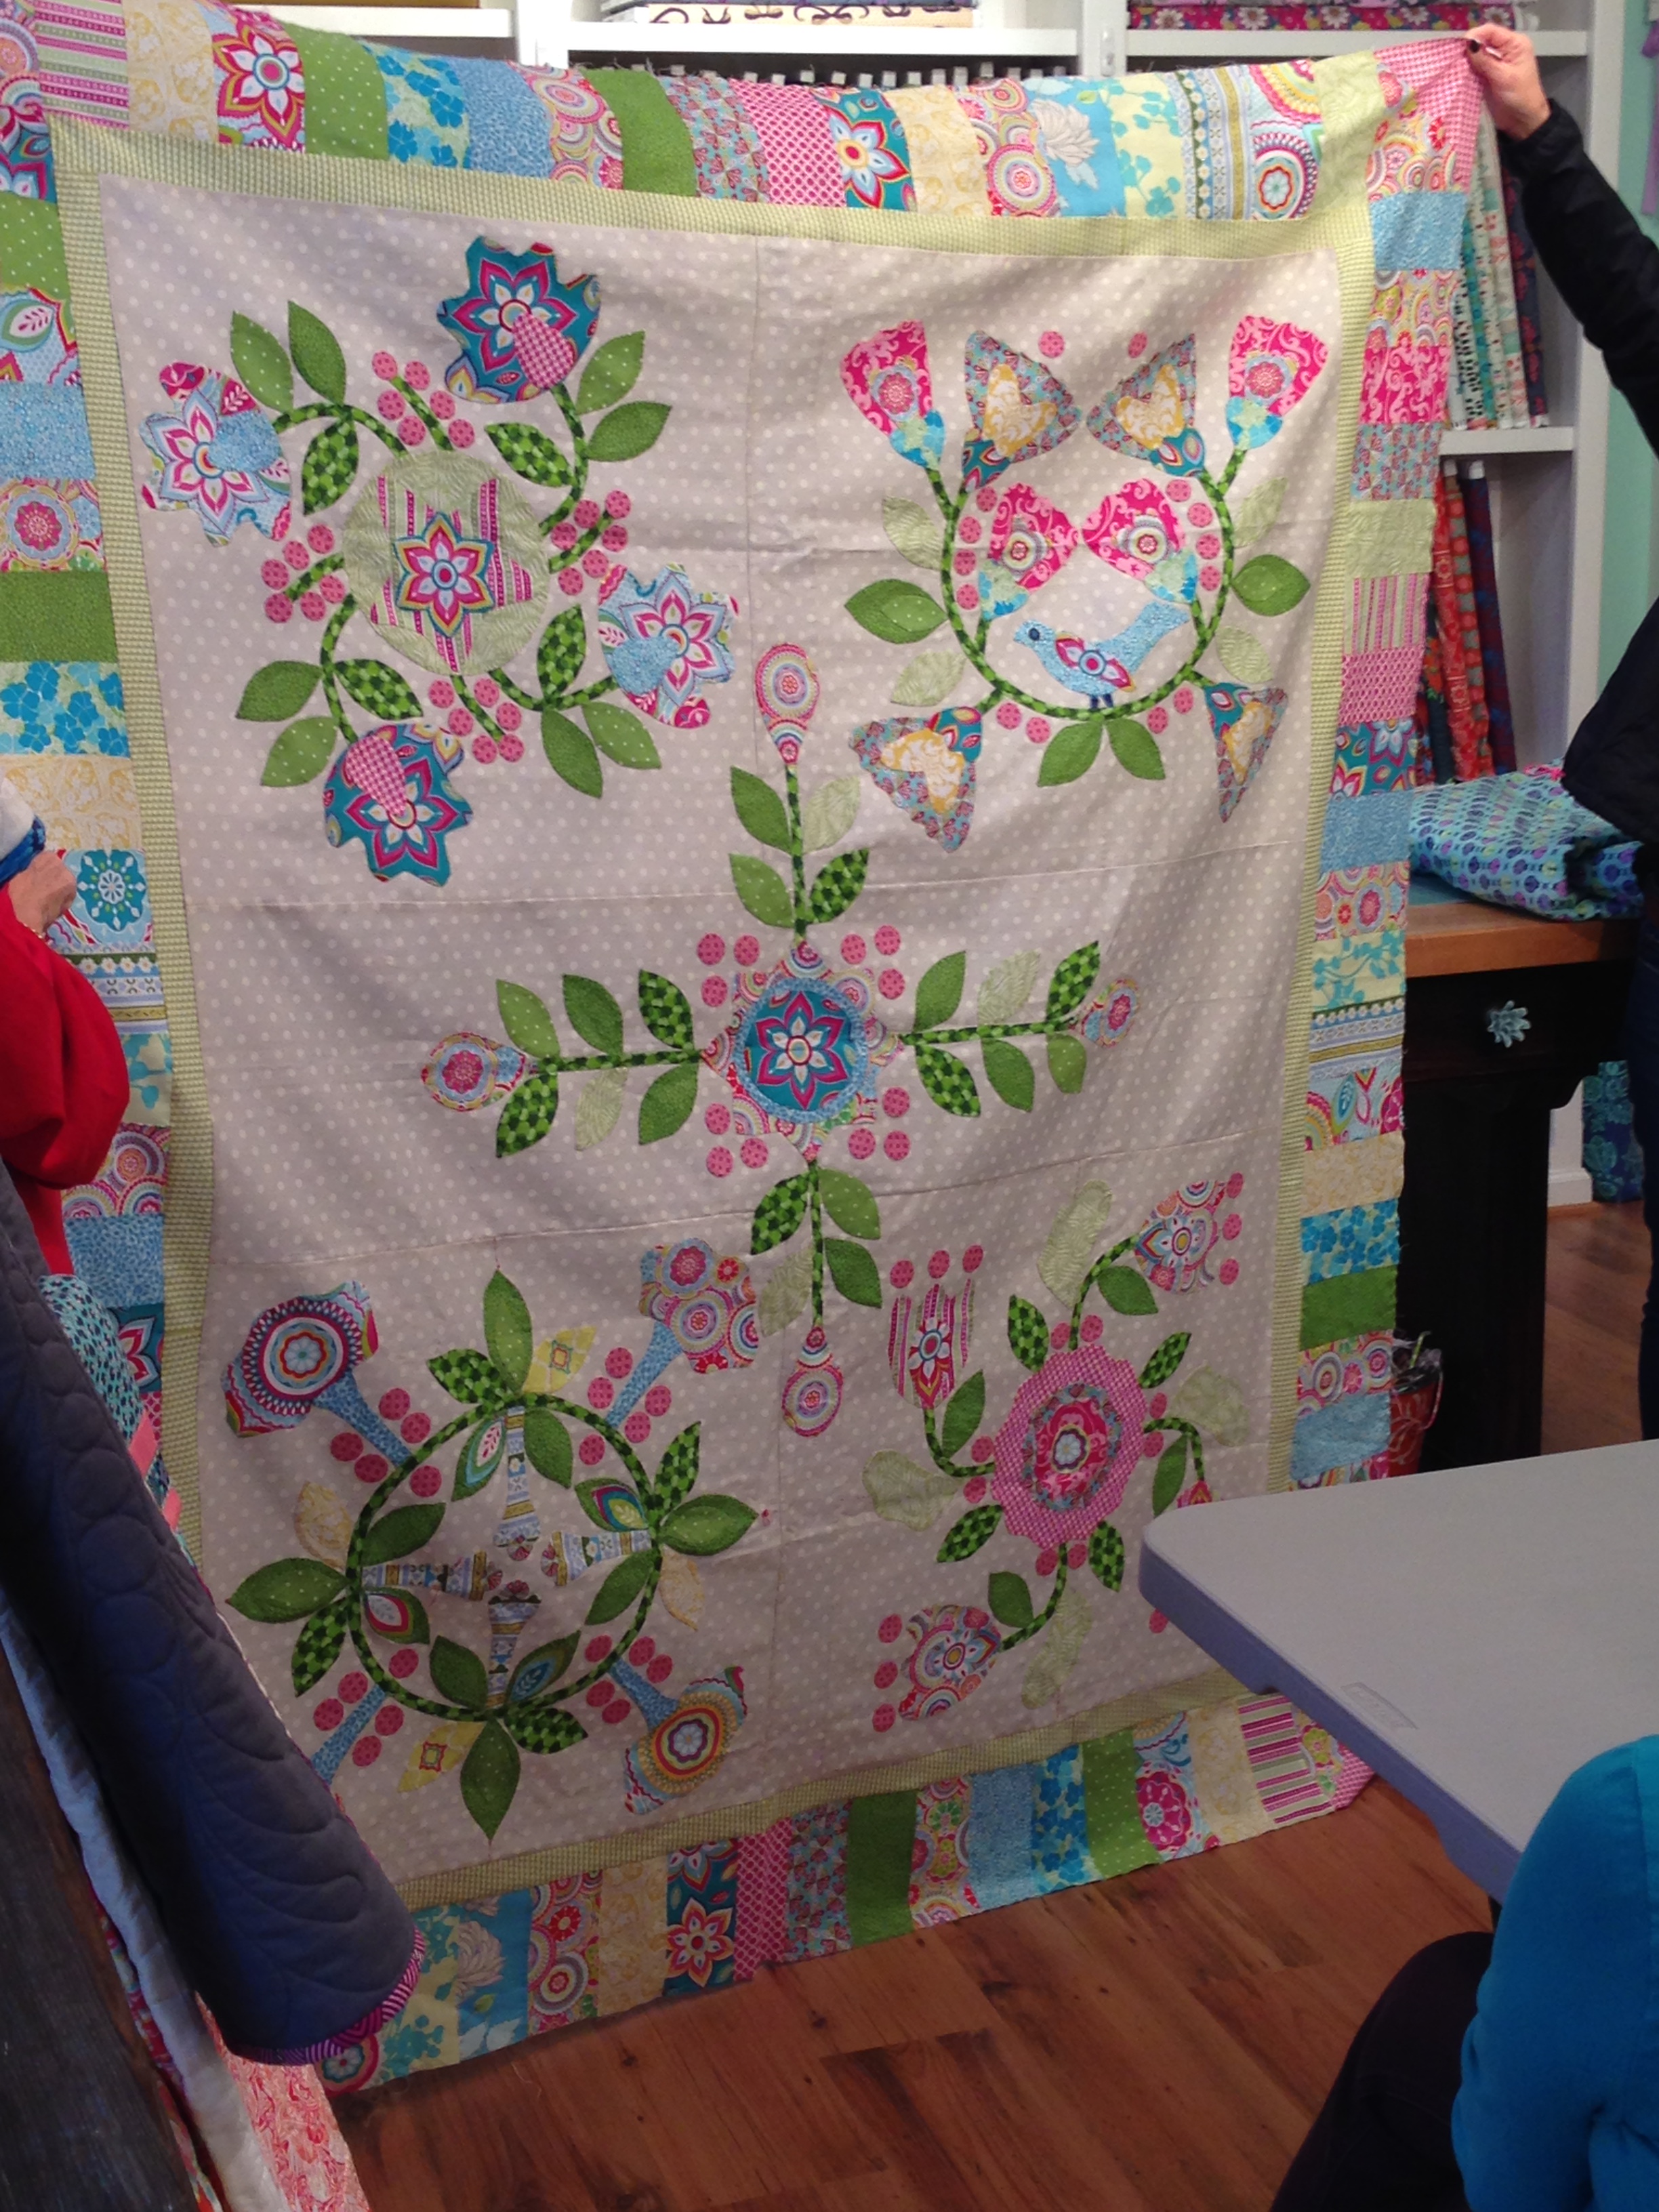
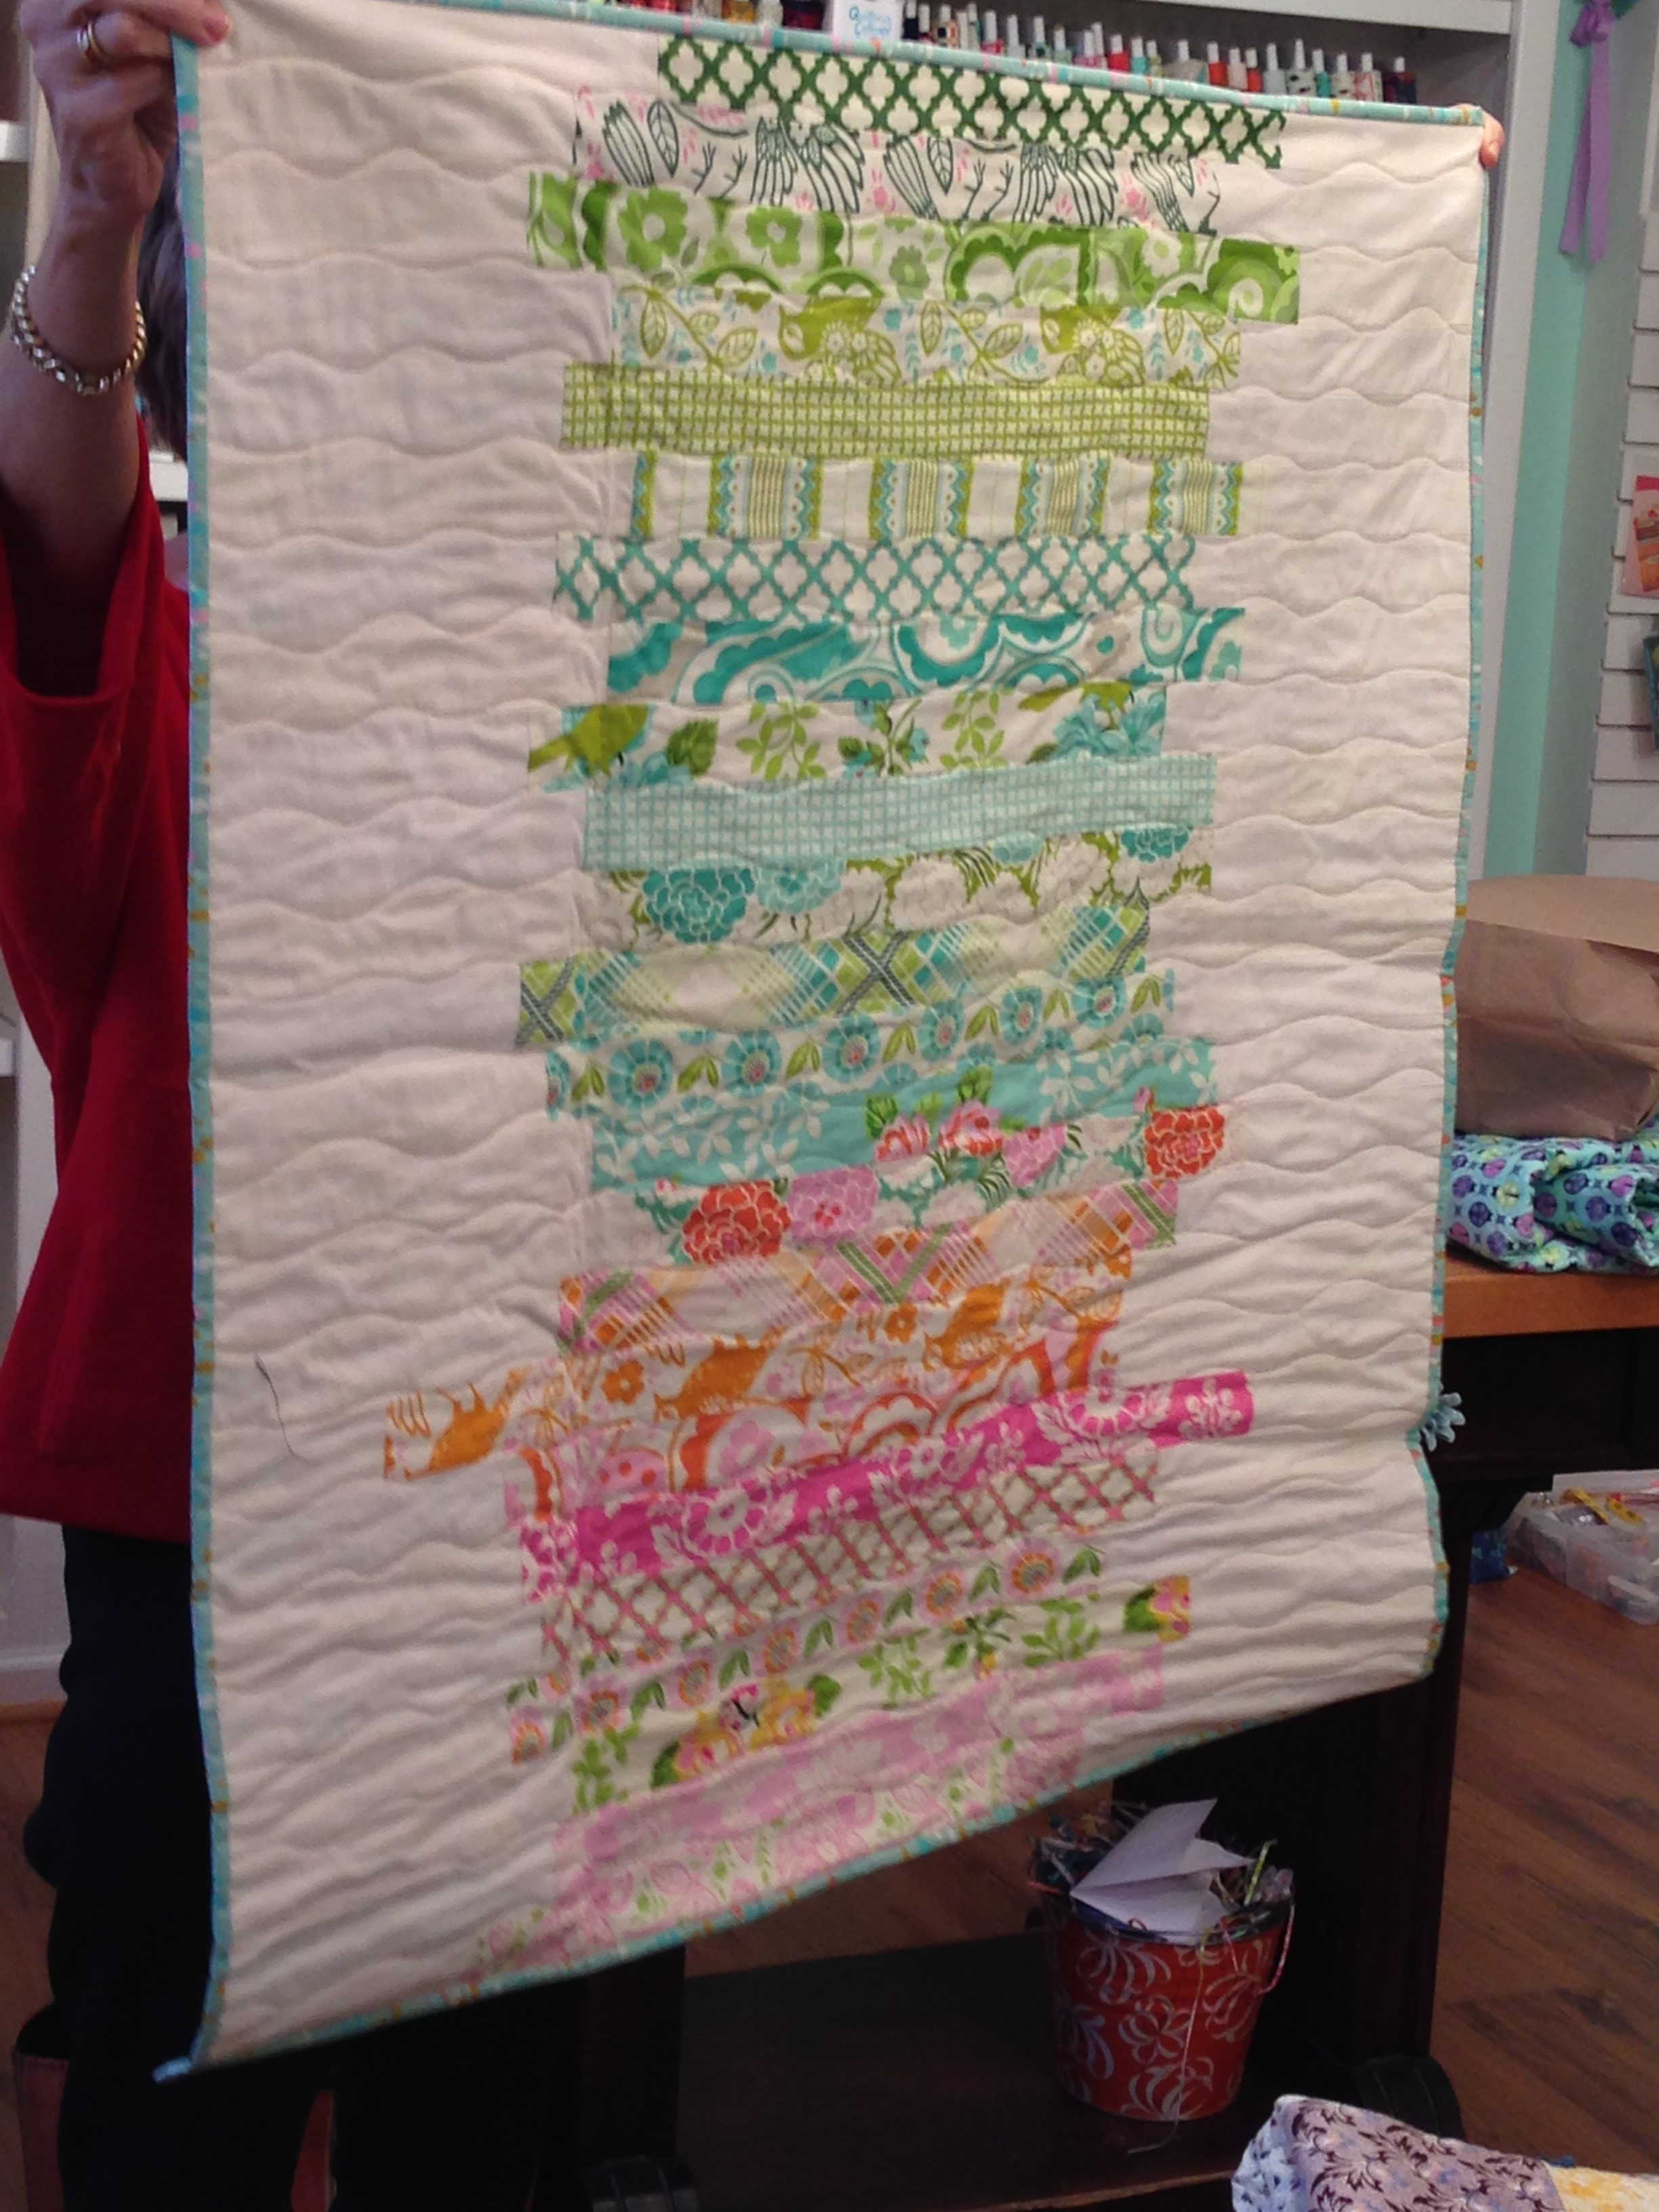
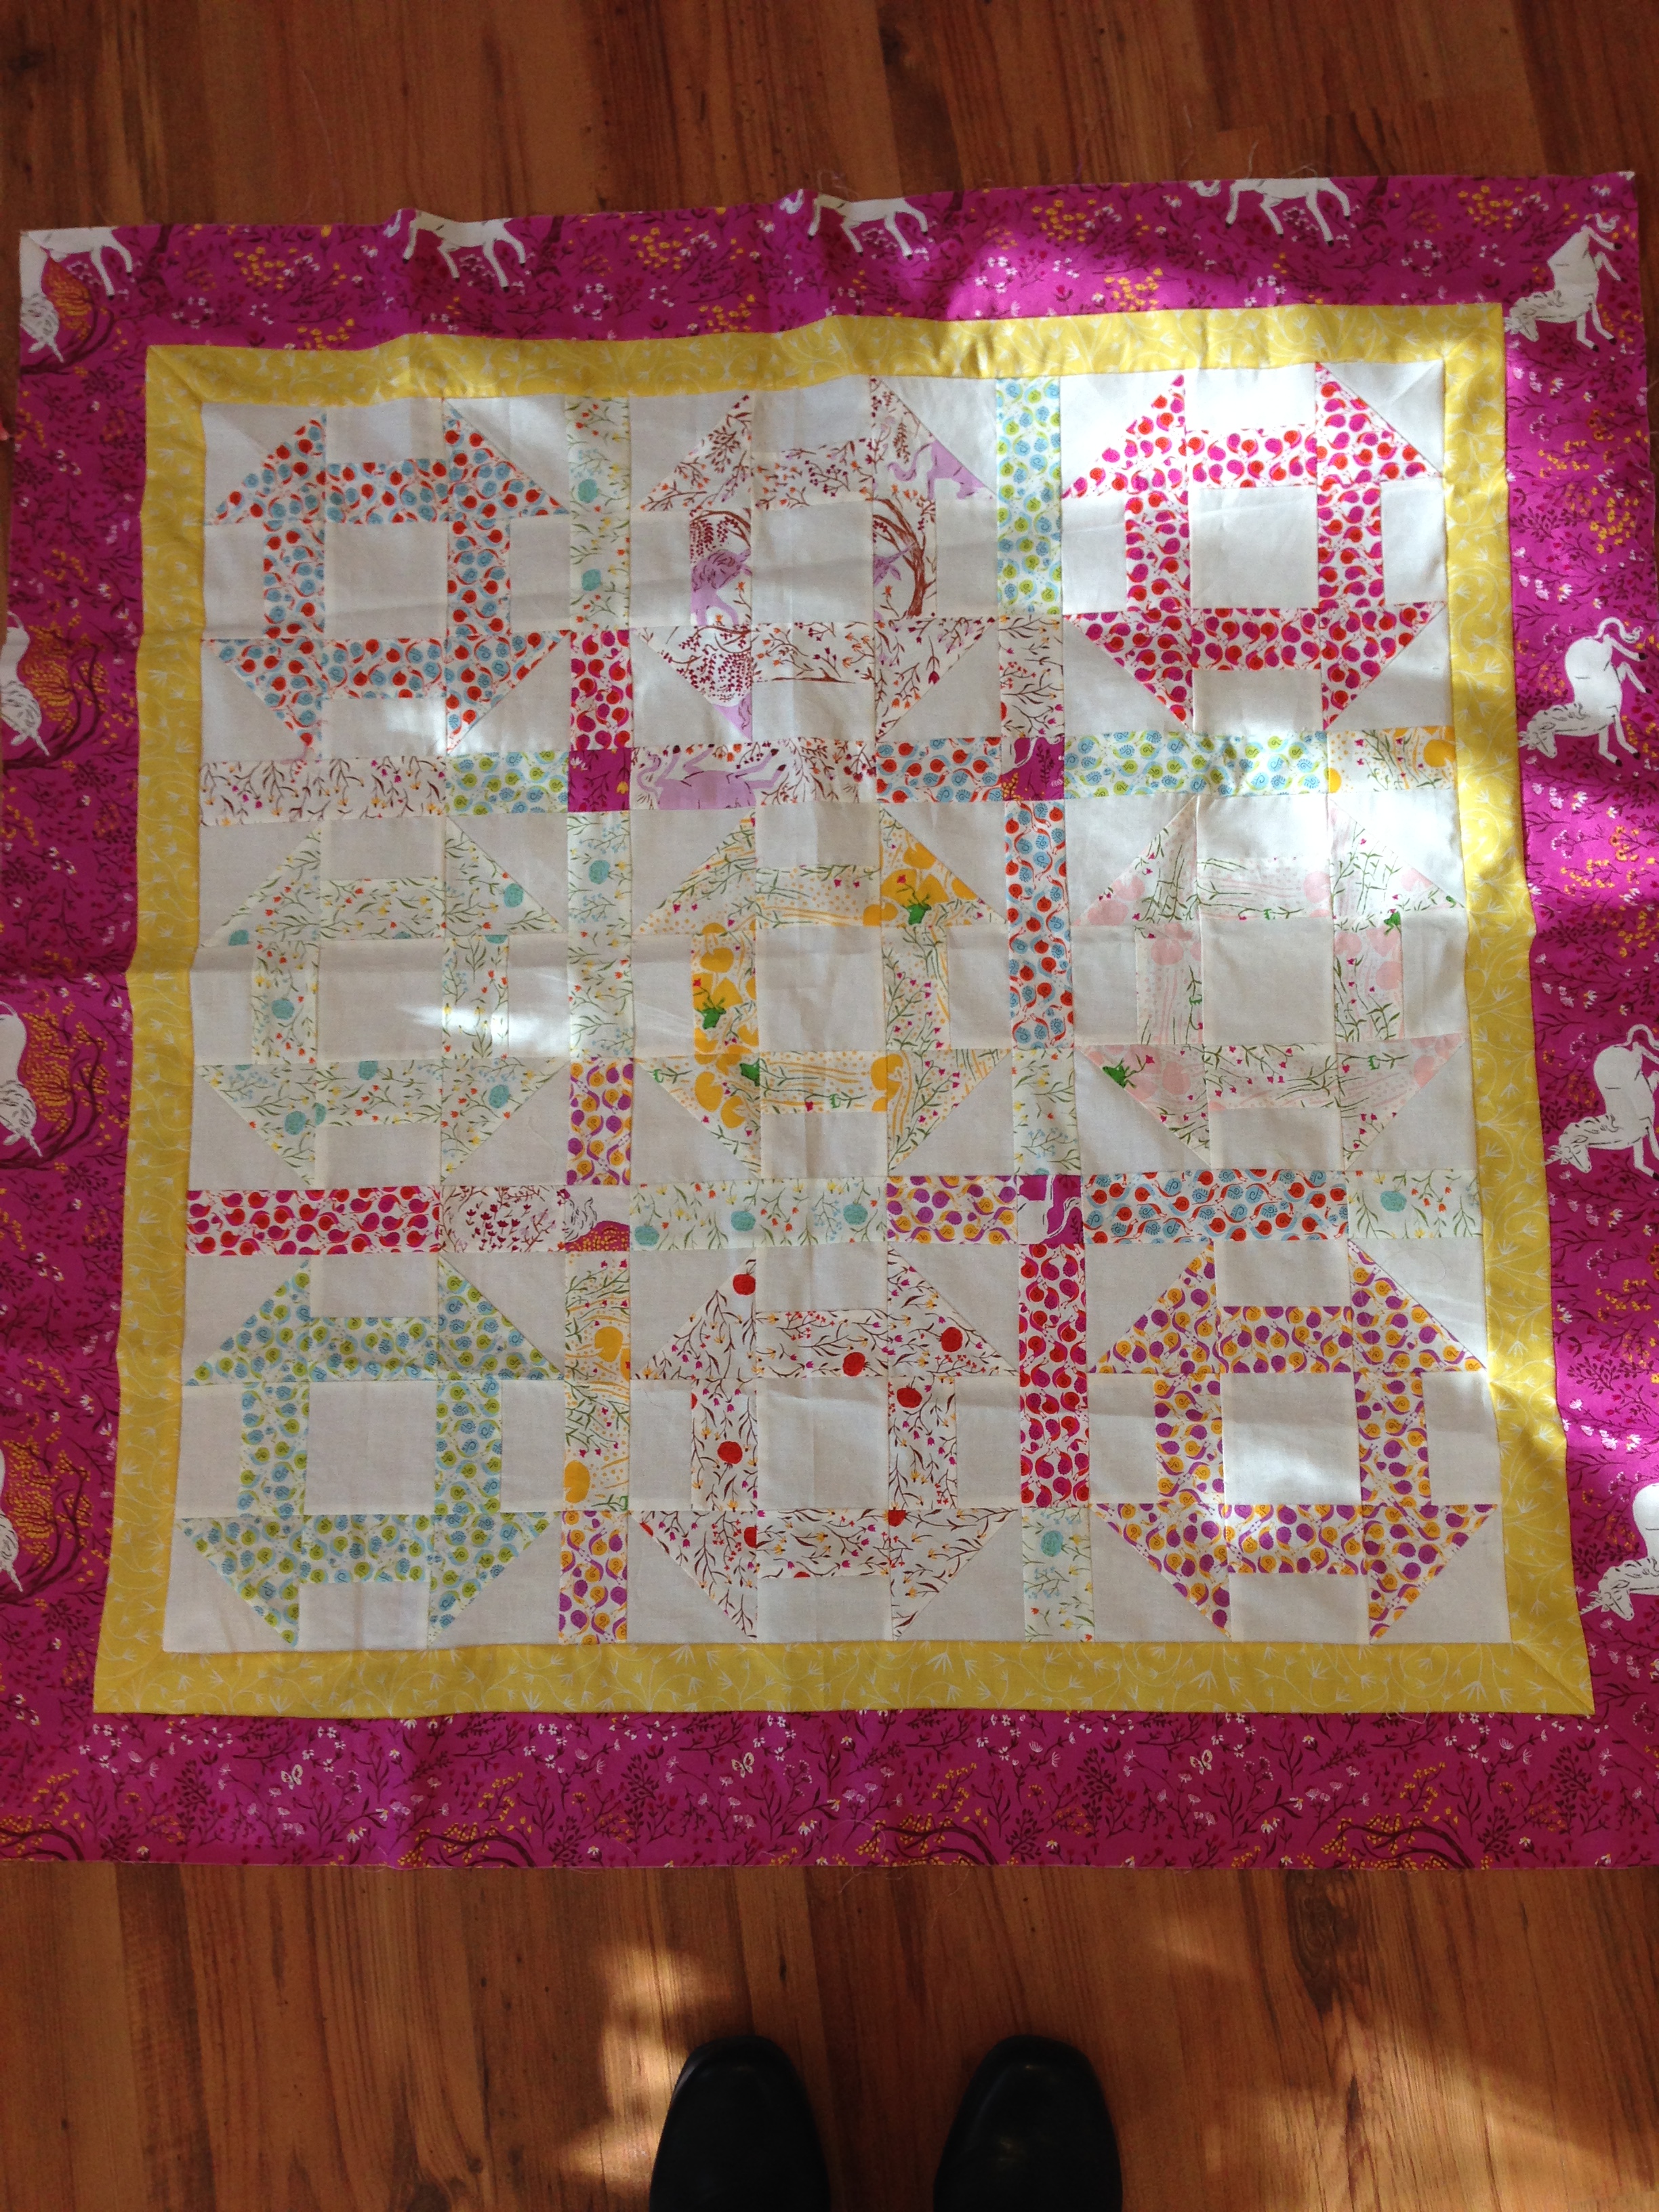
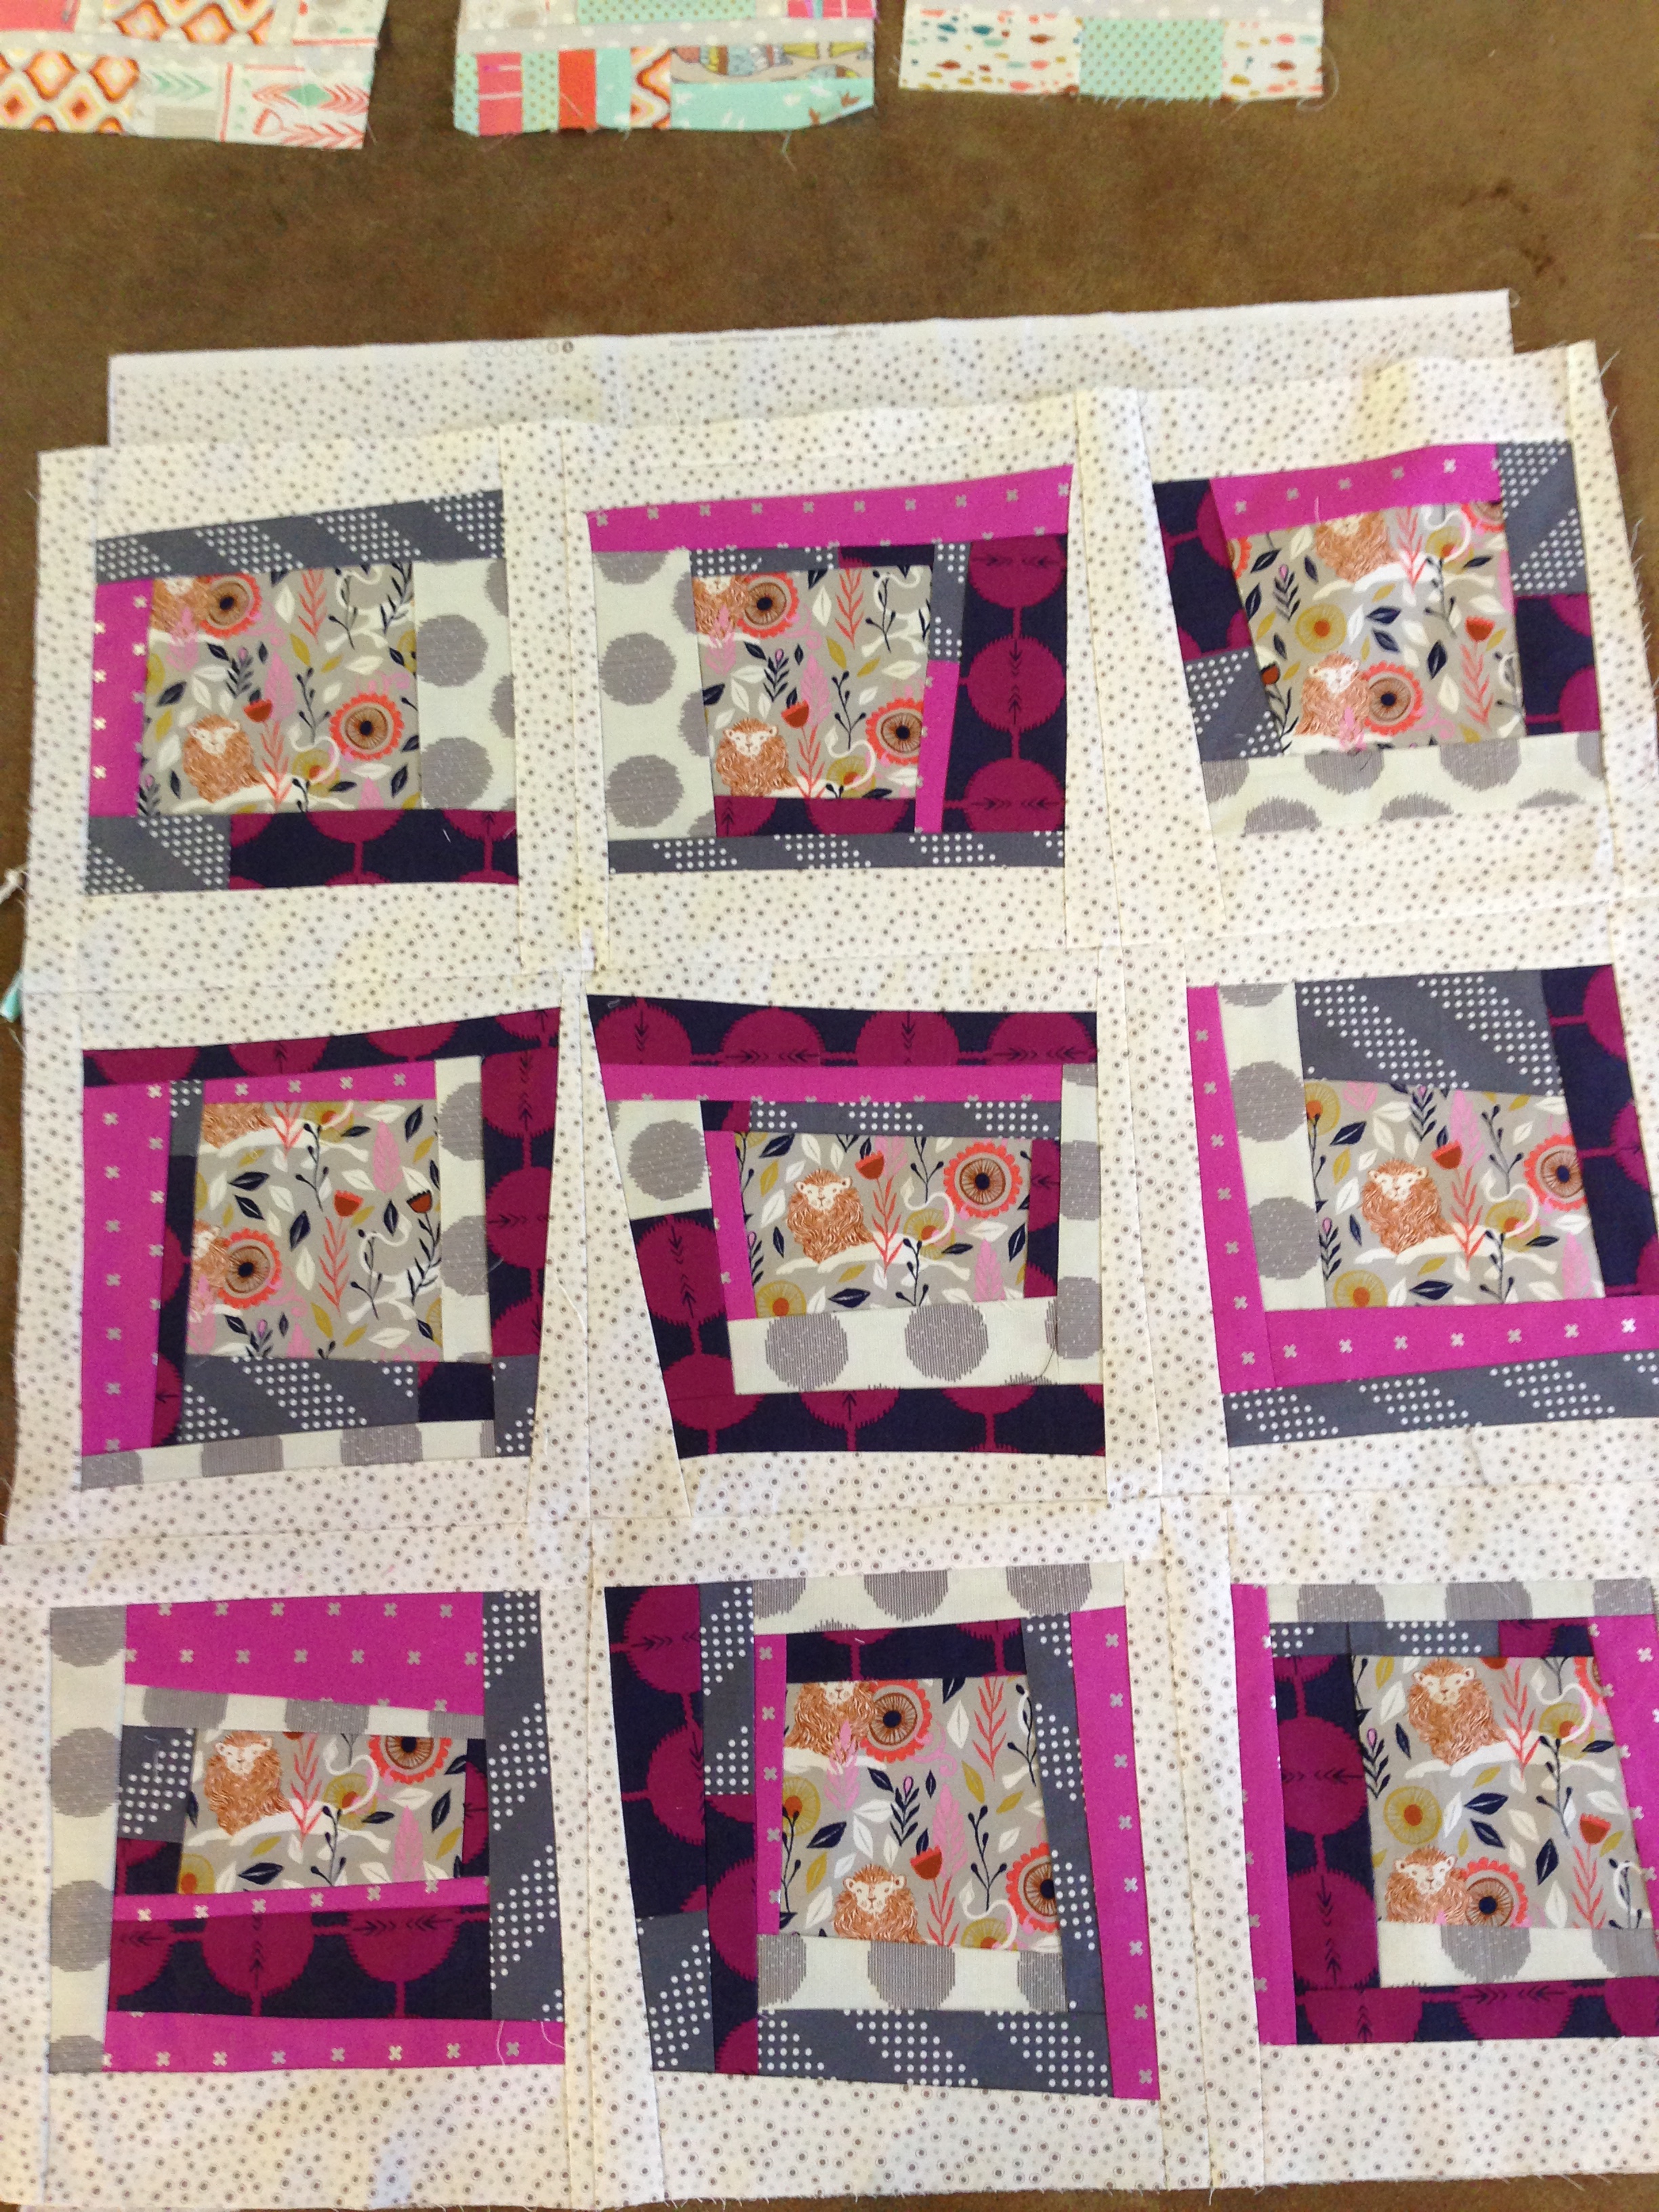
We had a great turnout for our March Fat Stacks class at The Little General.  Ann’s beautiful “Flowers in the Sunshine” brightened up the room!  I love this quilt; she plans to add three more rows.

013012
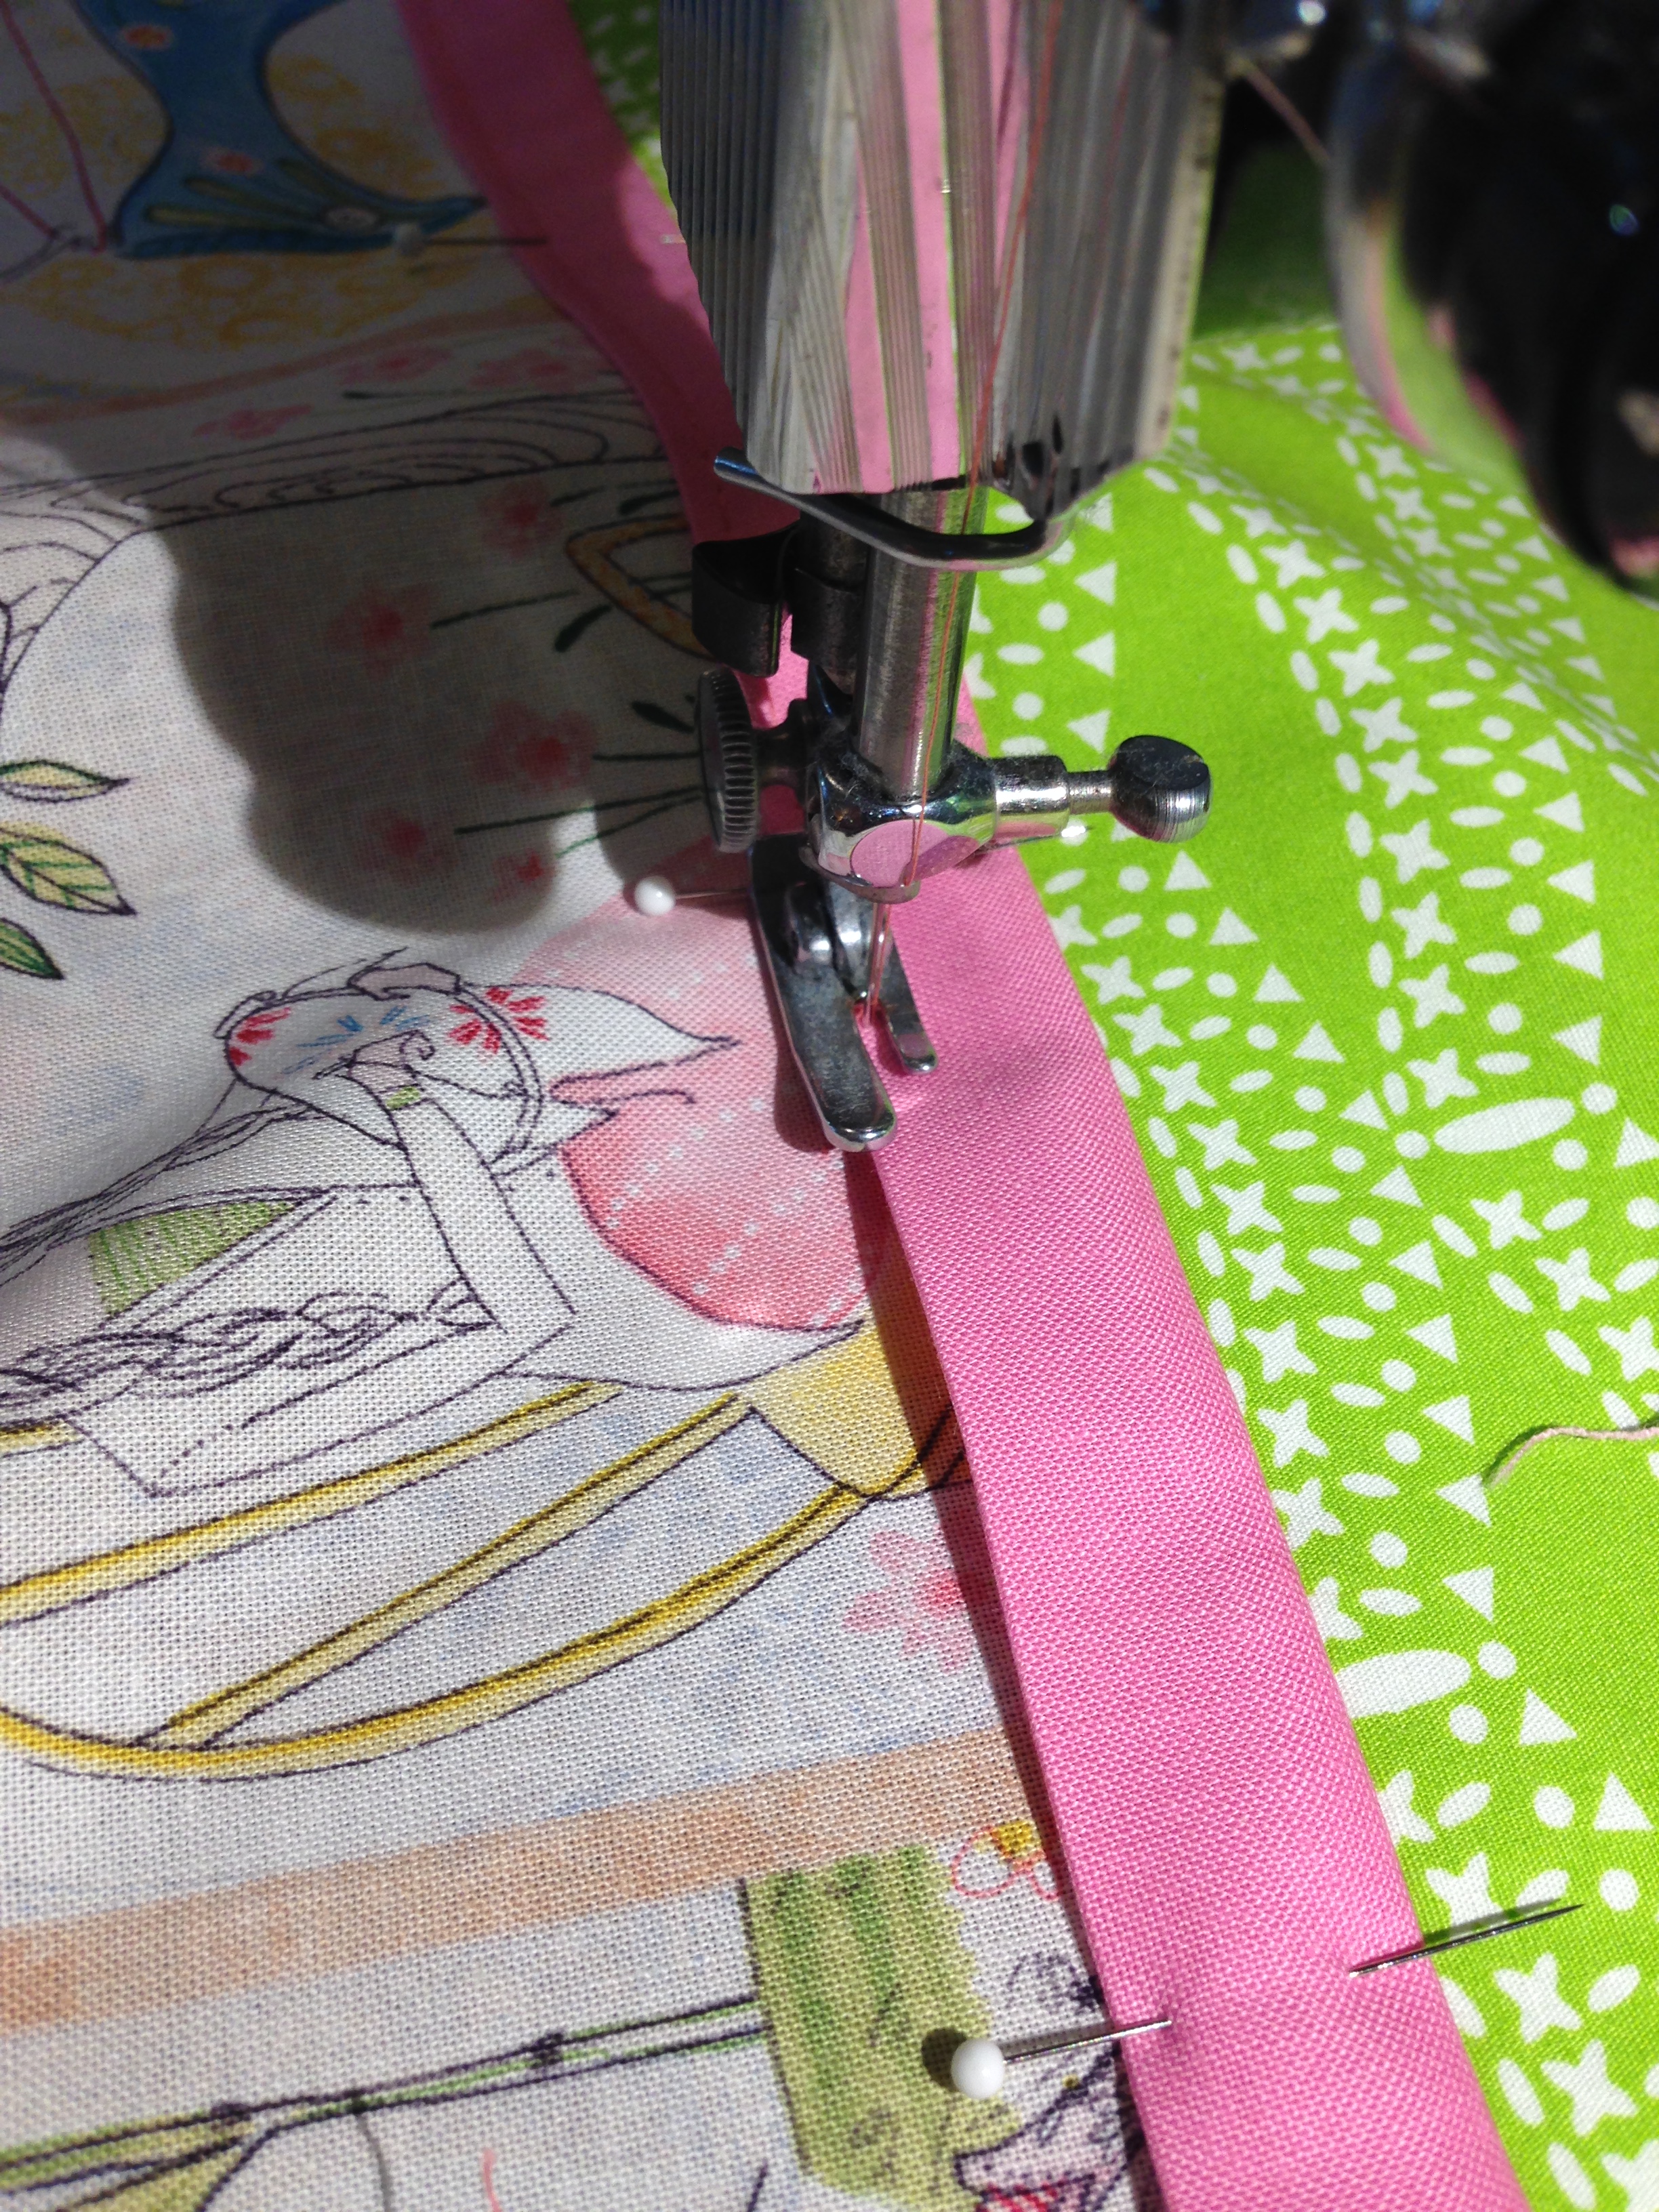
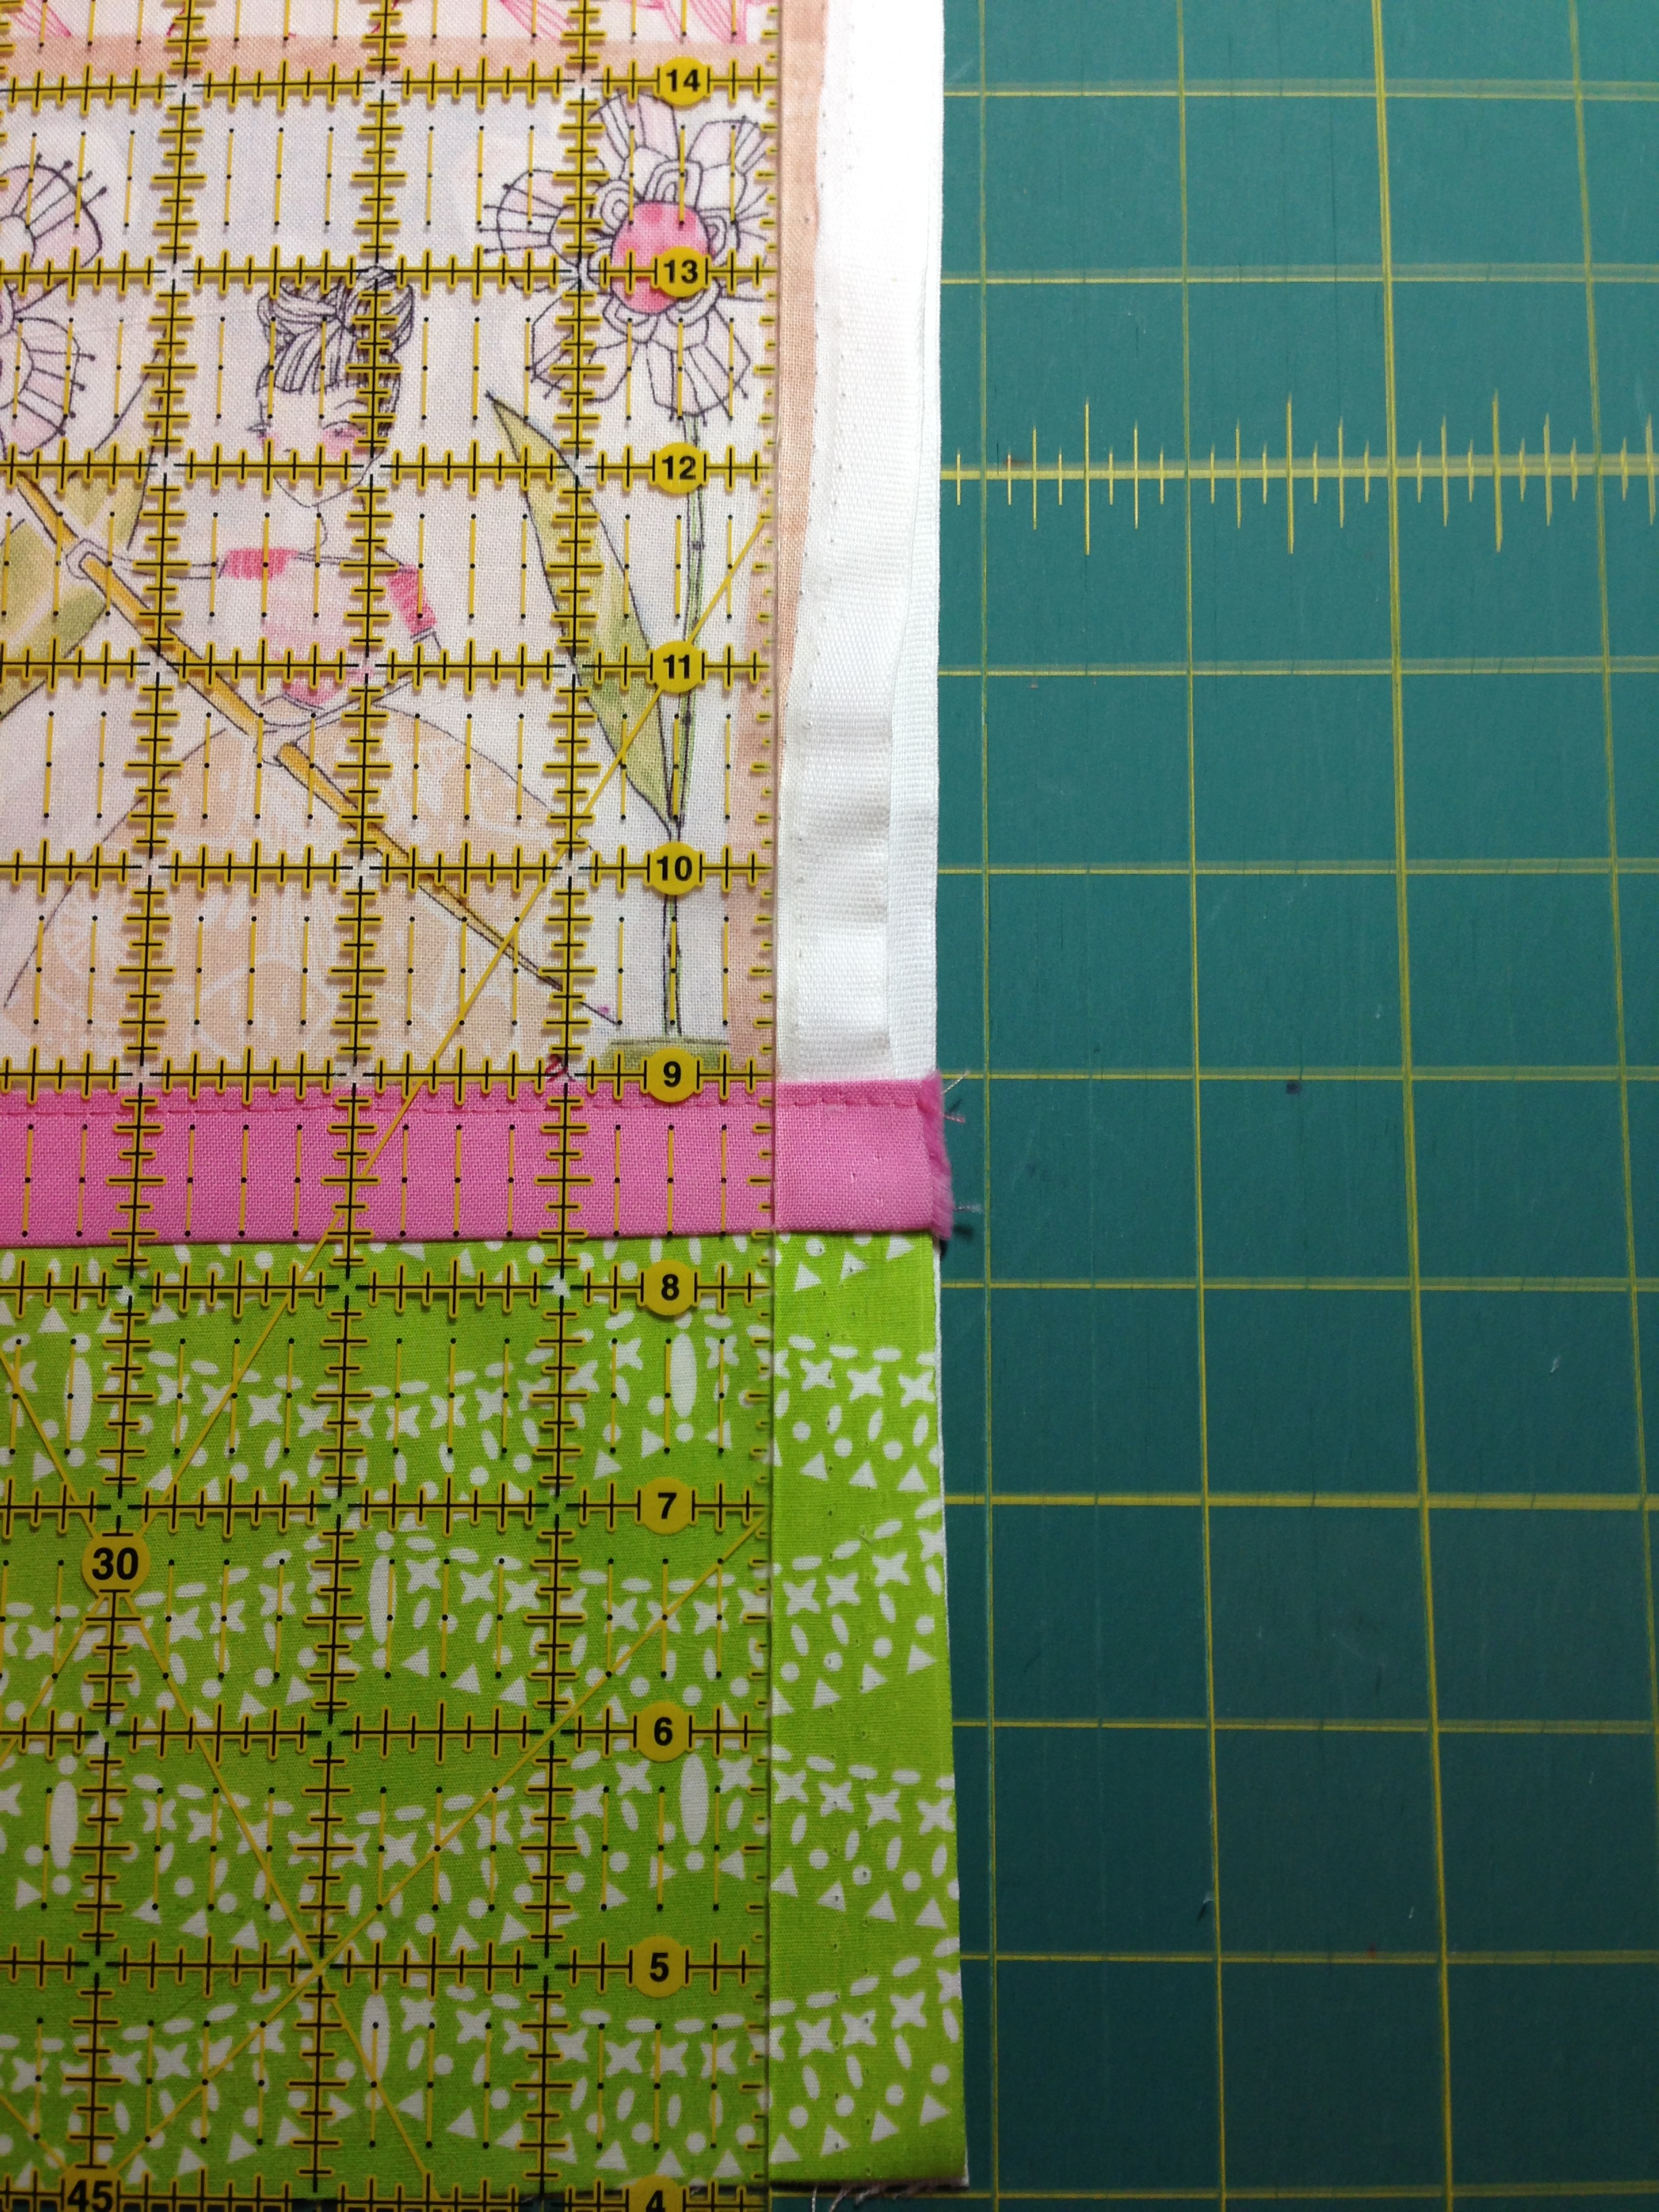
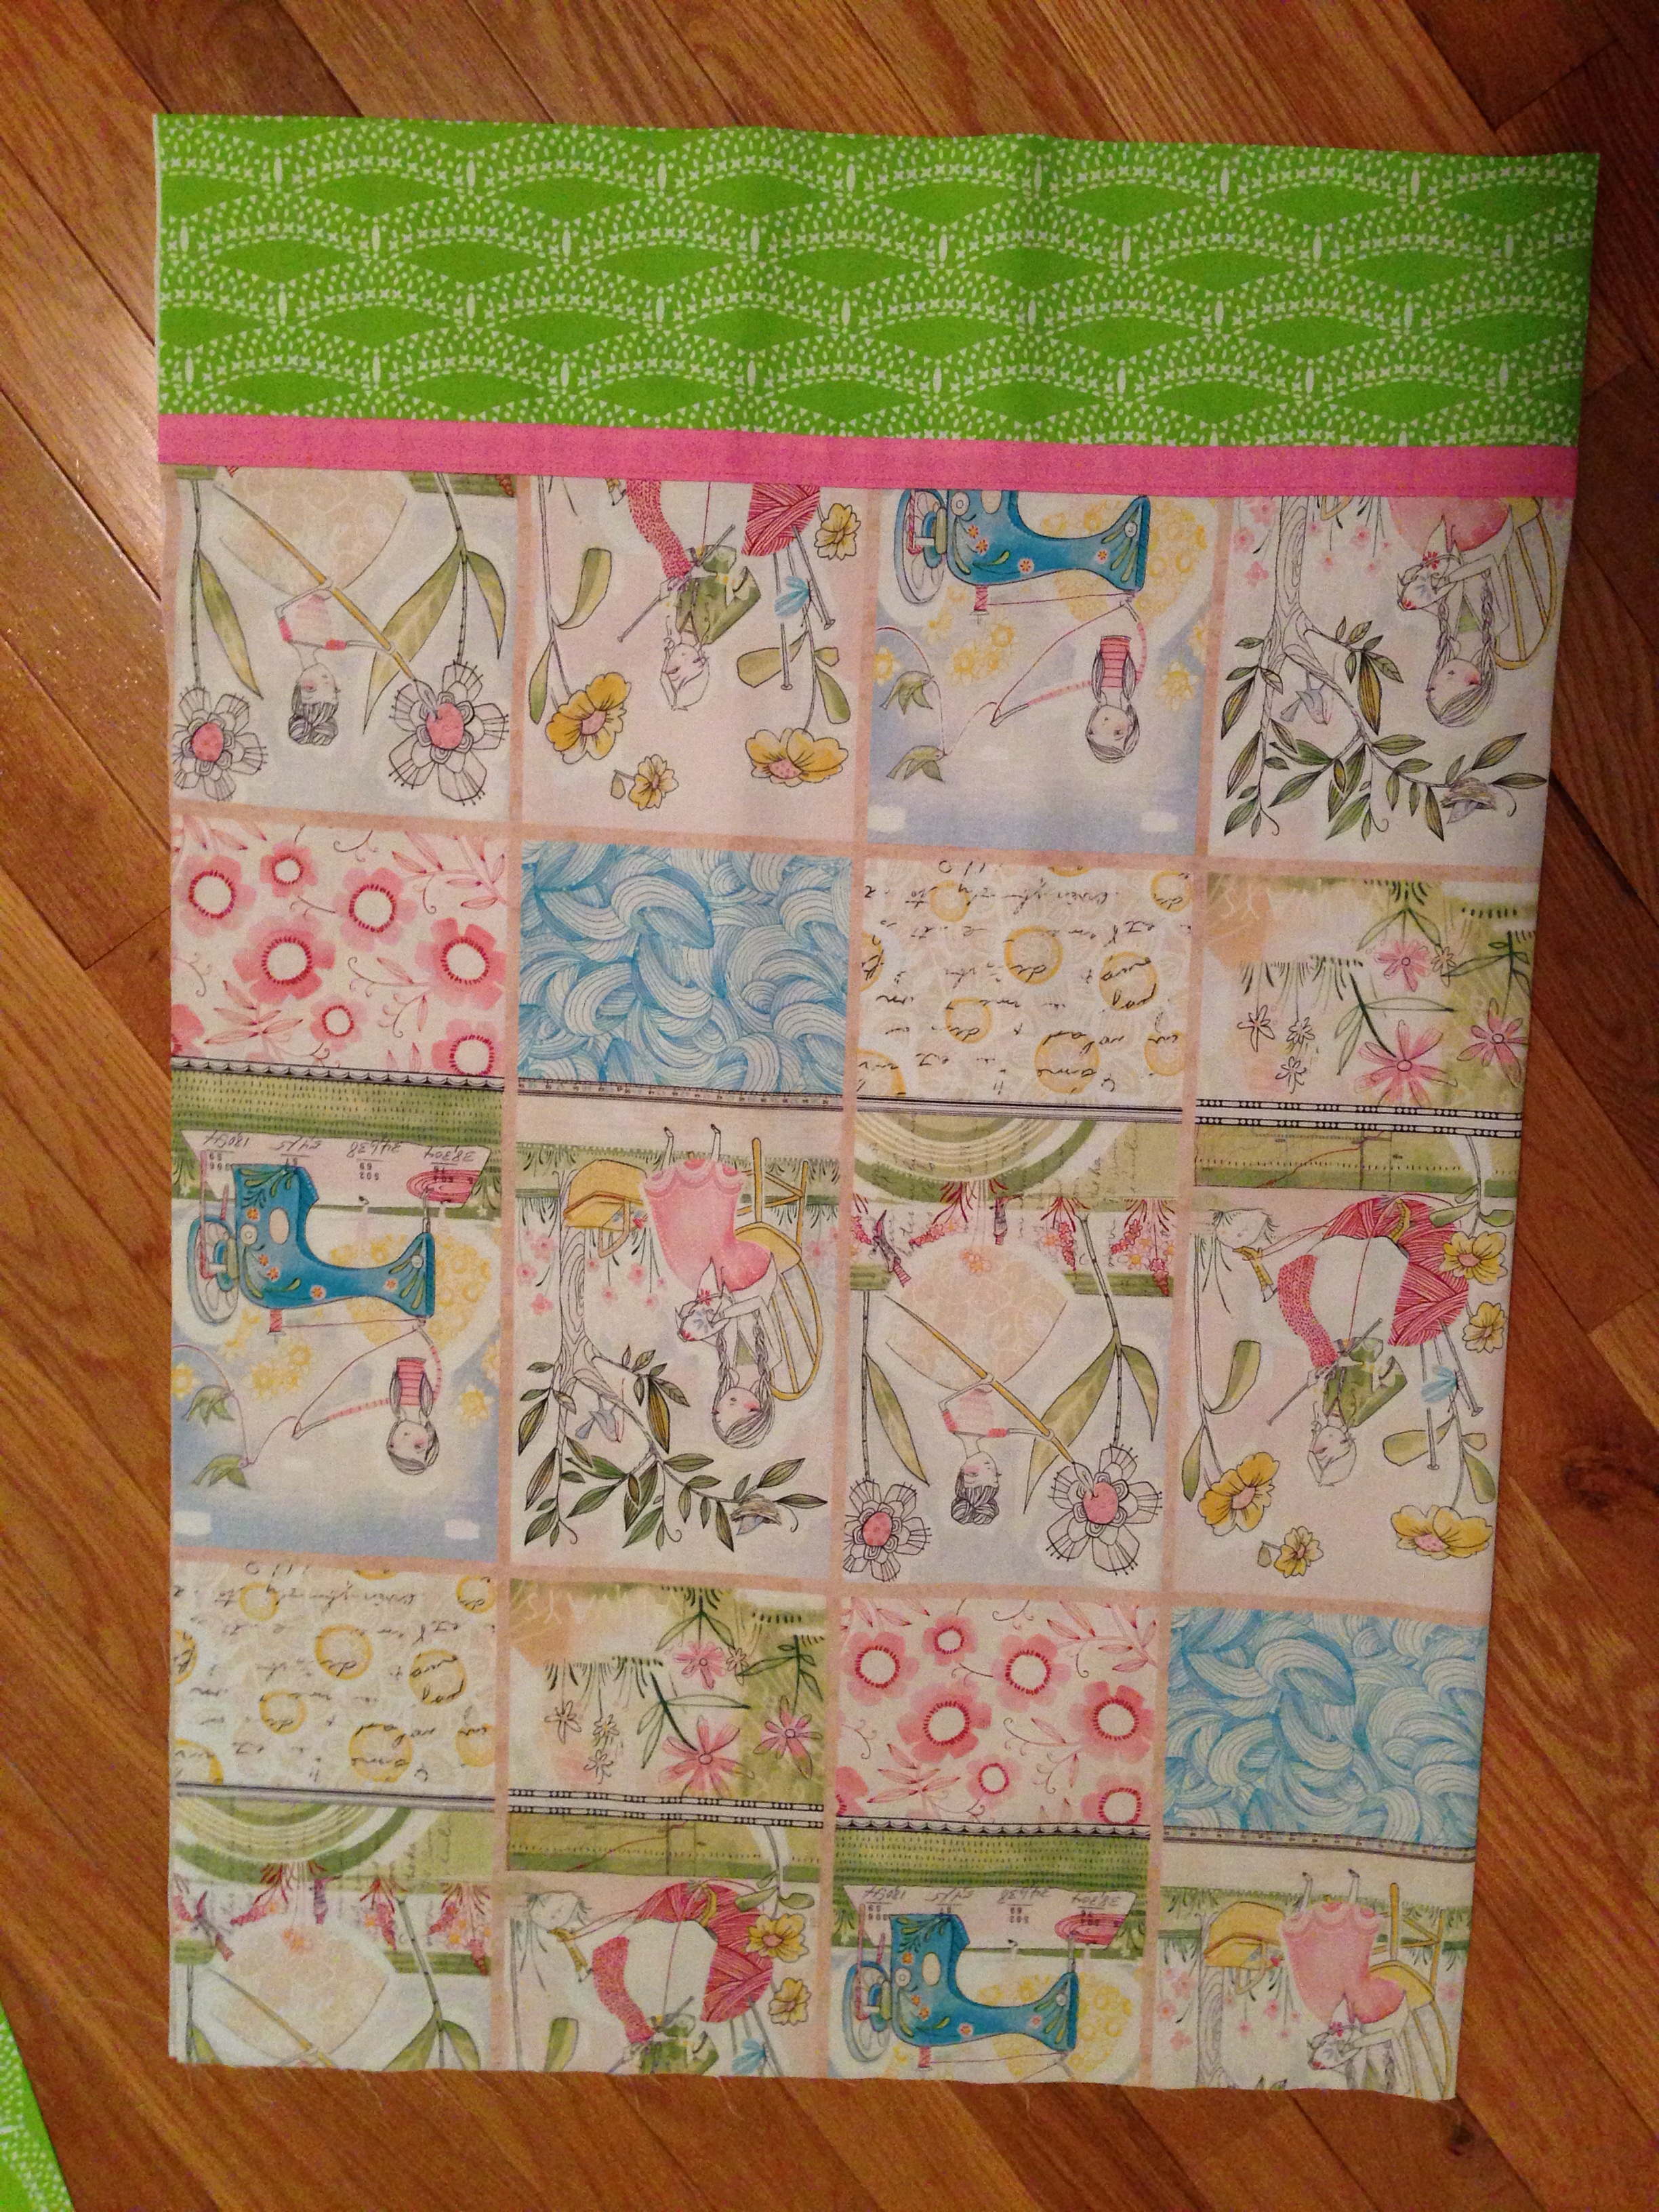
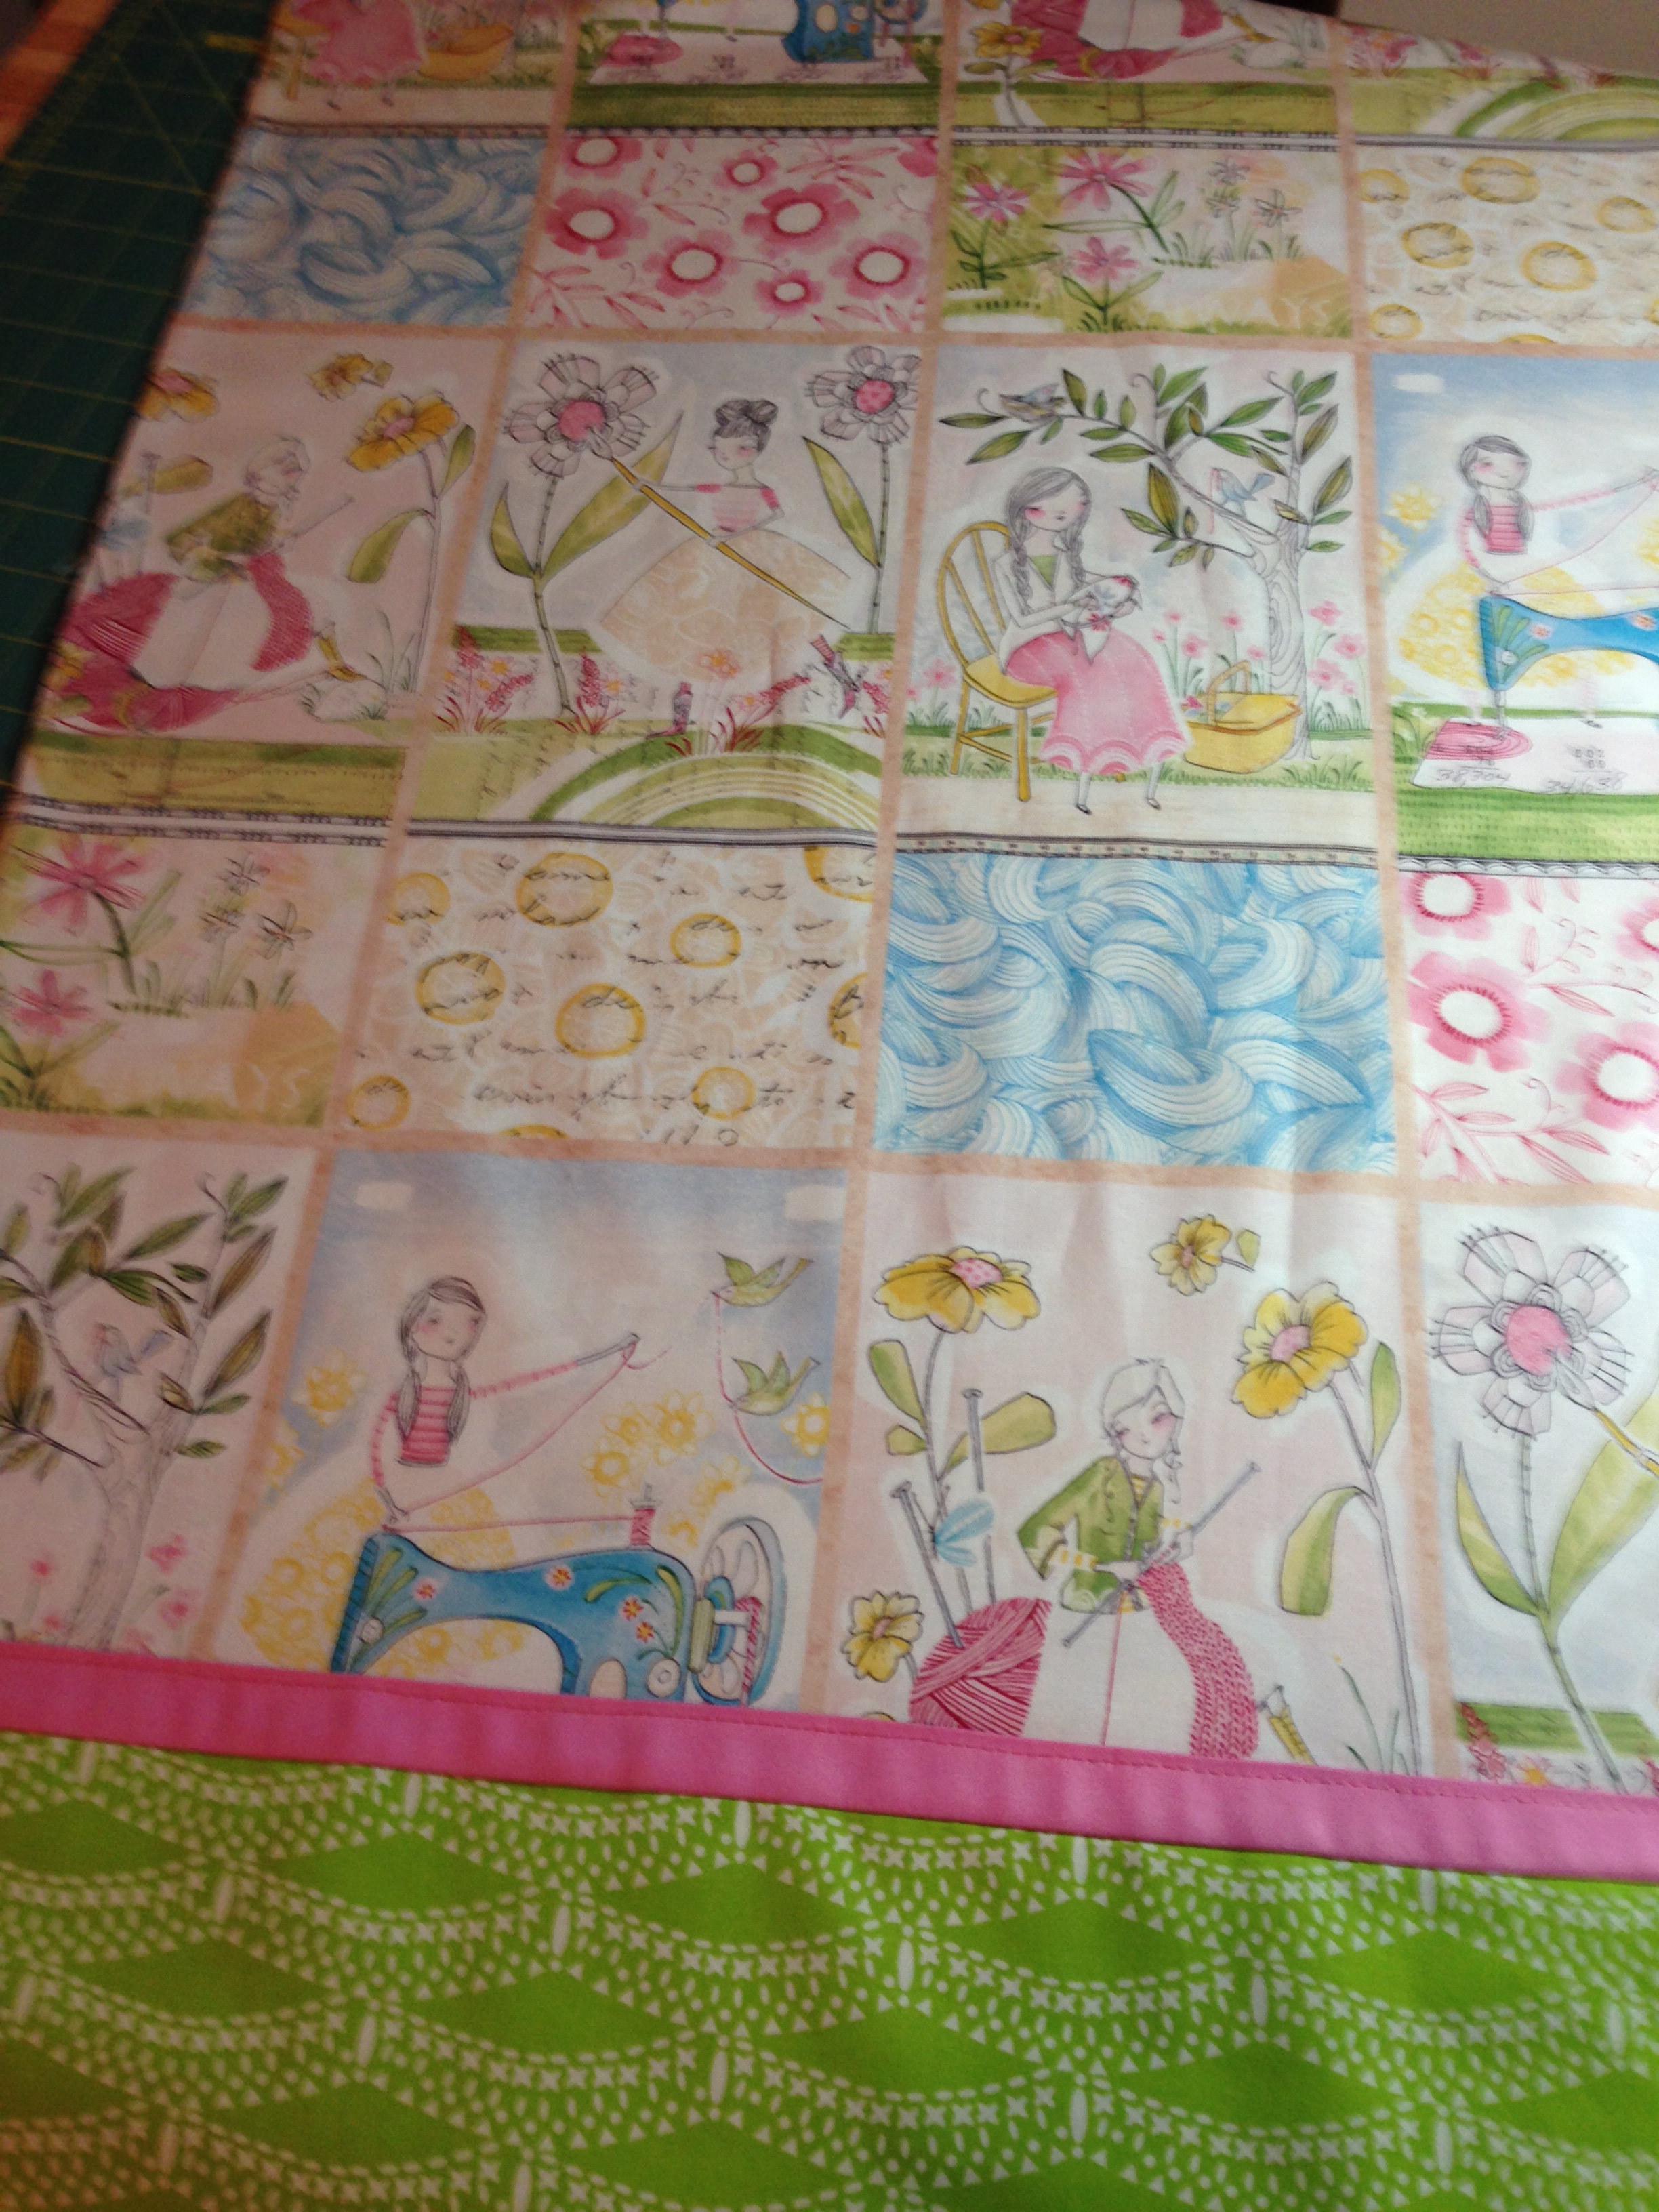
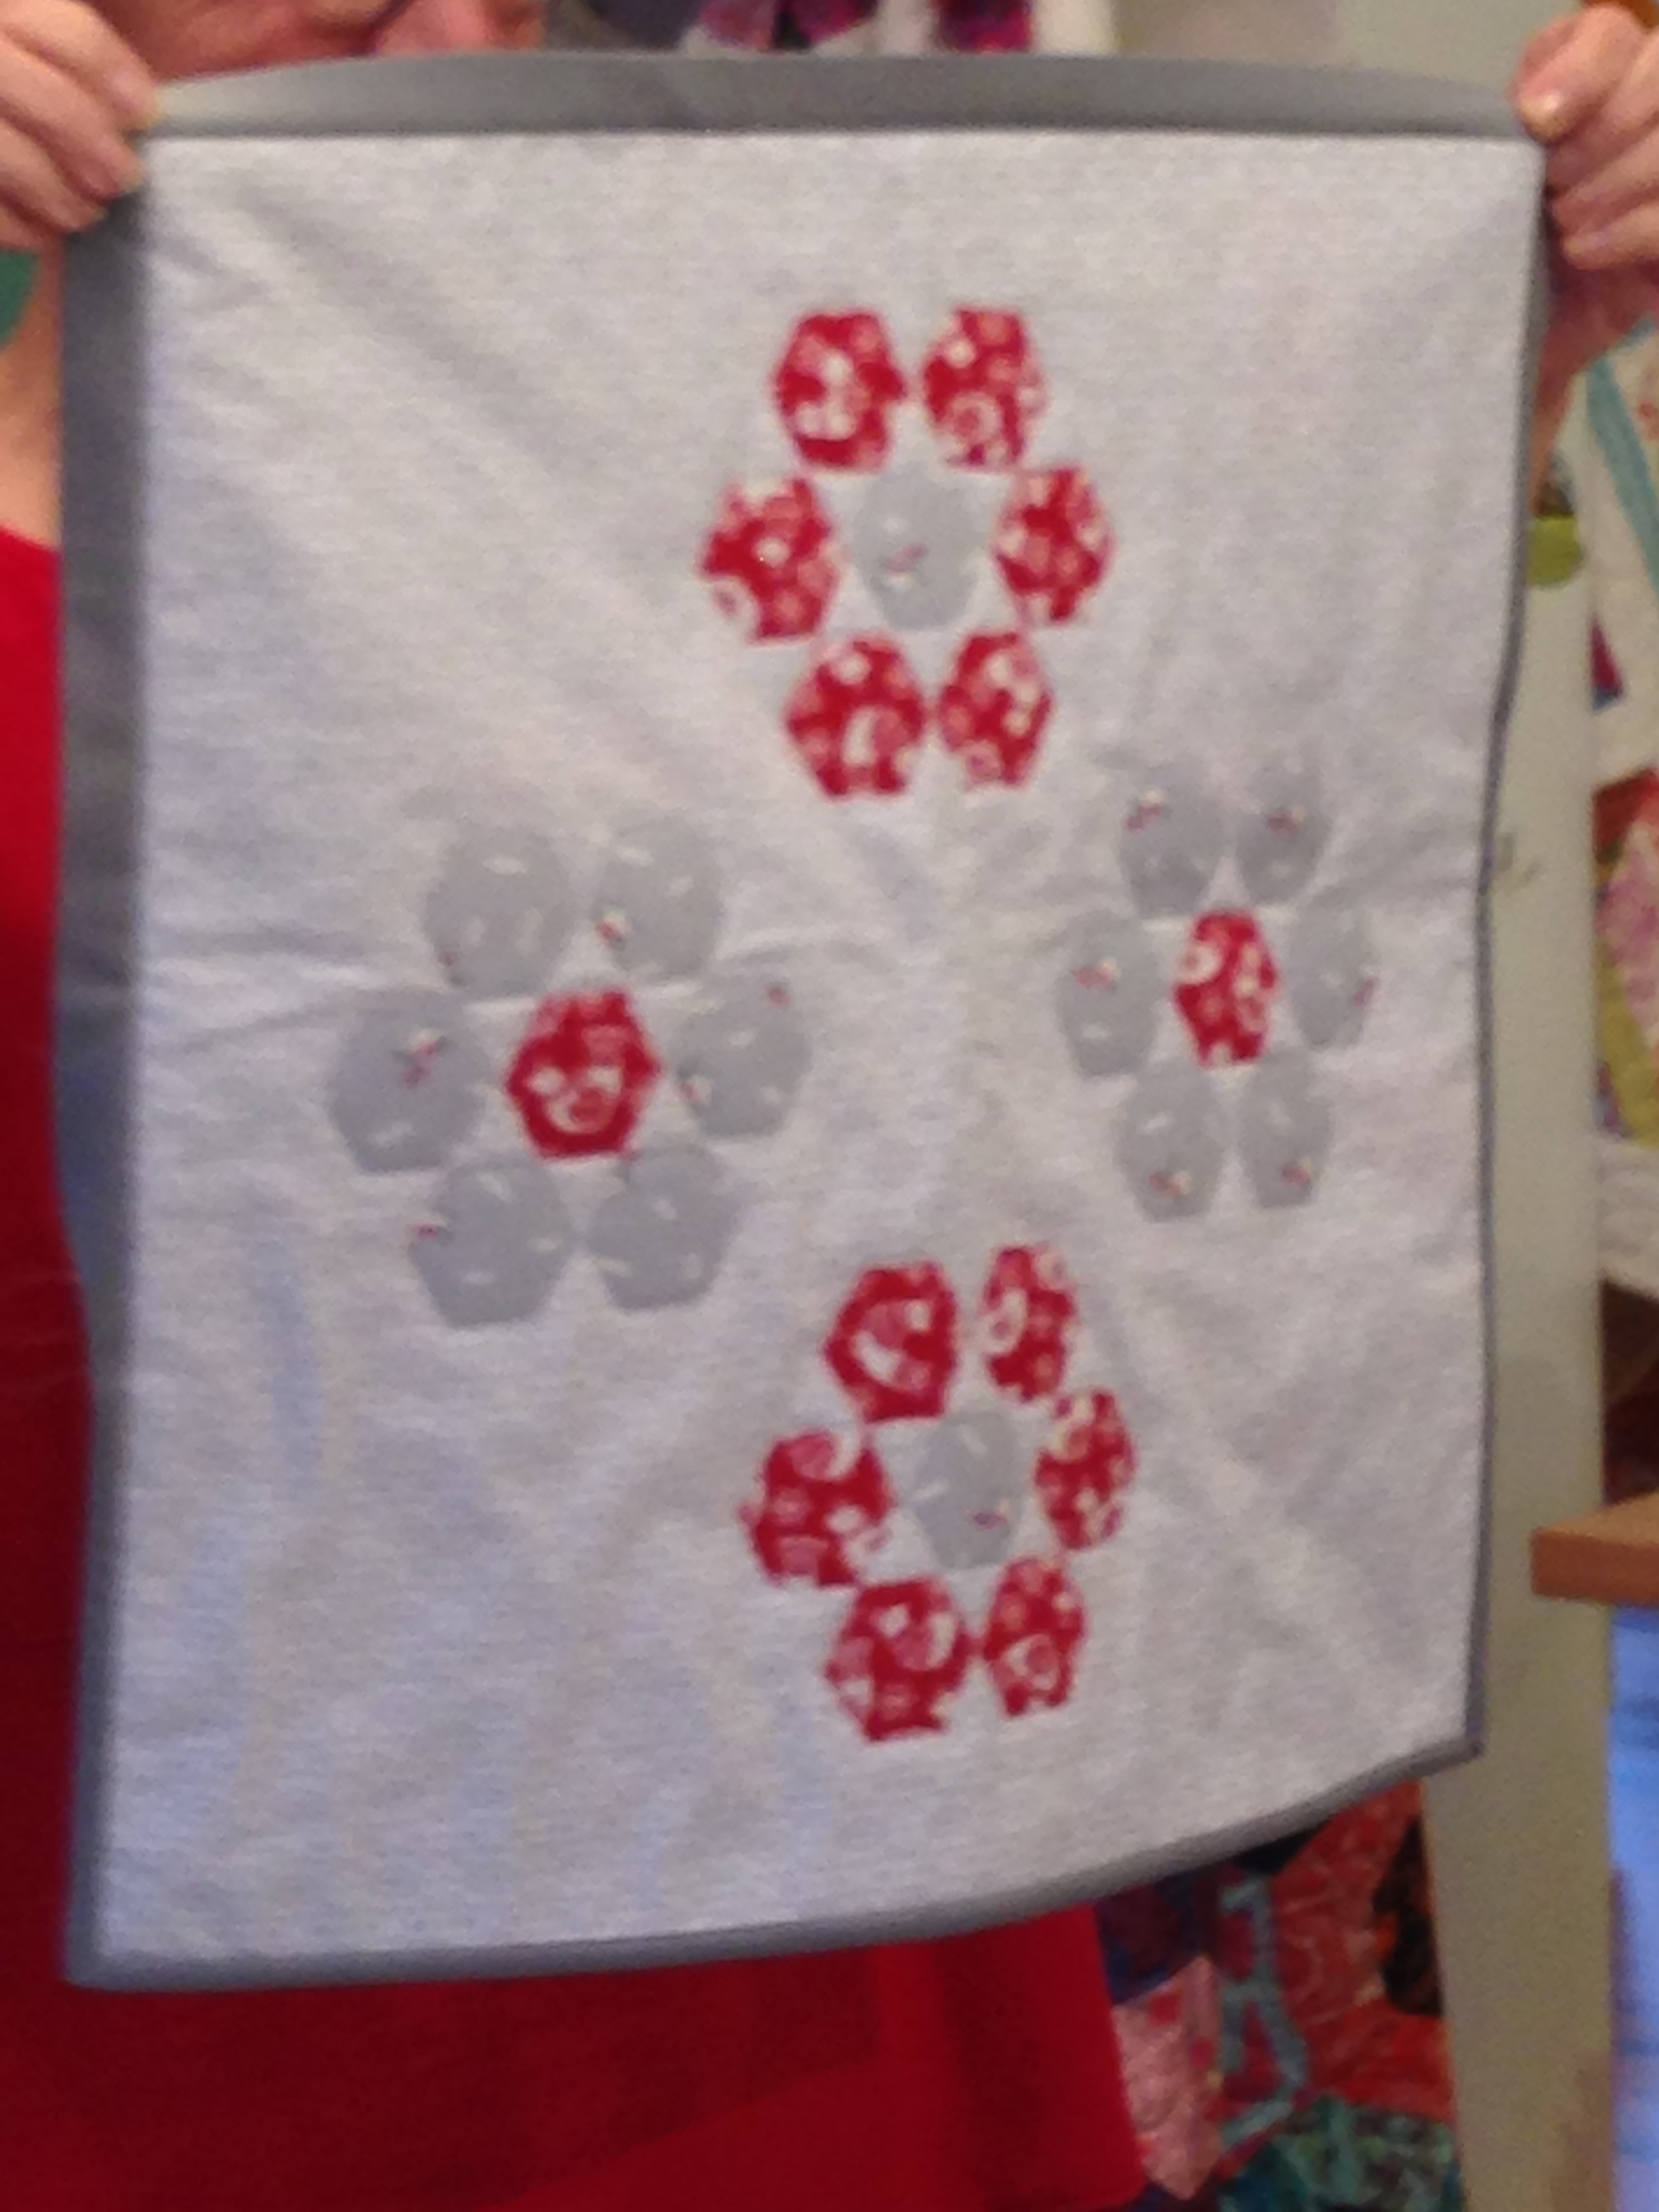
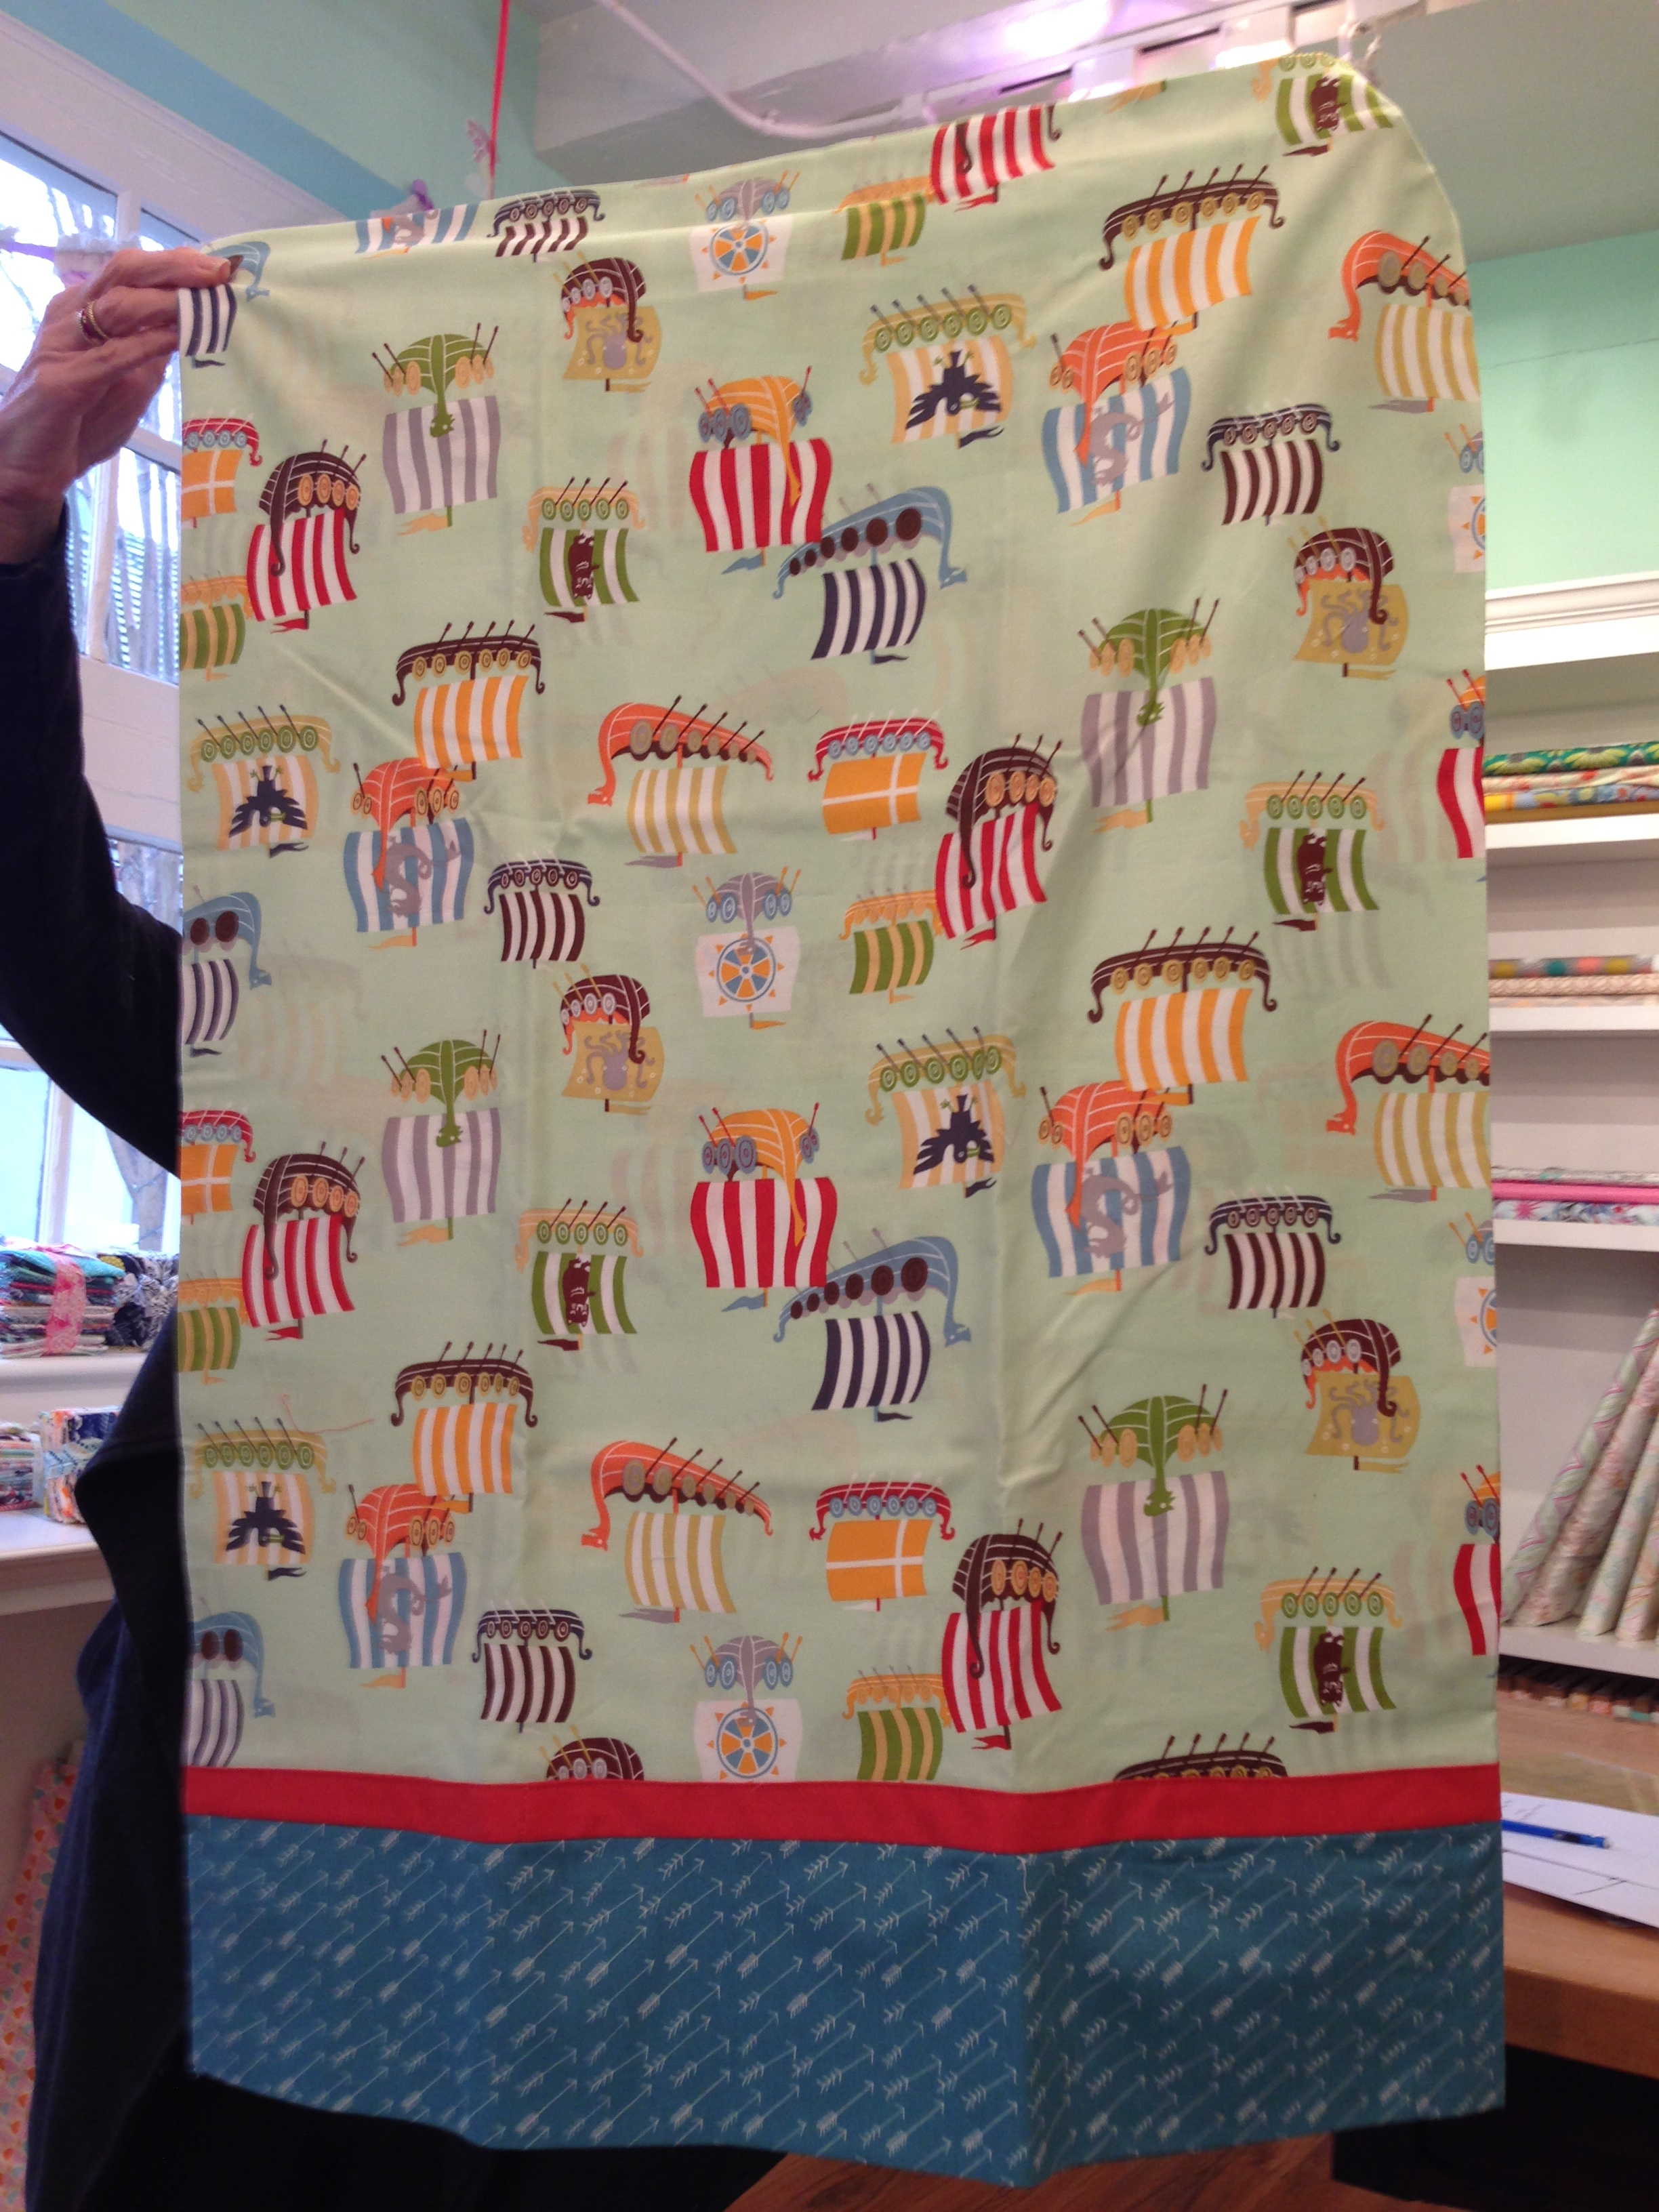
Ann also made some pillowcases using the tutorial from February.  Here are a couple of them.  She has quite a collection; they are great.

010
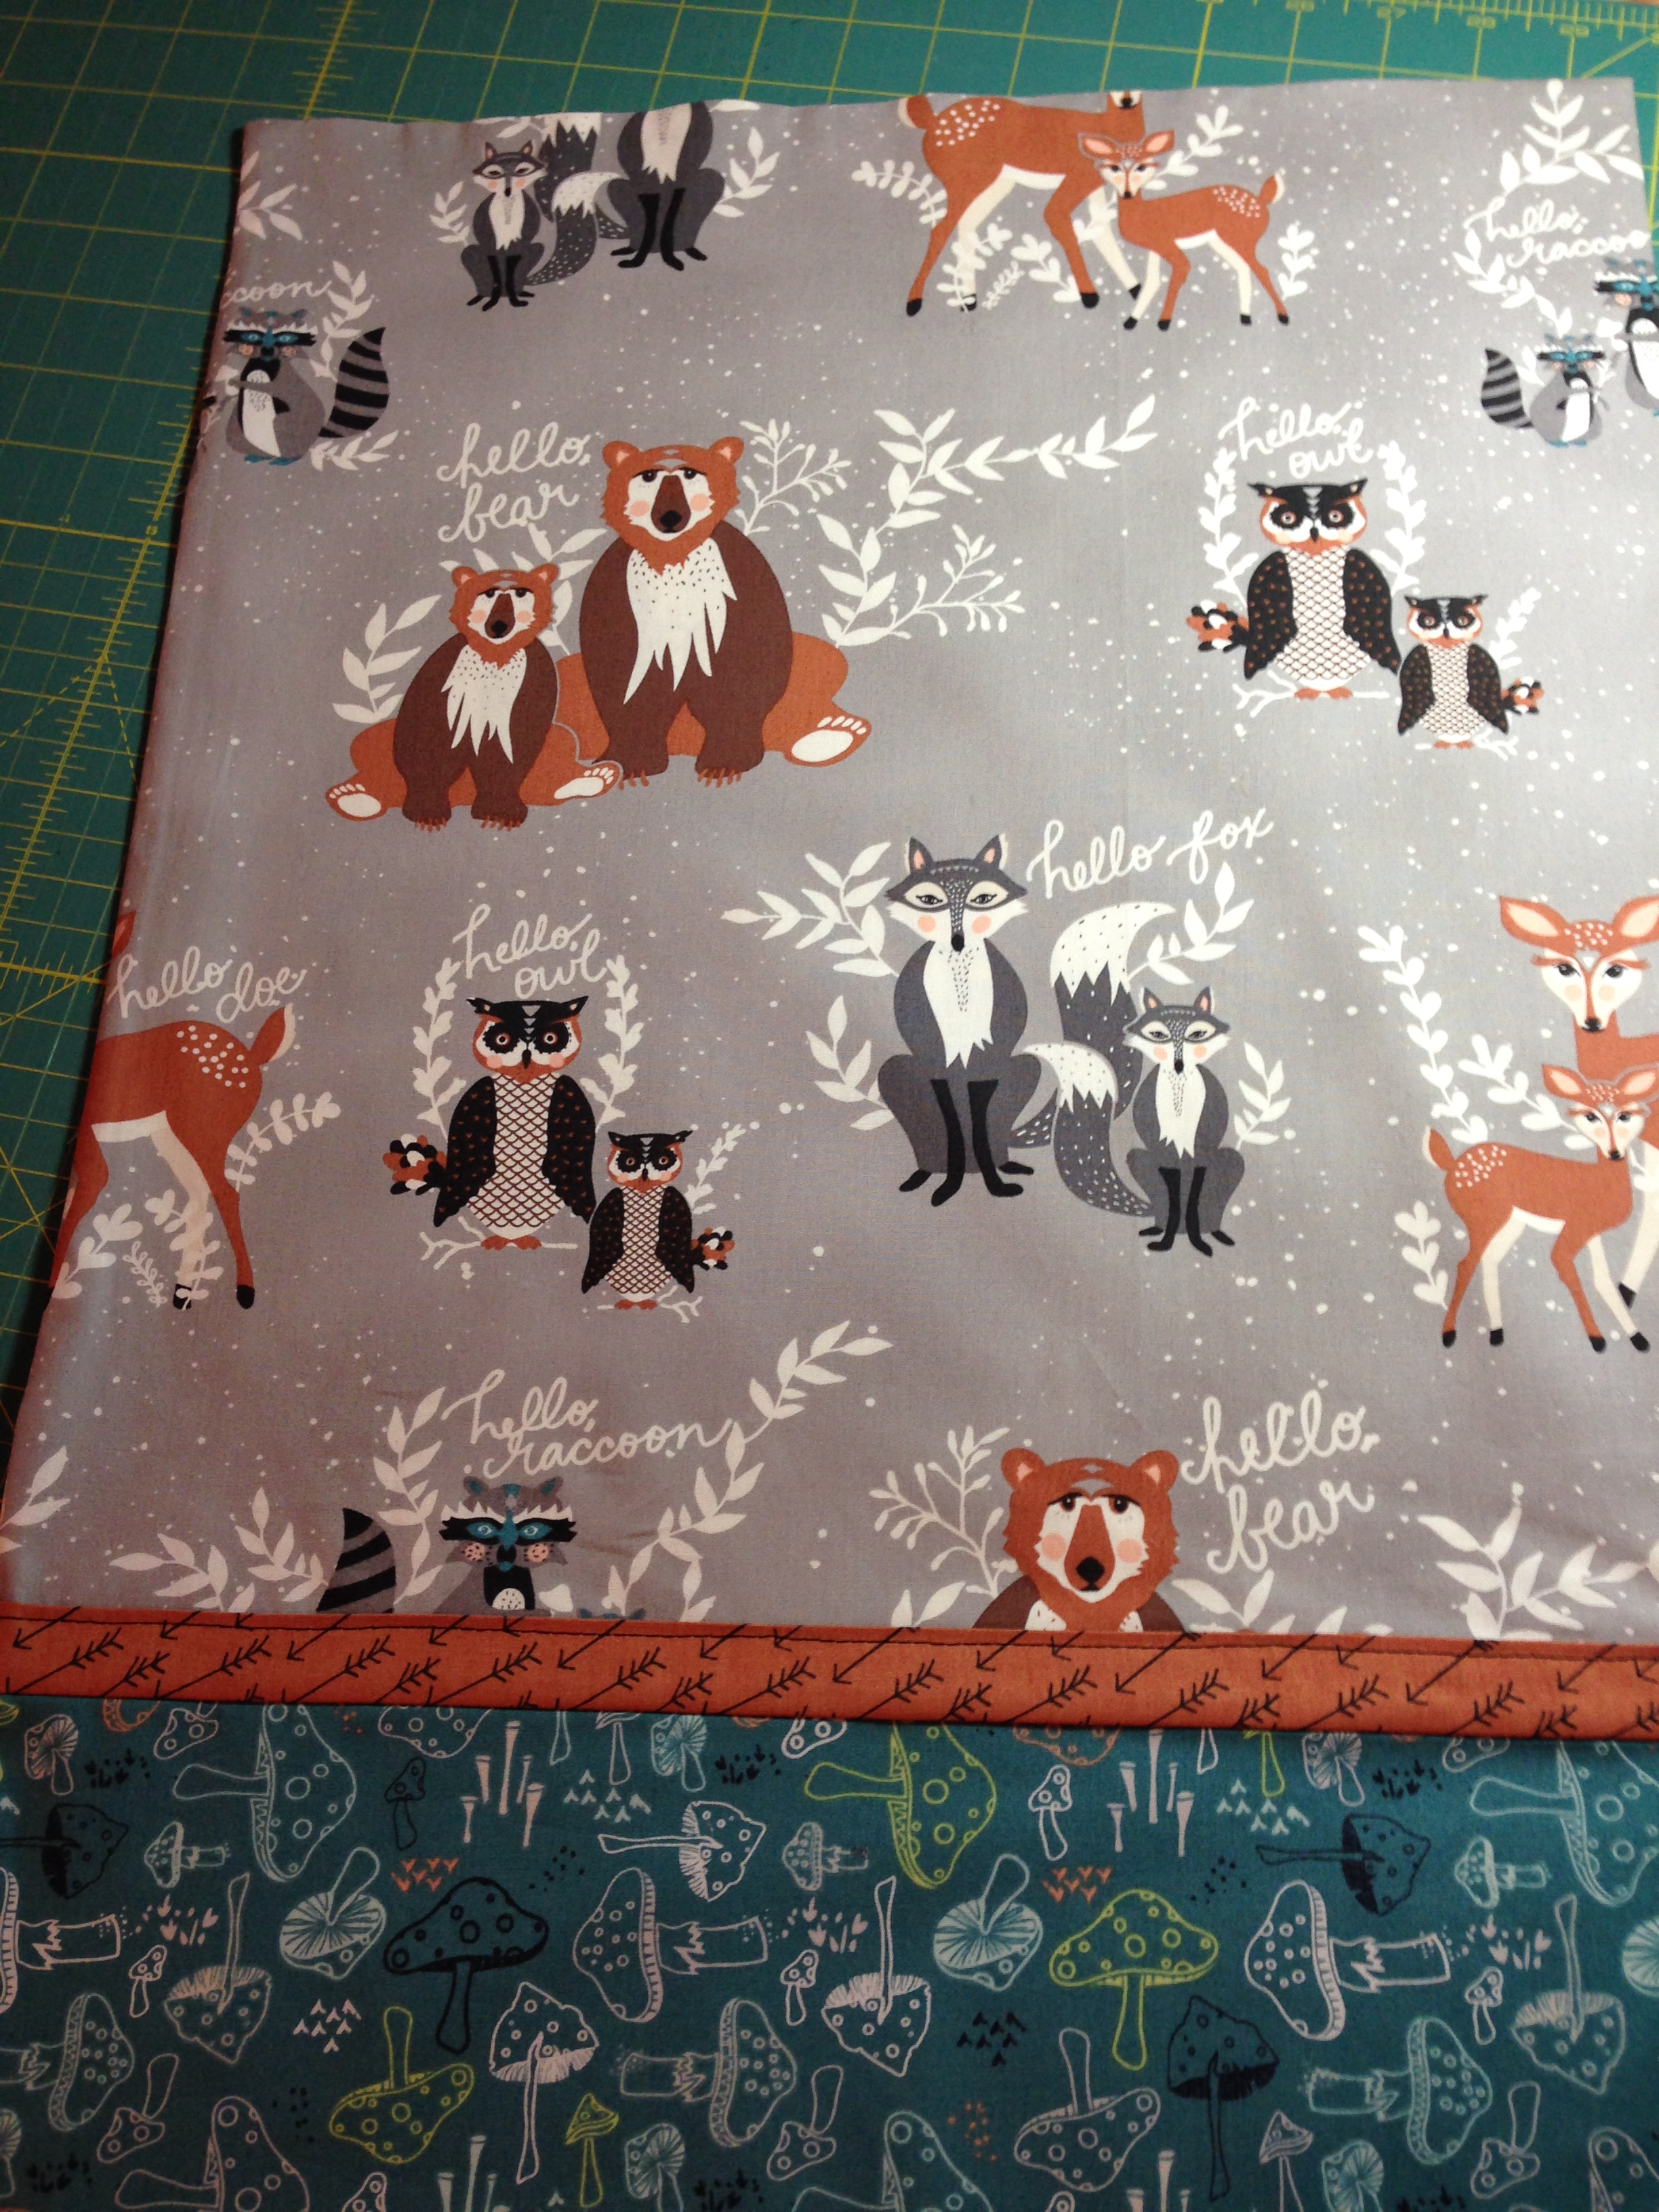
Martha Claire went to Quilt Con.  Yay!!  She was able to take a class from Elizabeth Hartman.  These foxes are adorable.  She used a great blue for their eyes.  One more fox and she’s done!

011
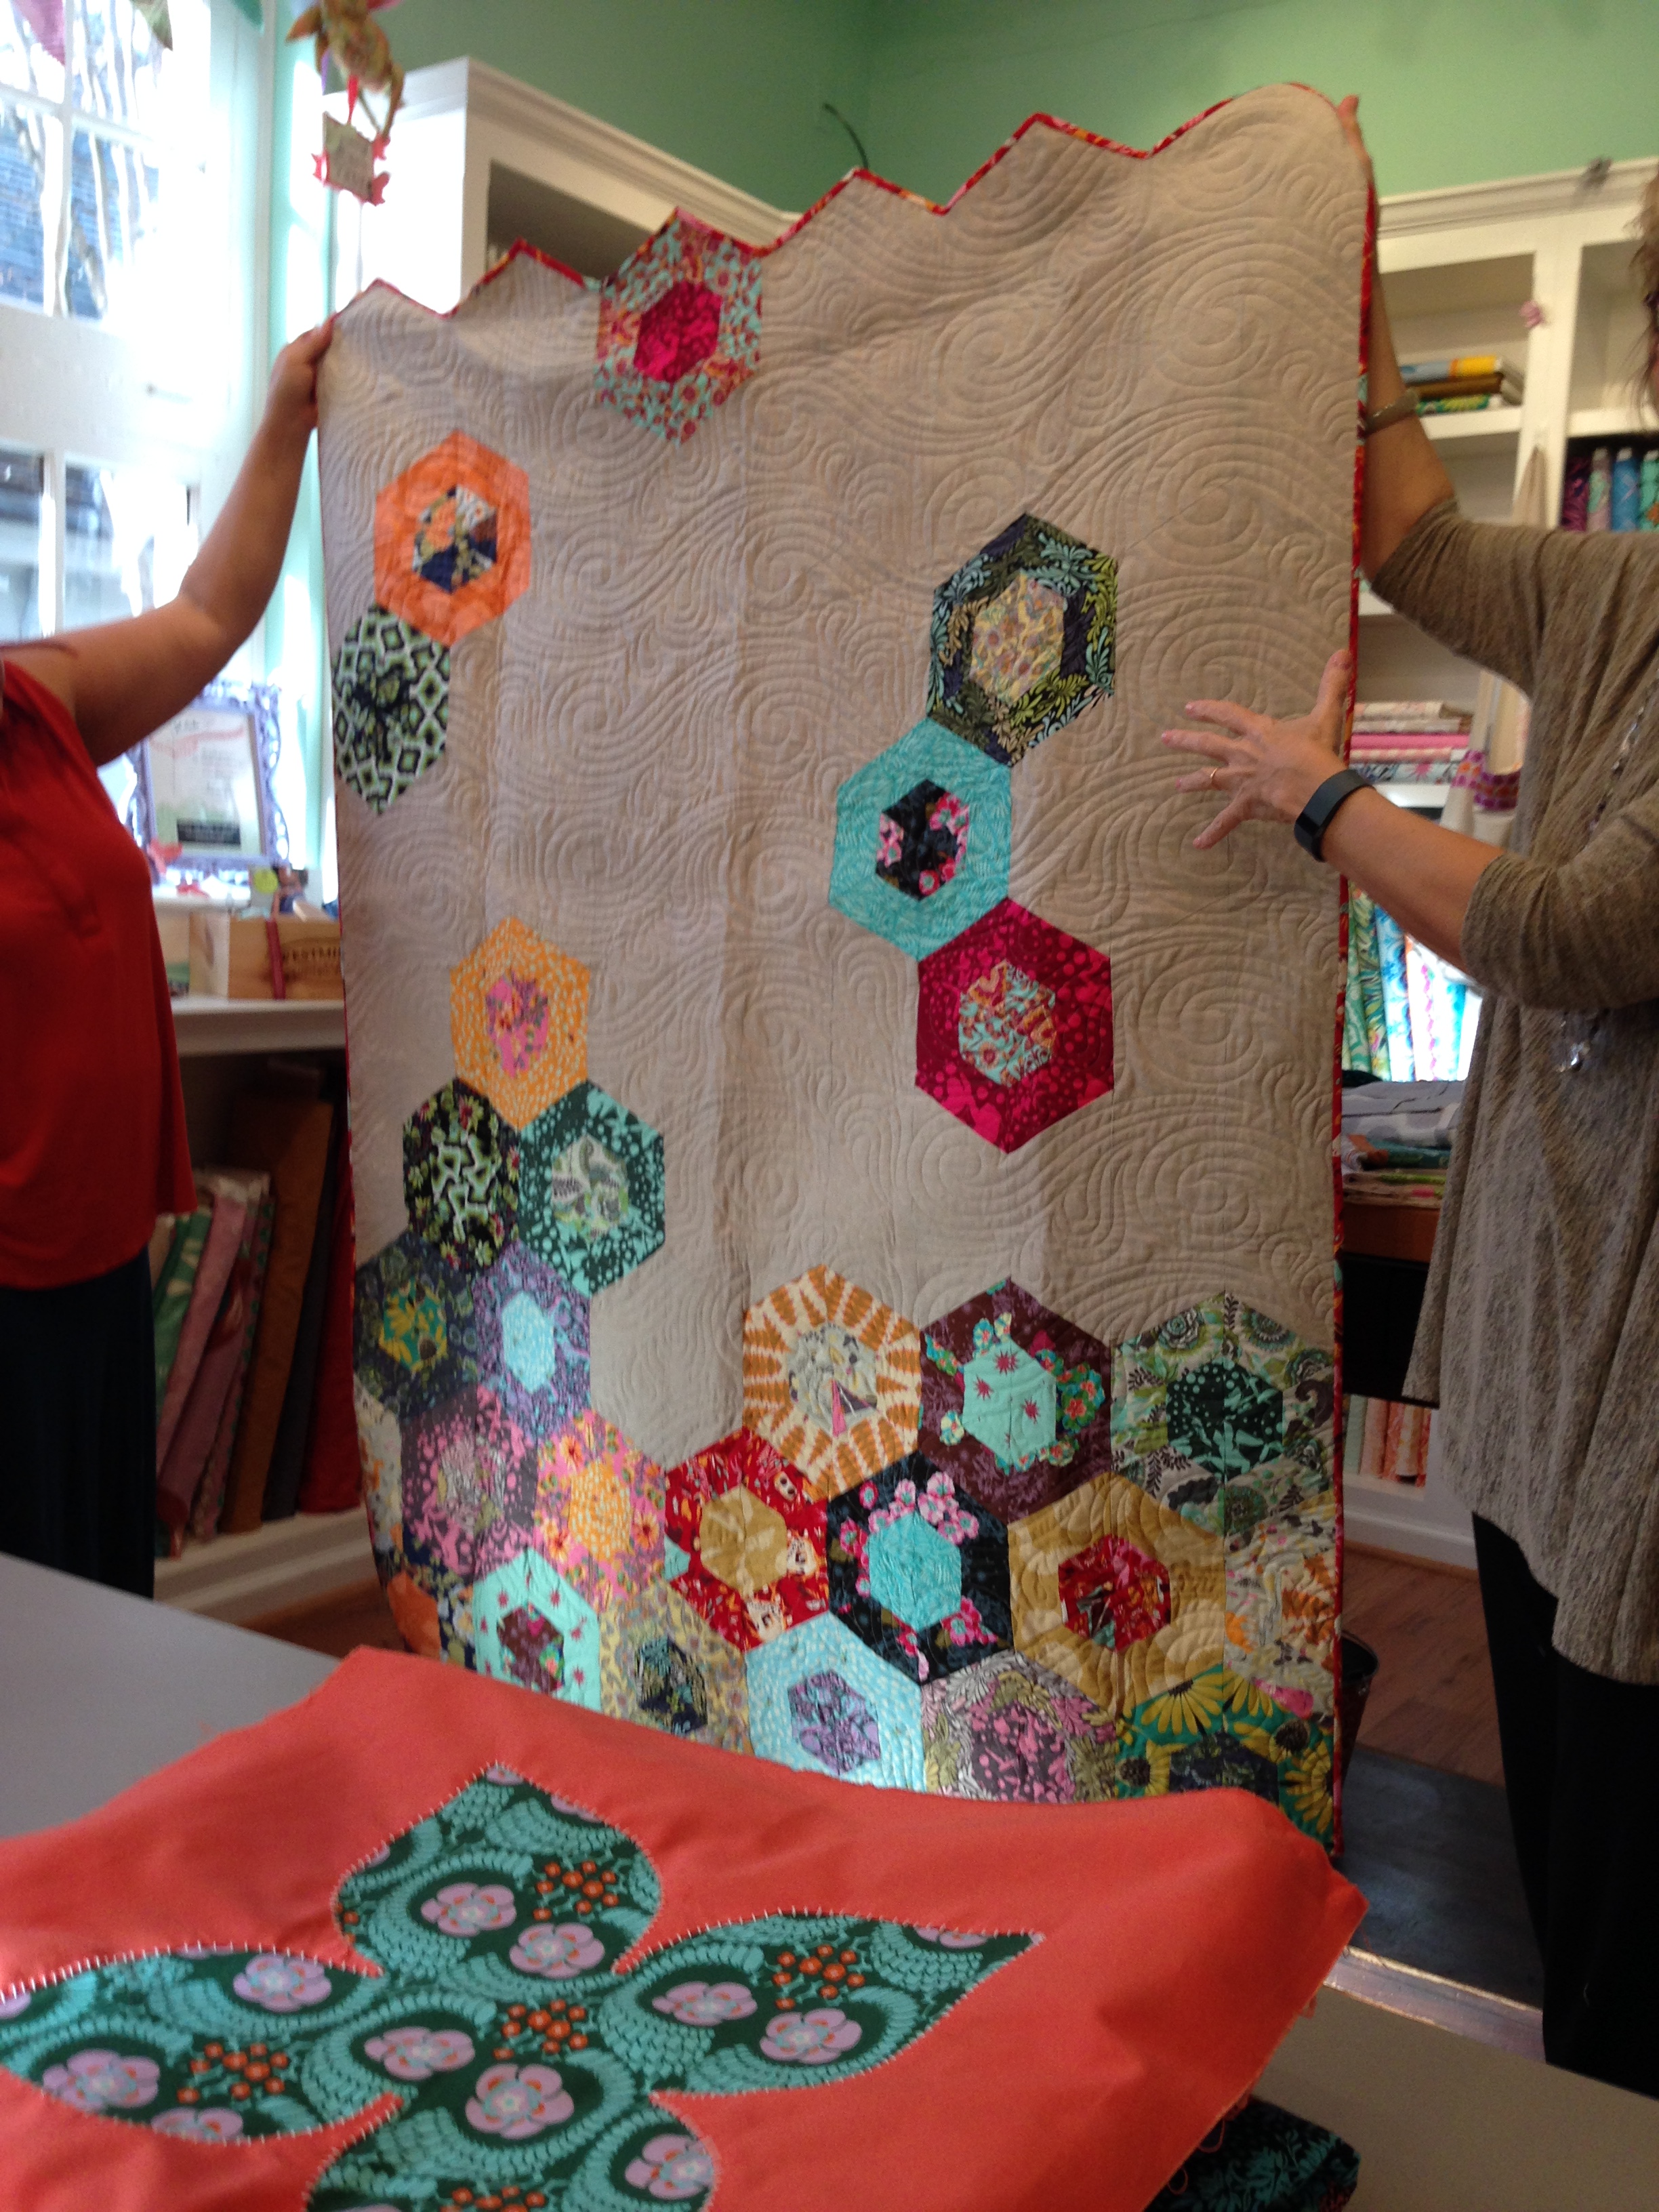
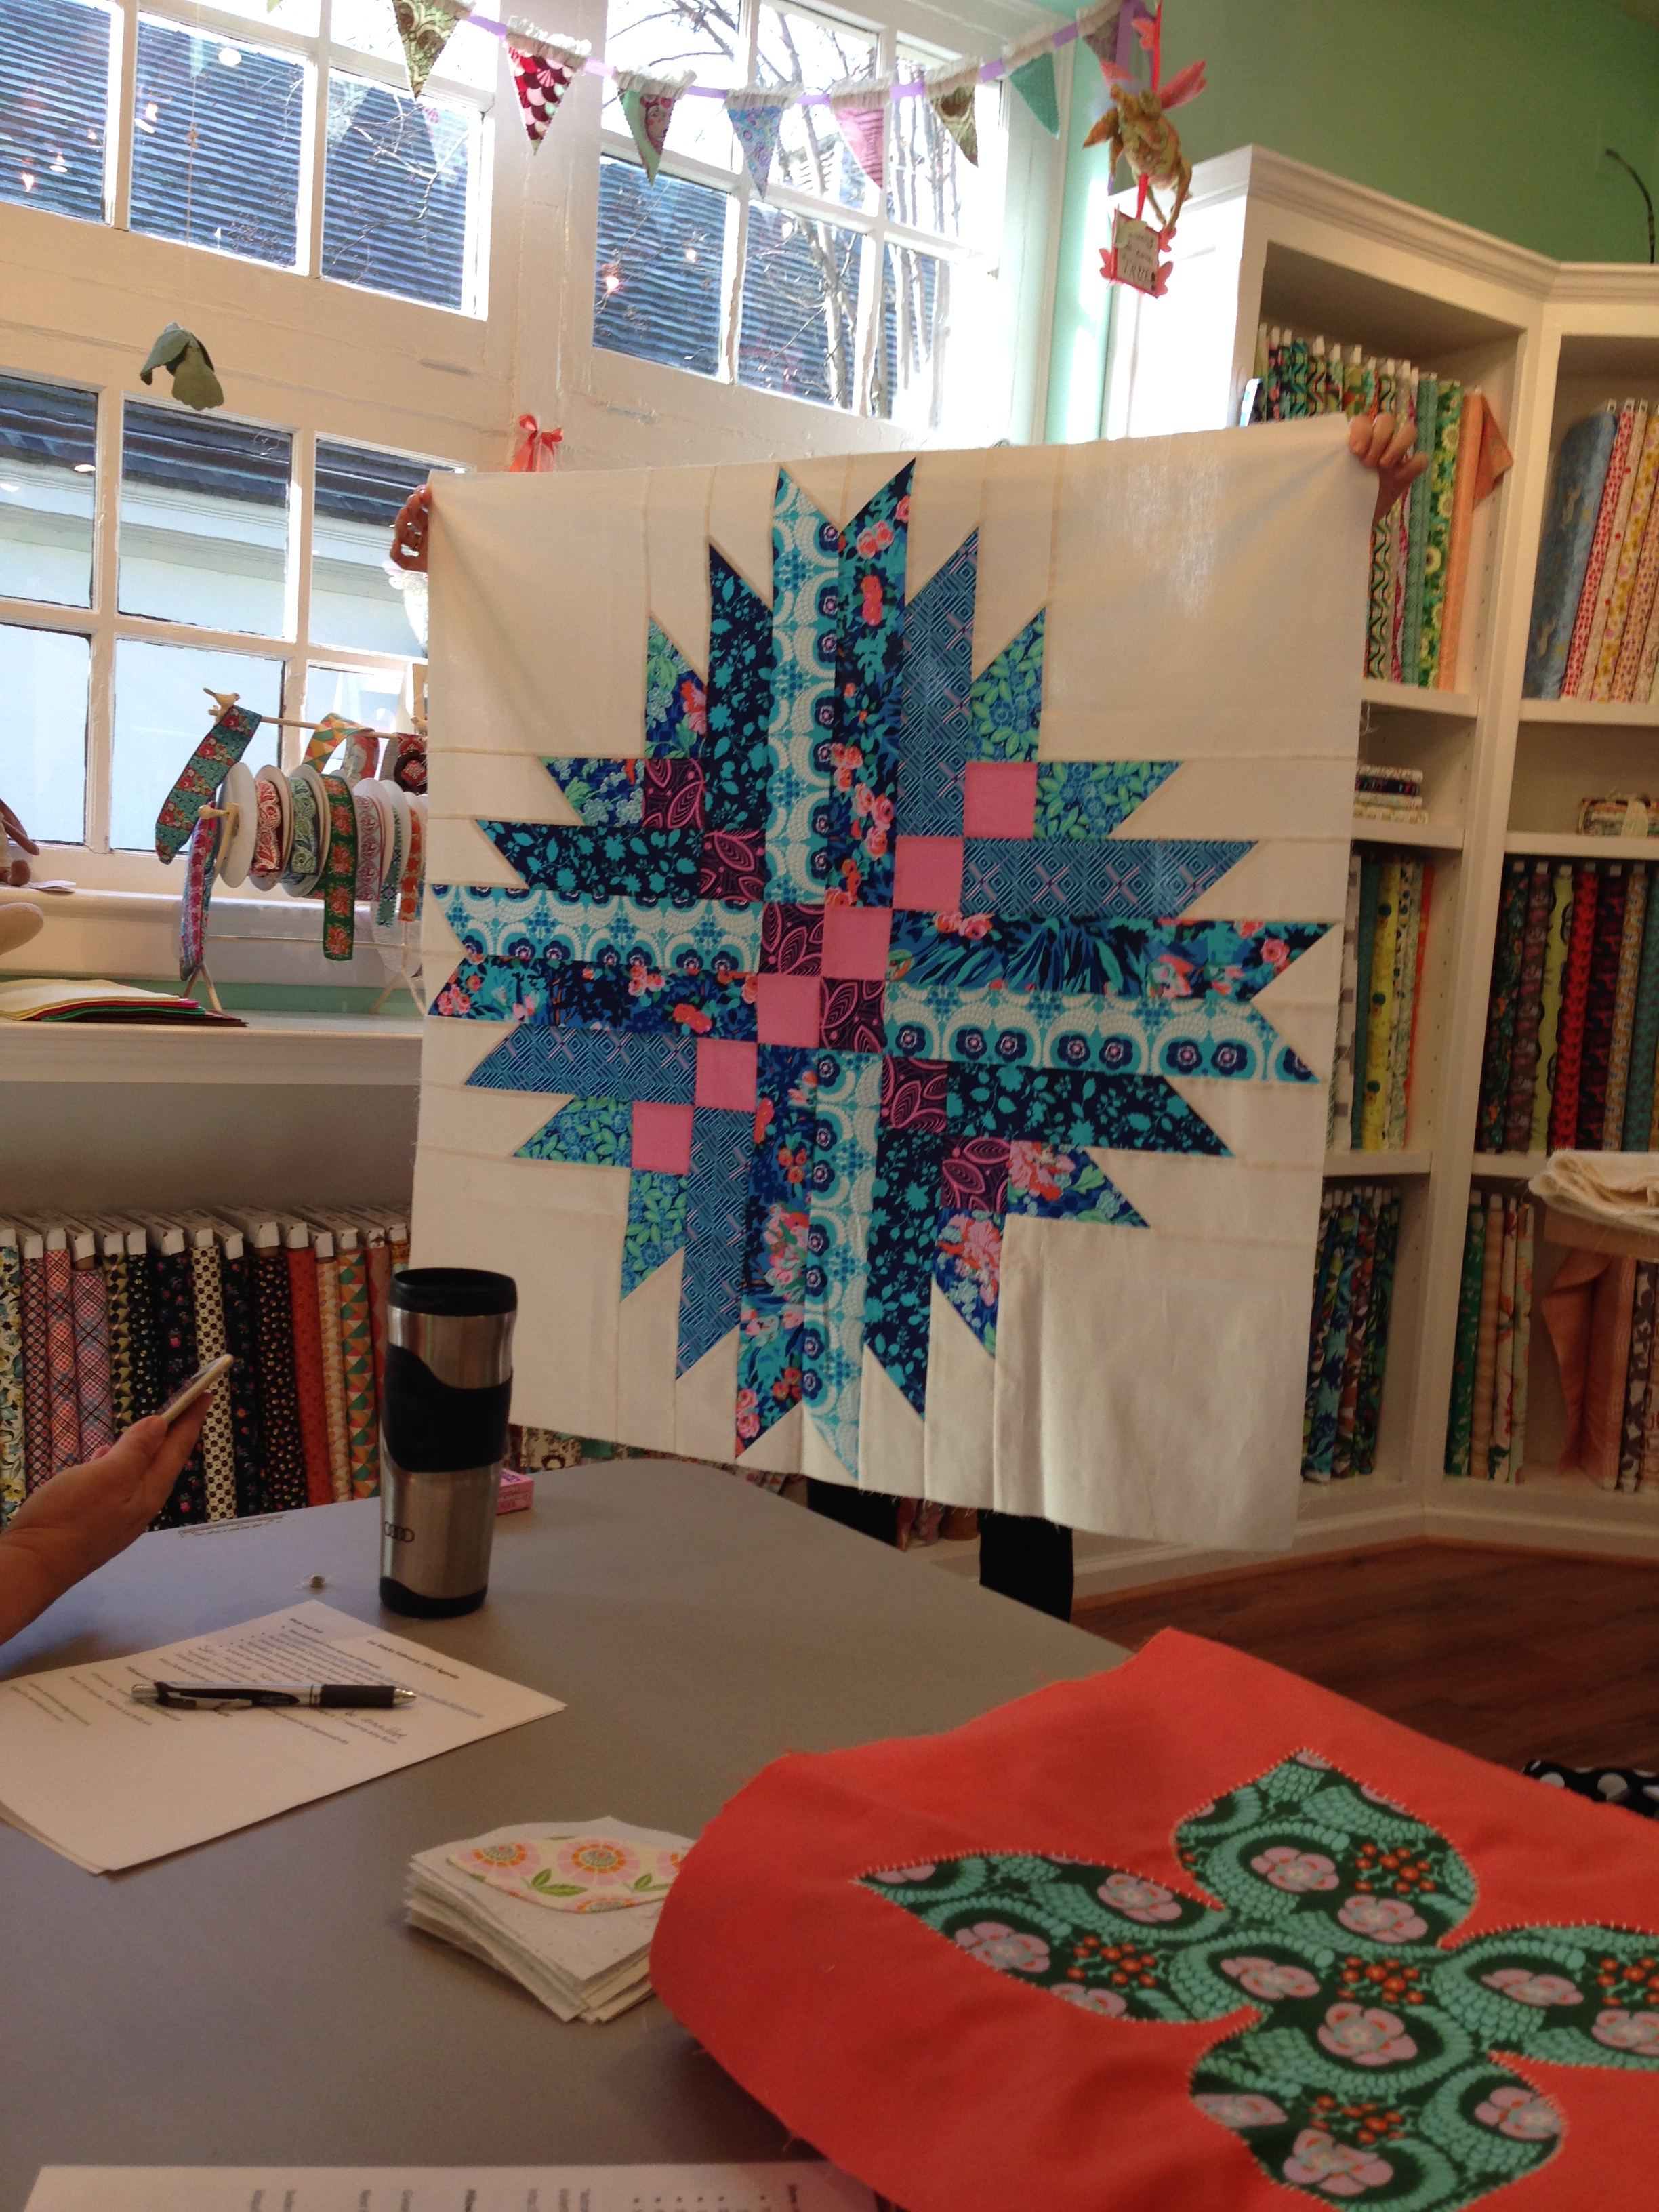
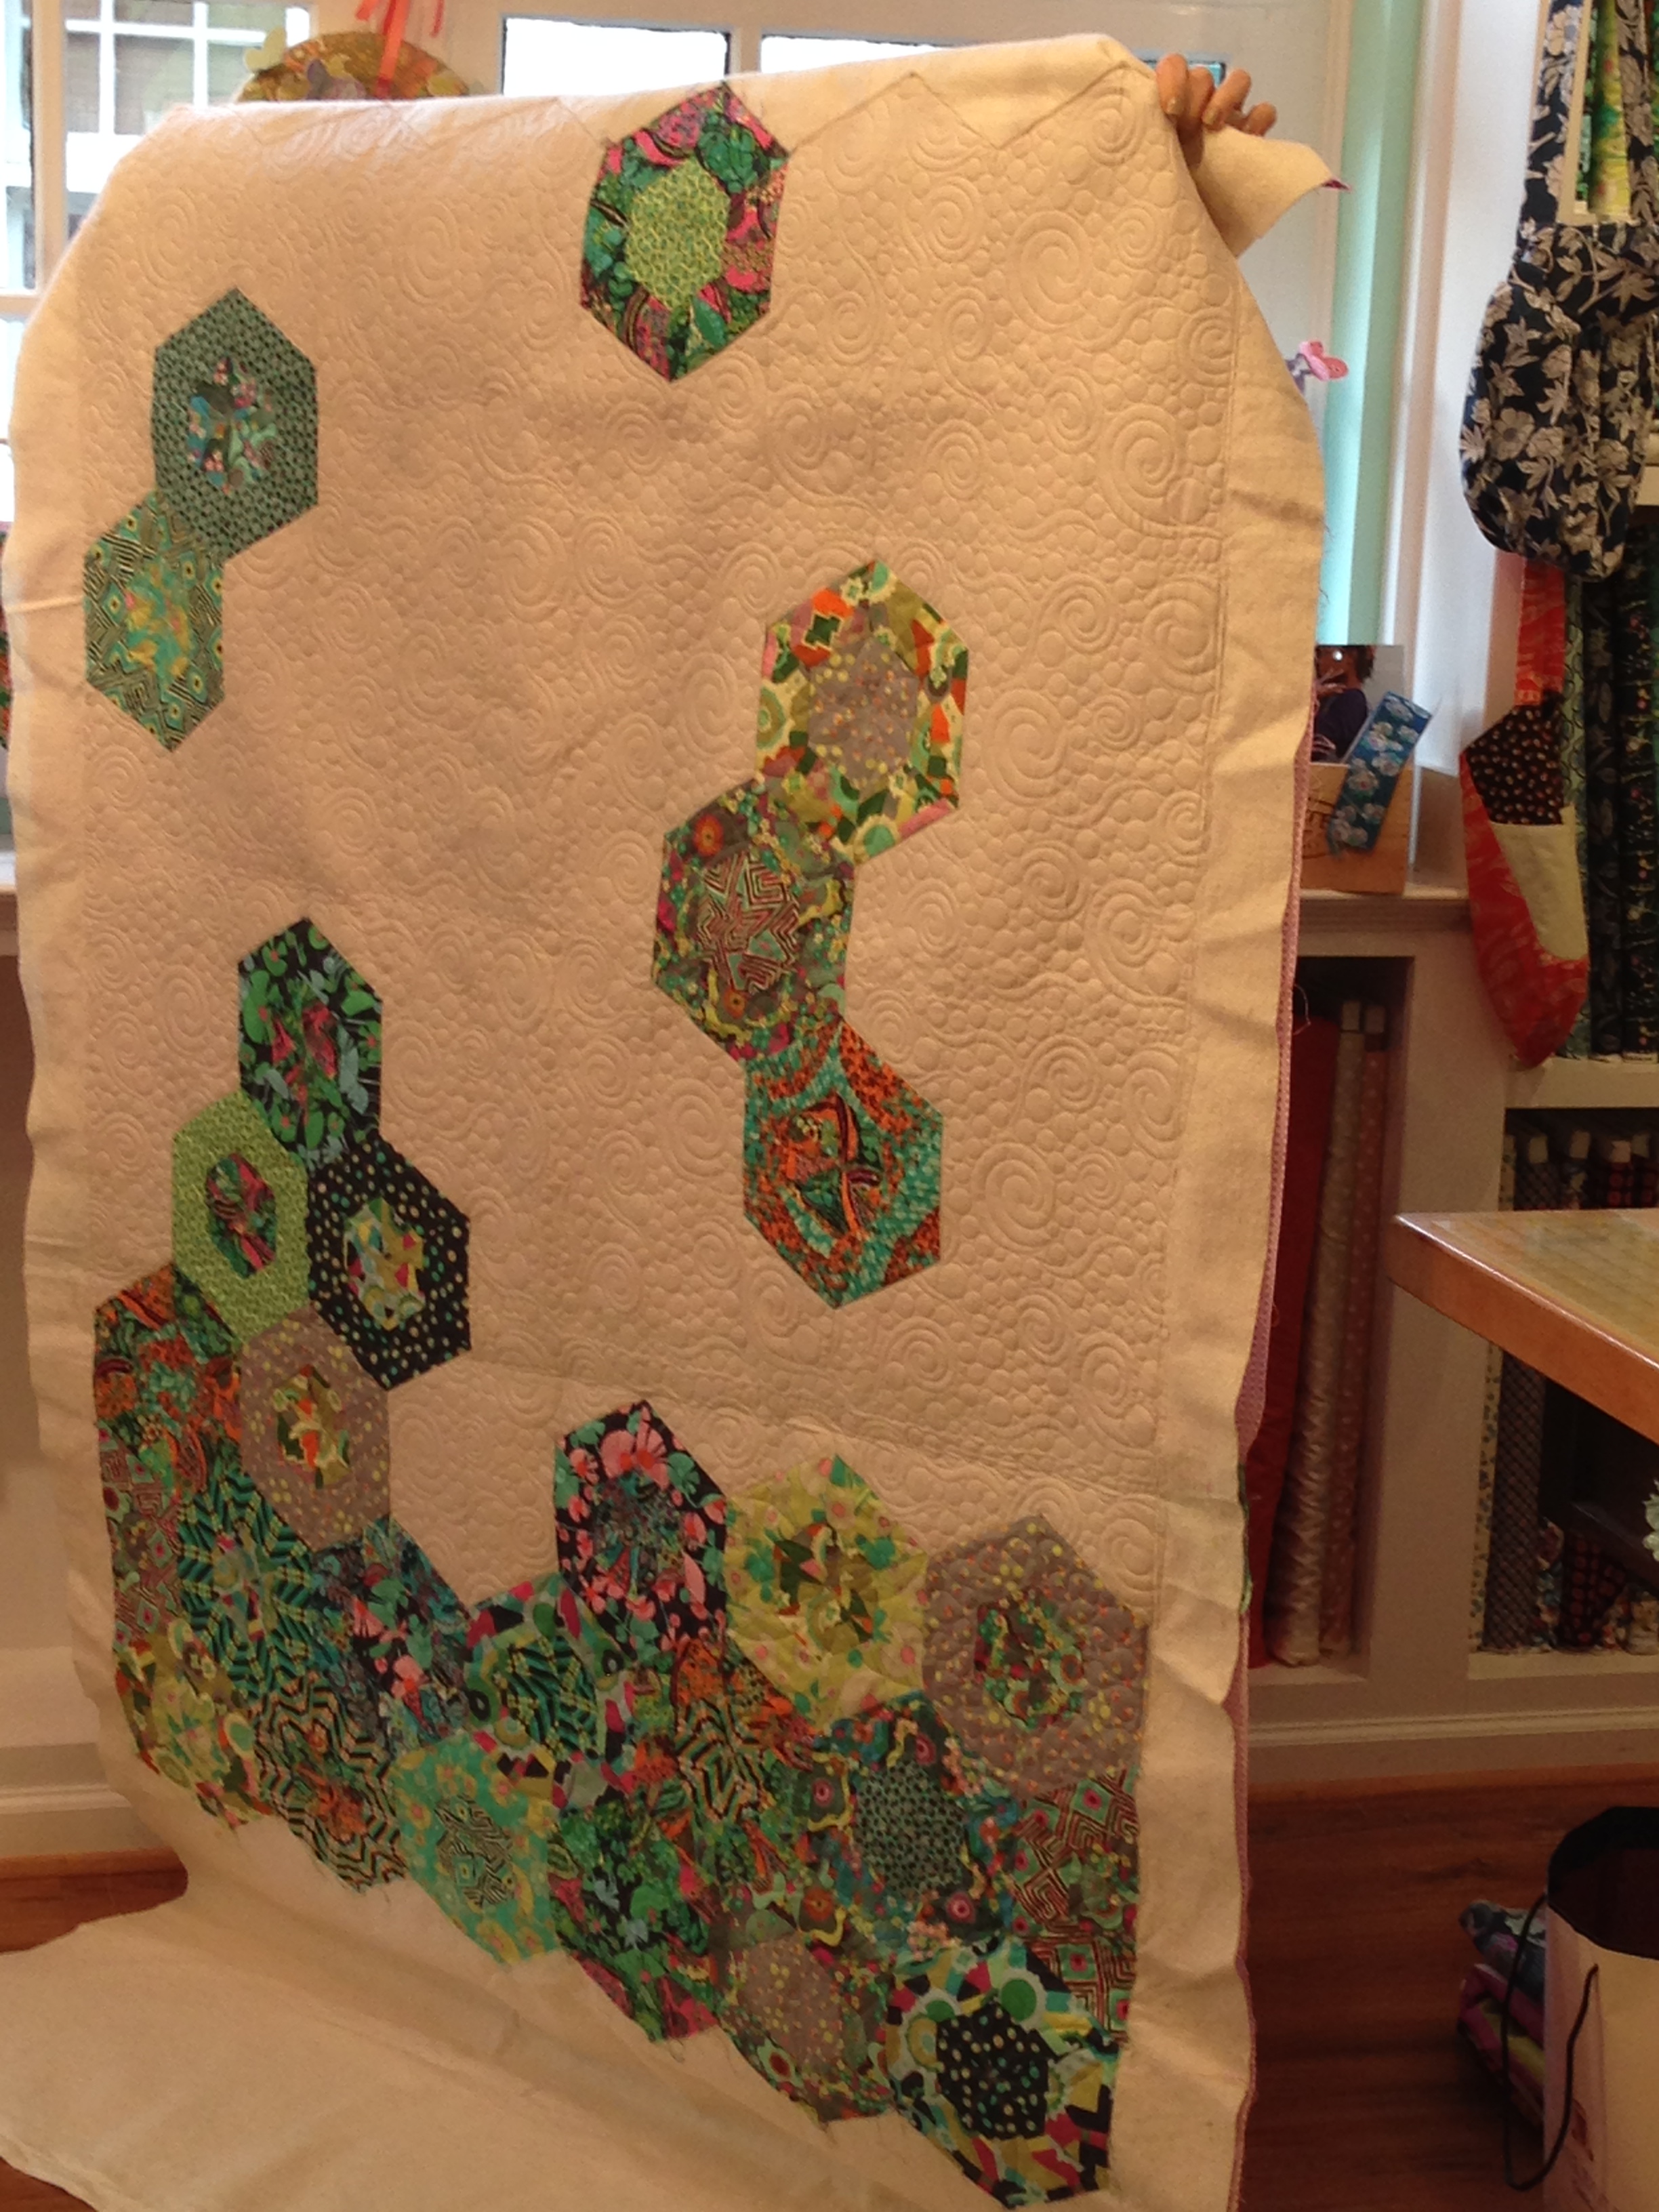
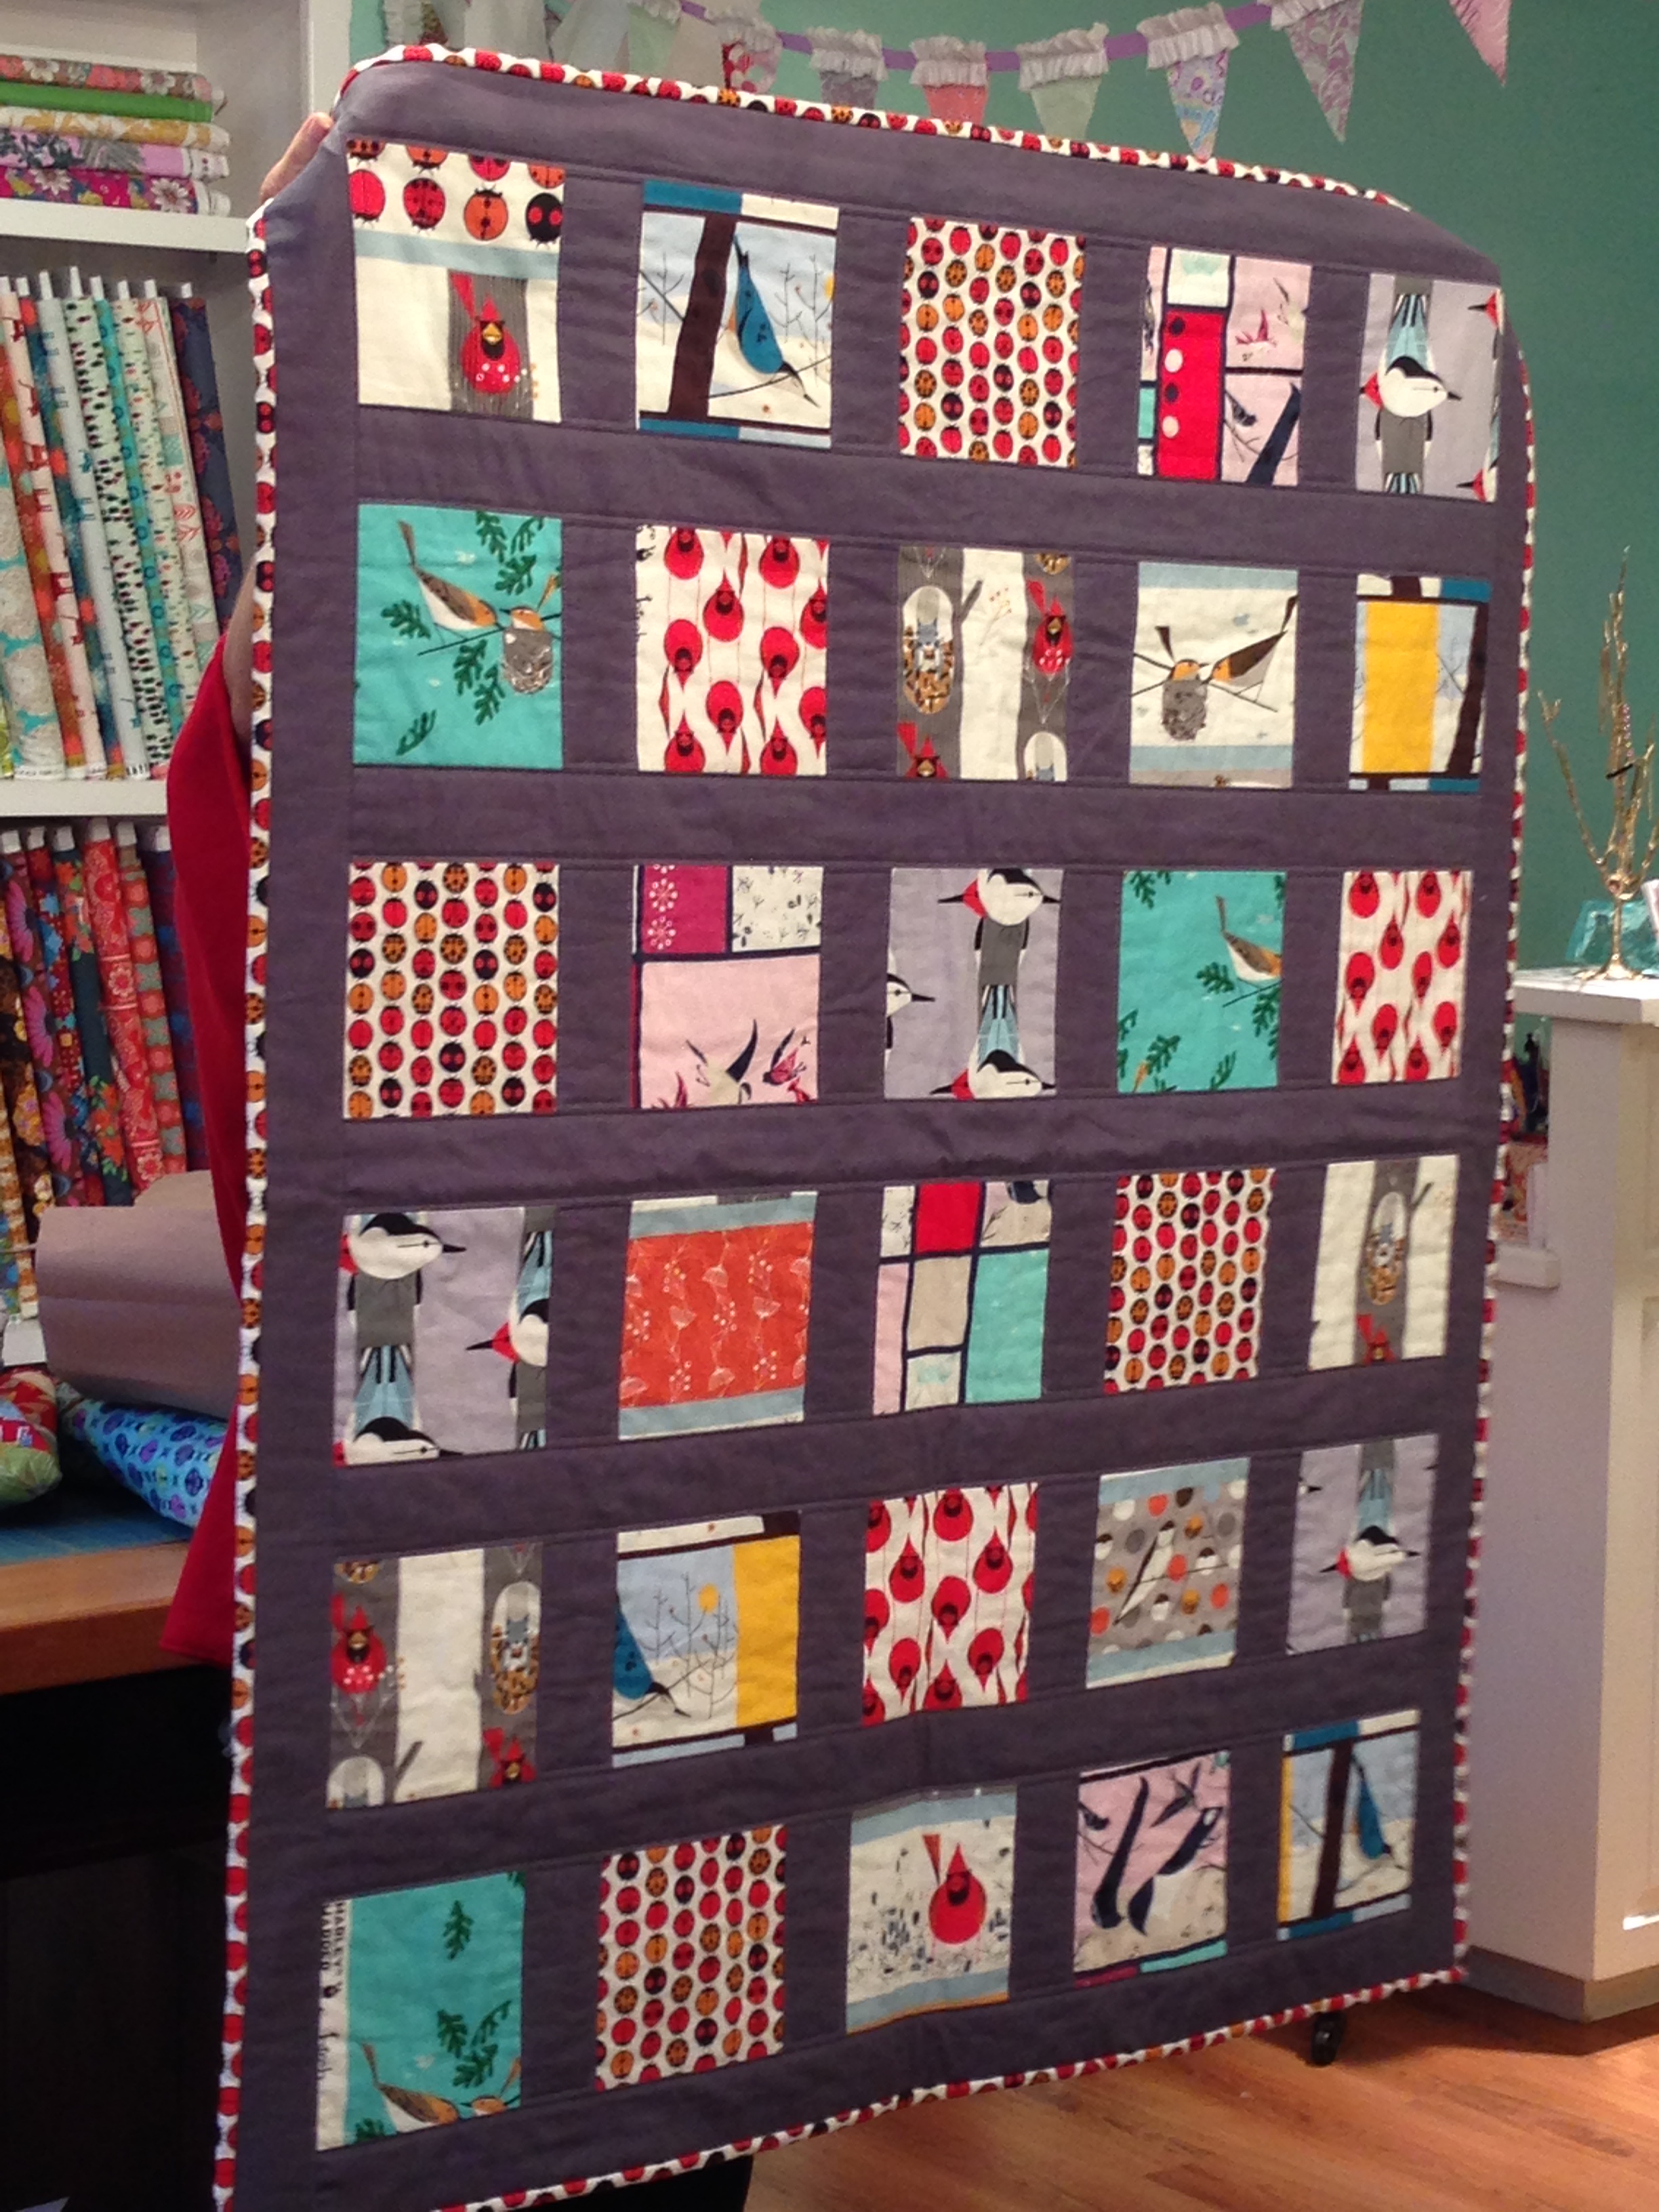
Here’s Jennifer’s “Lizard” quilt.  It’s reverse applique and she quilted it herself.  It’s so right!

017Jennifer also made this beauty called “Friendship” from Villa Rosa Designs.  Spring can’t be too far away!

016
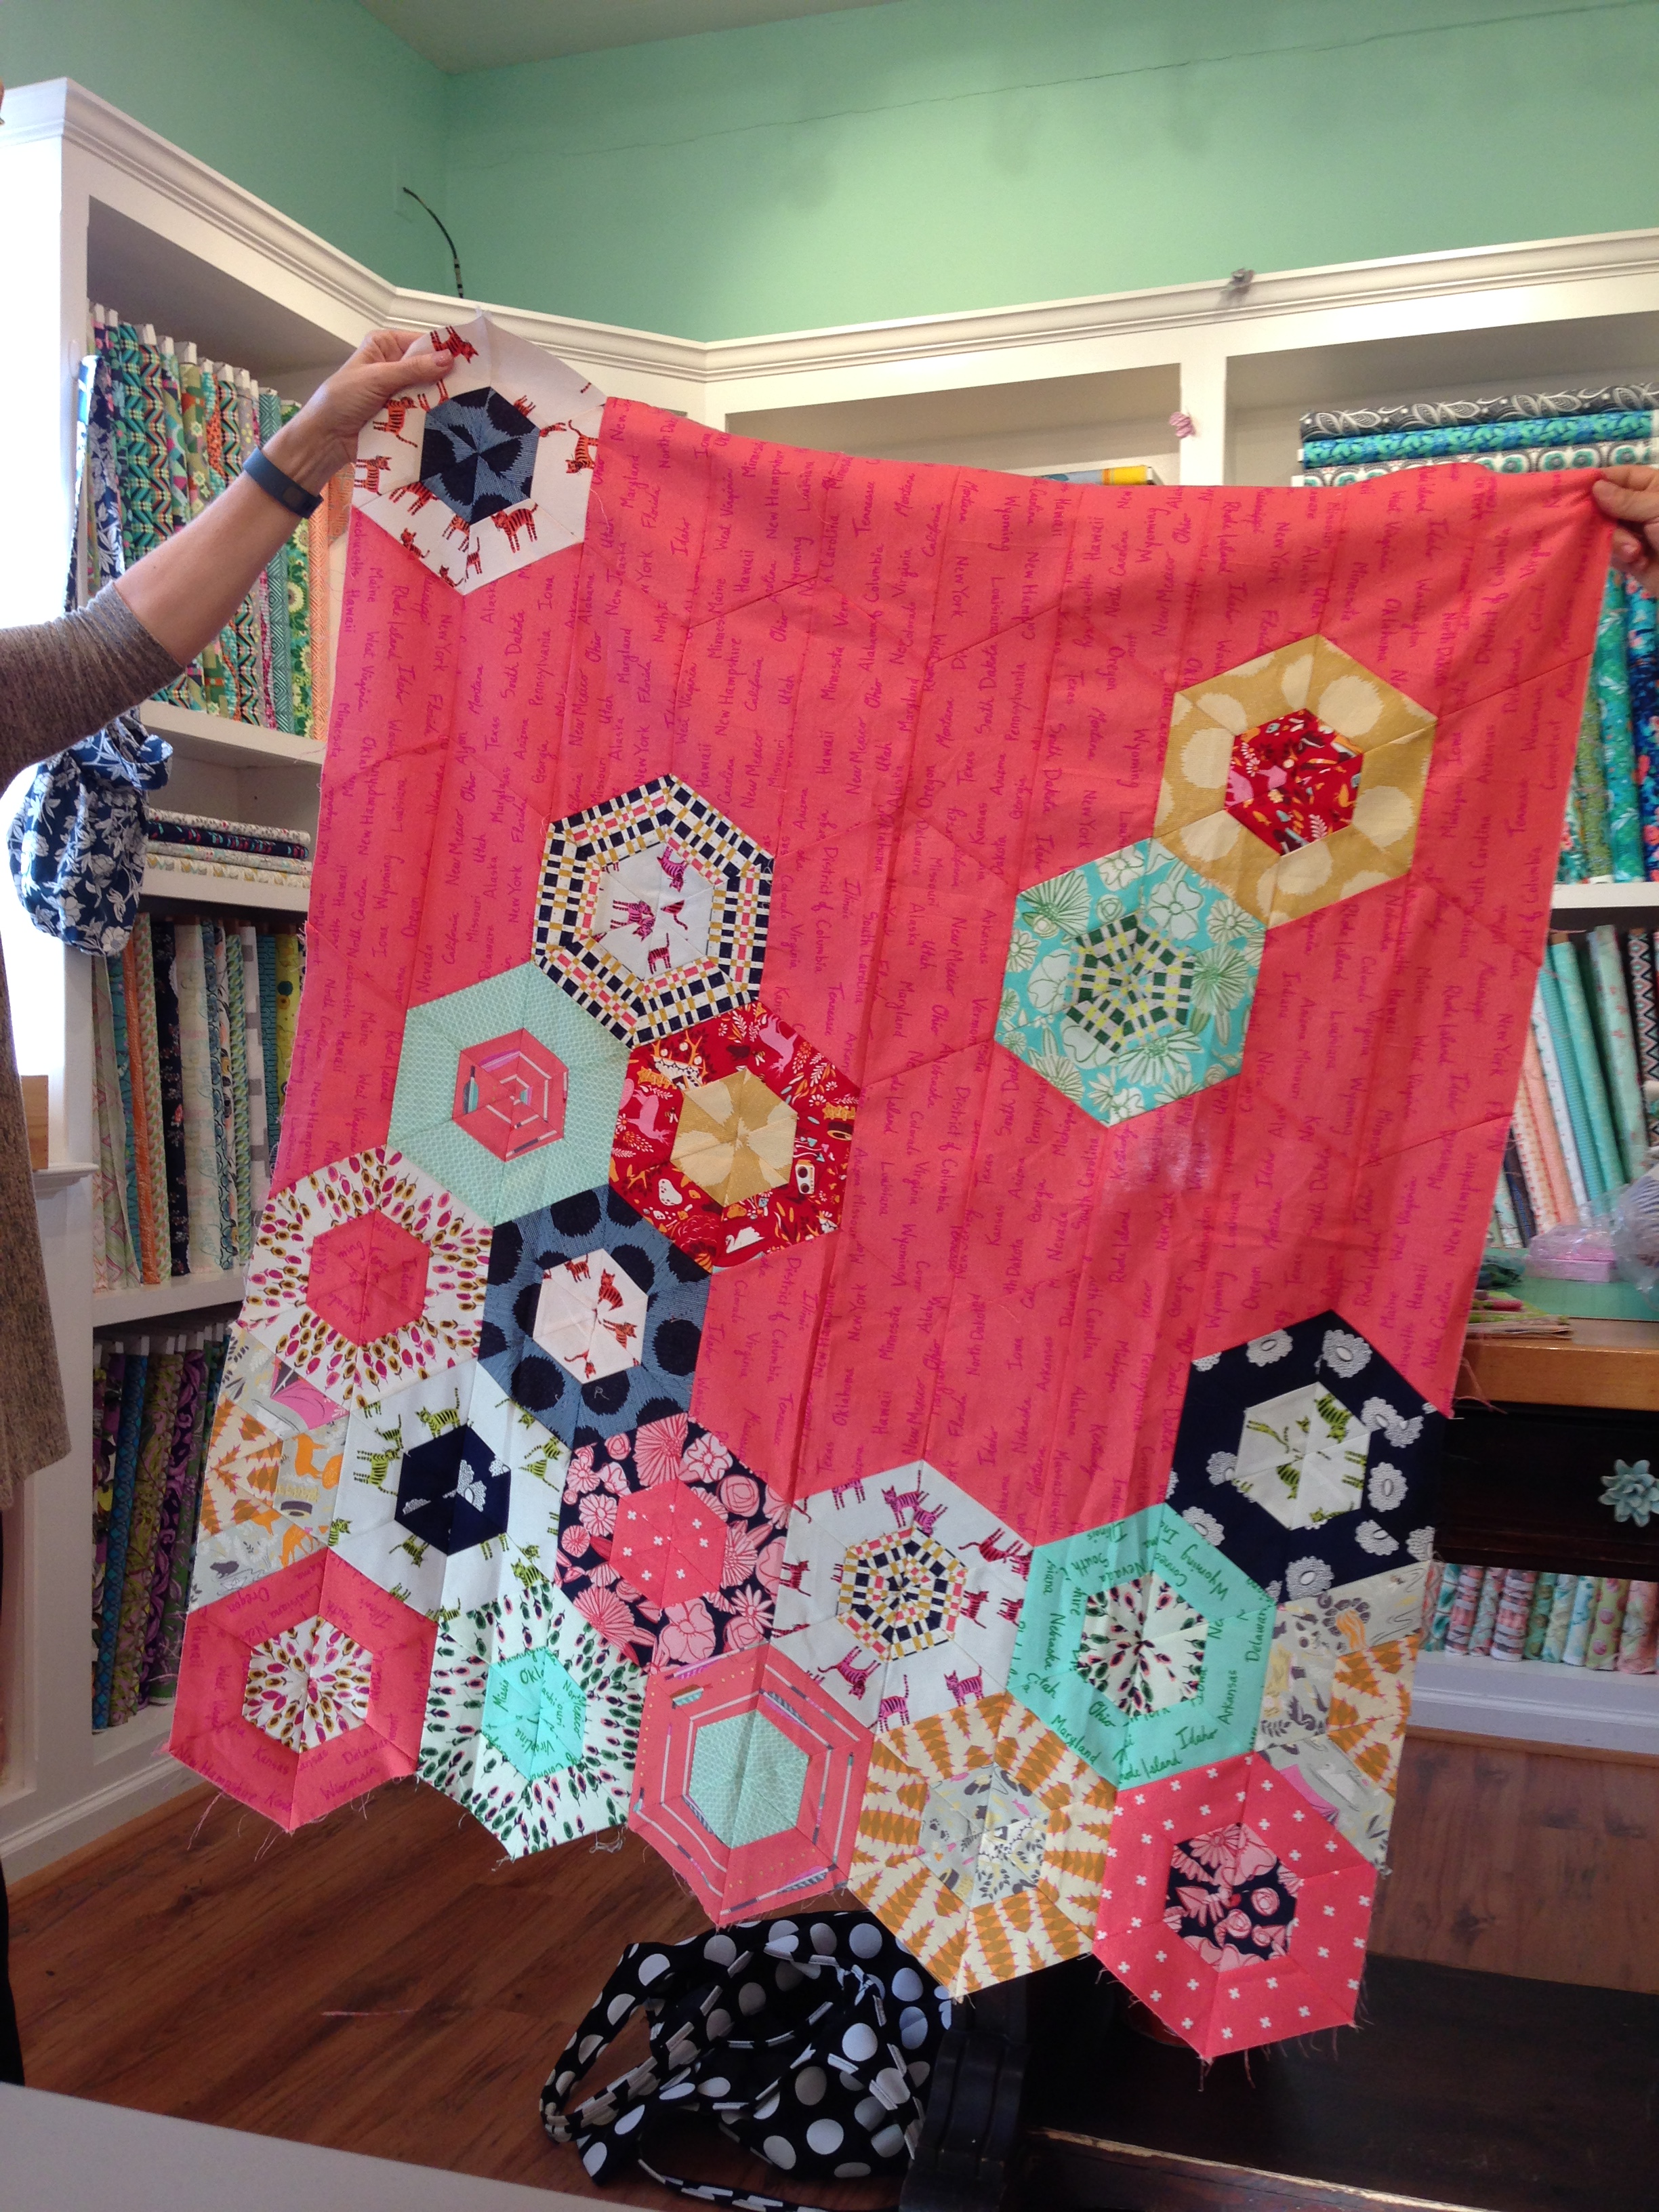
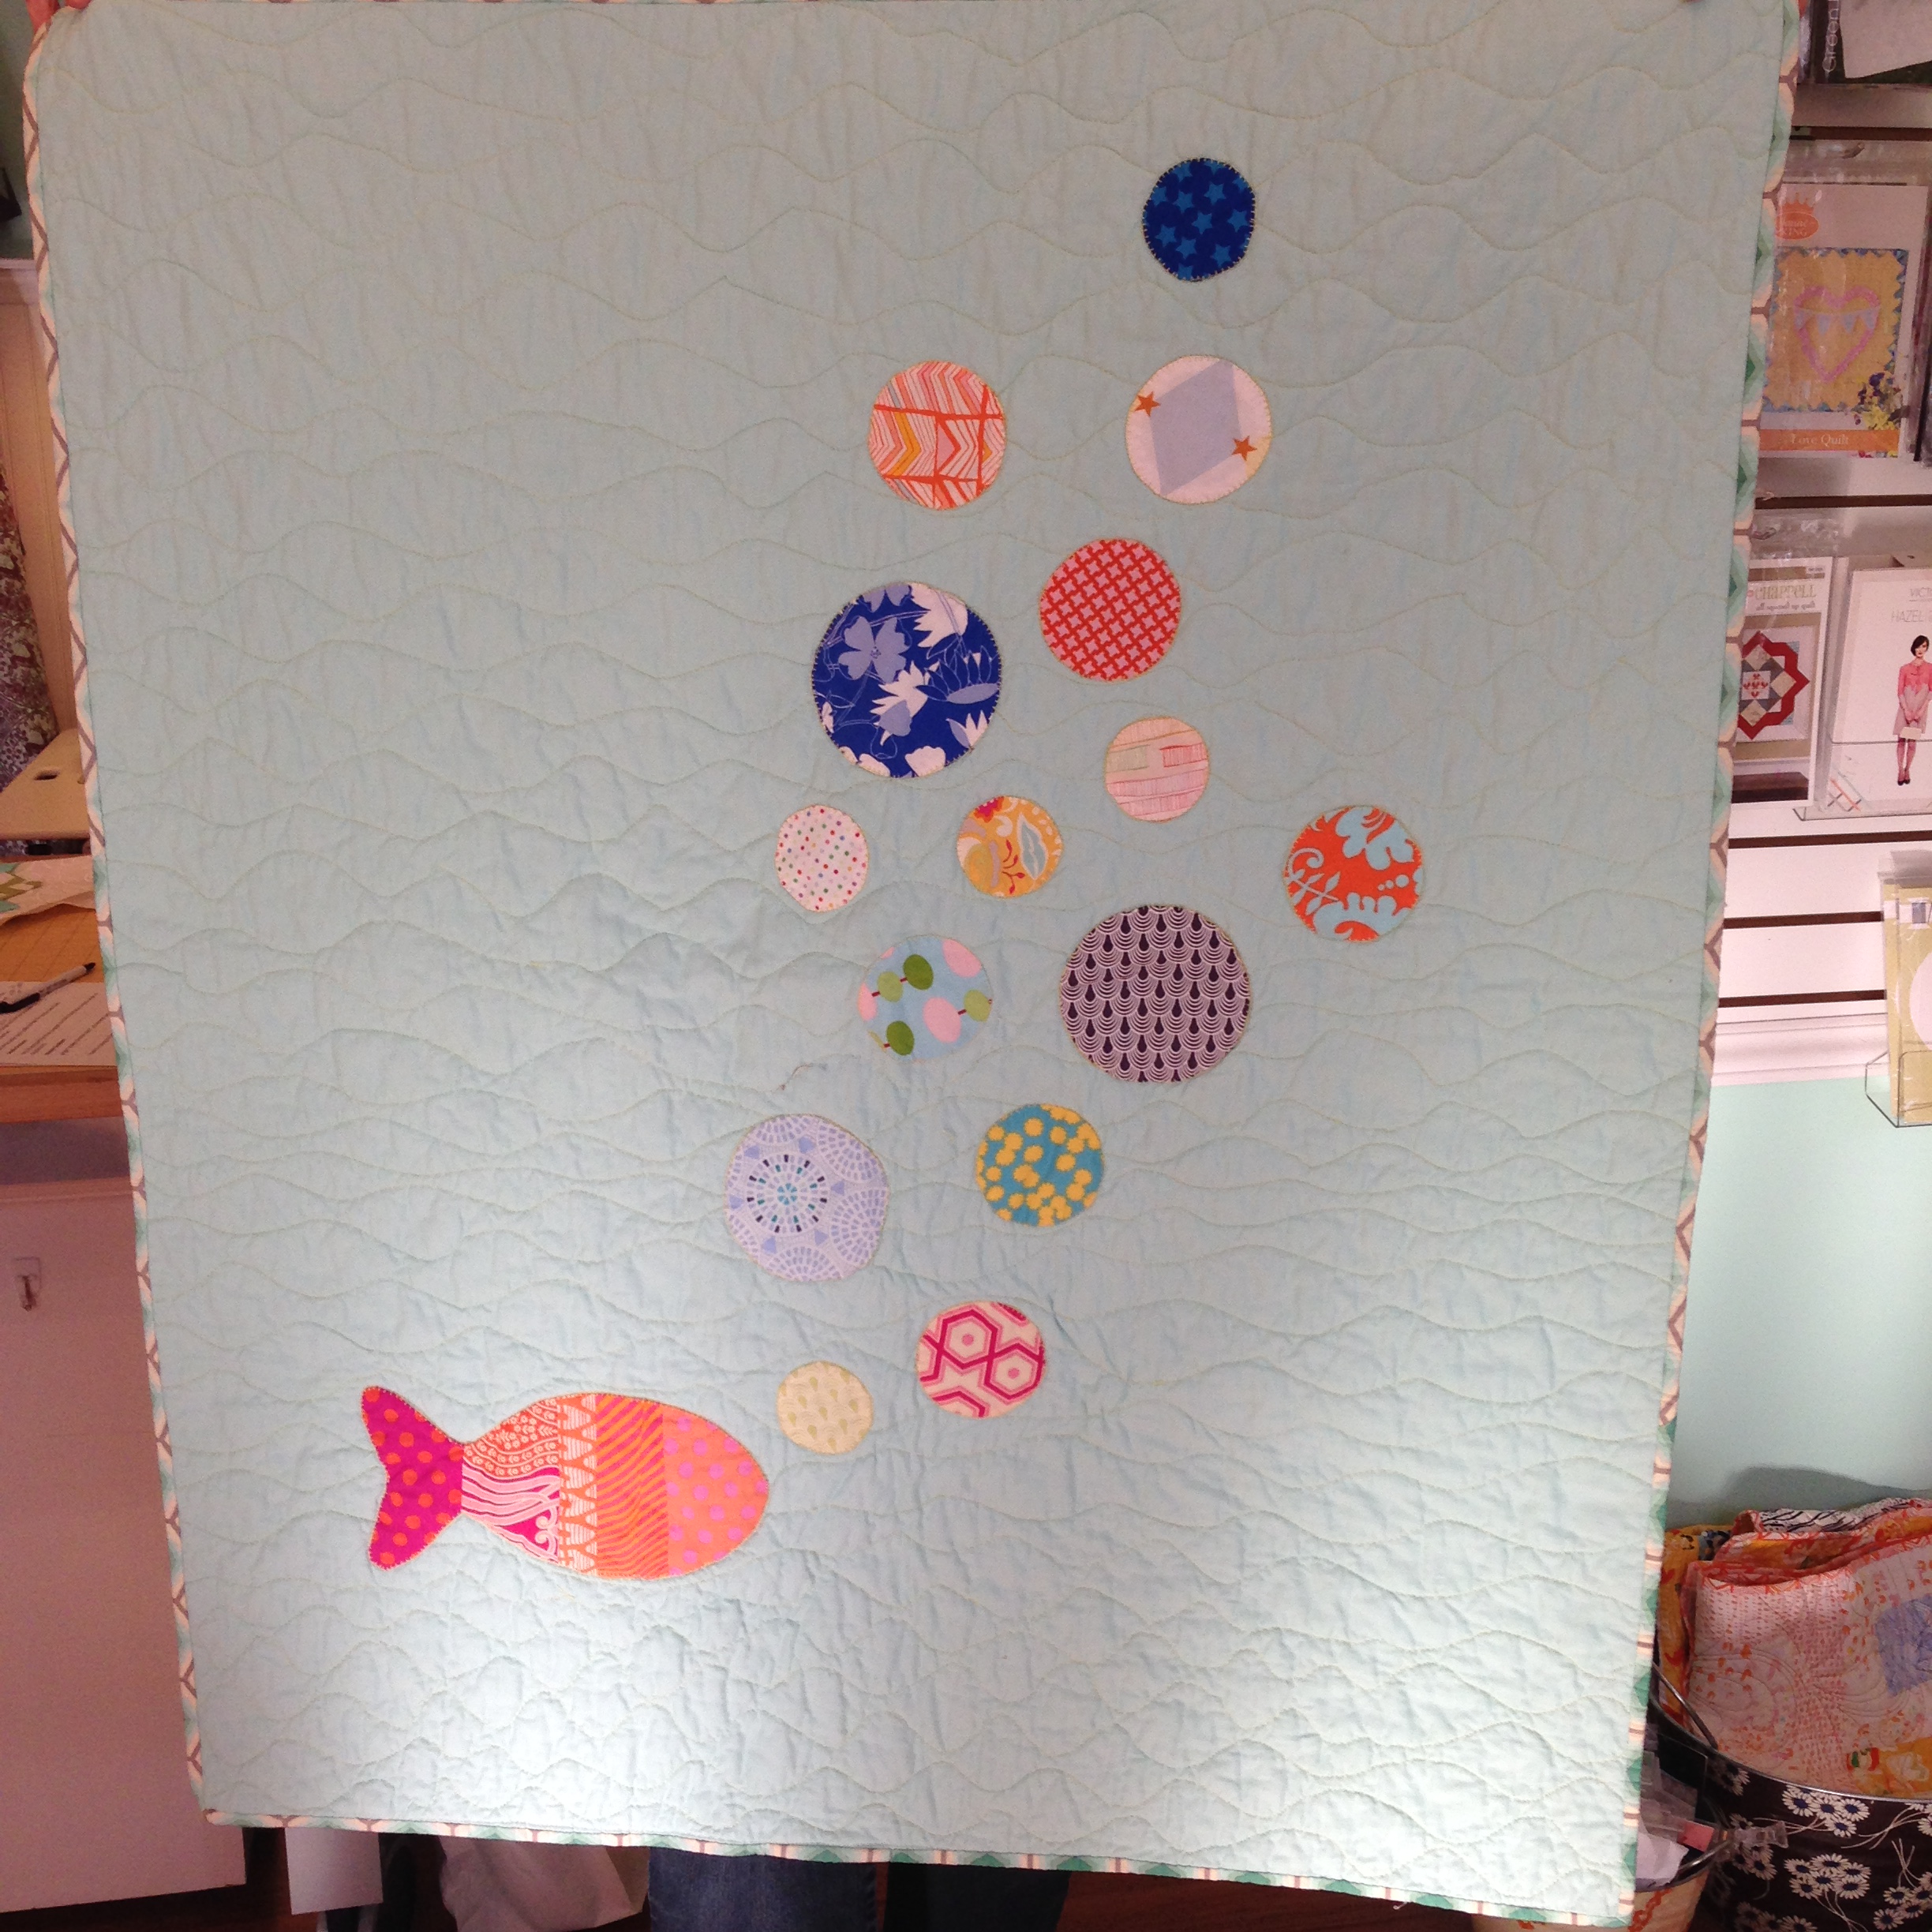
She finished up with “Road Trip” from Quilt Trends magazine.  She wants to add two more borders.  It was pointed out that all Jennifer’s fish are swimming correctly.  None of her animals are upside down.  It’s a great directional quilt!

015
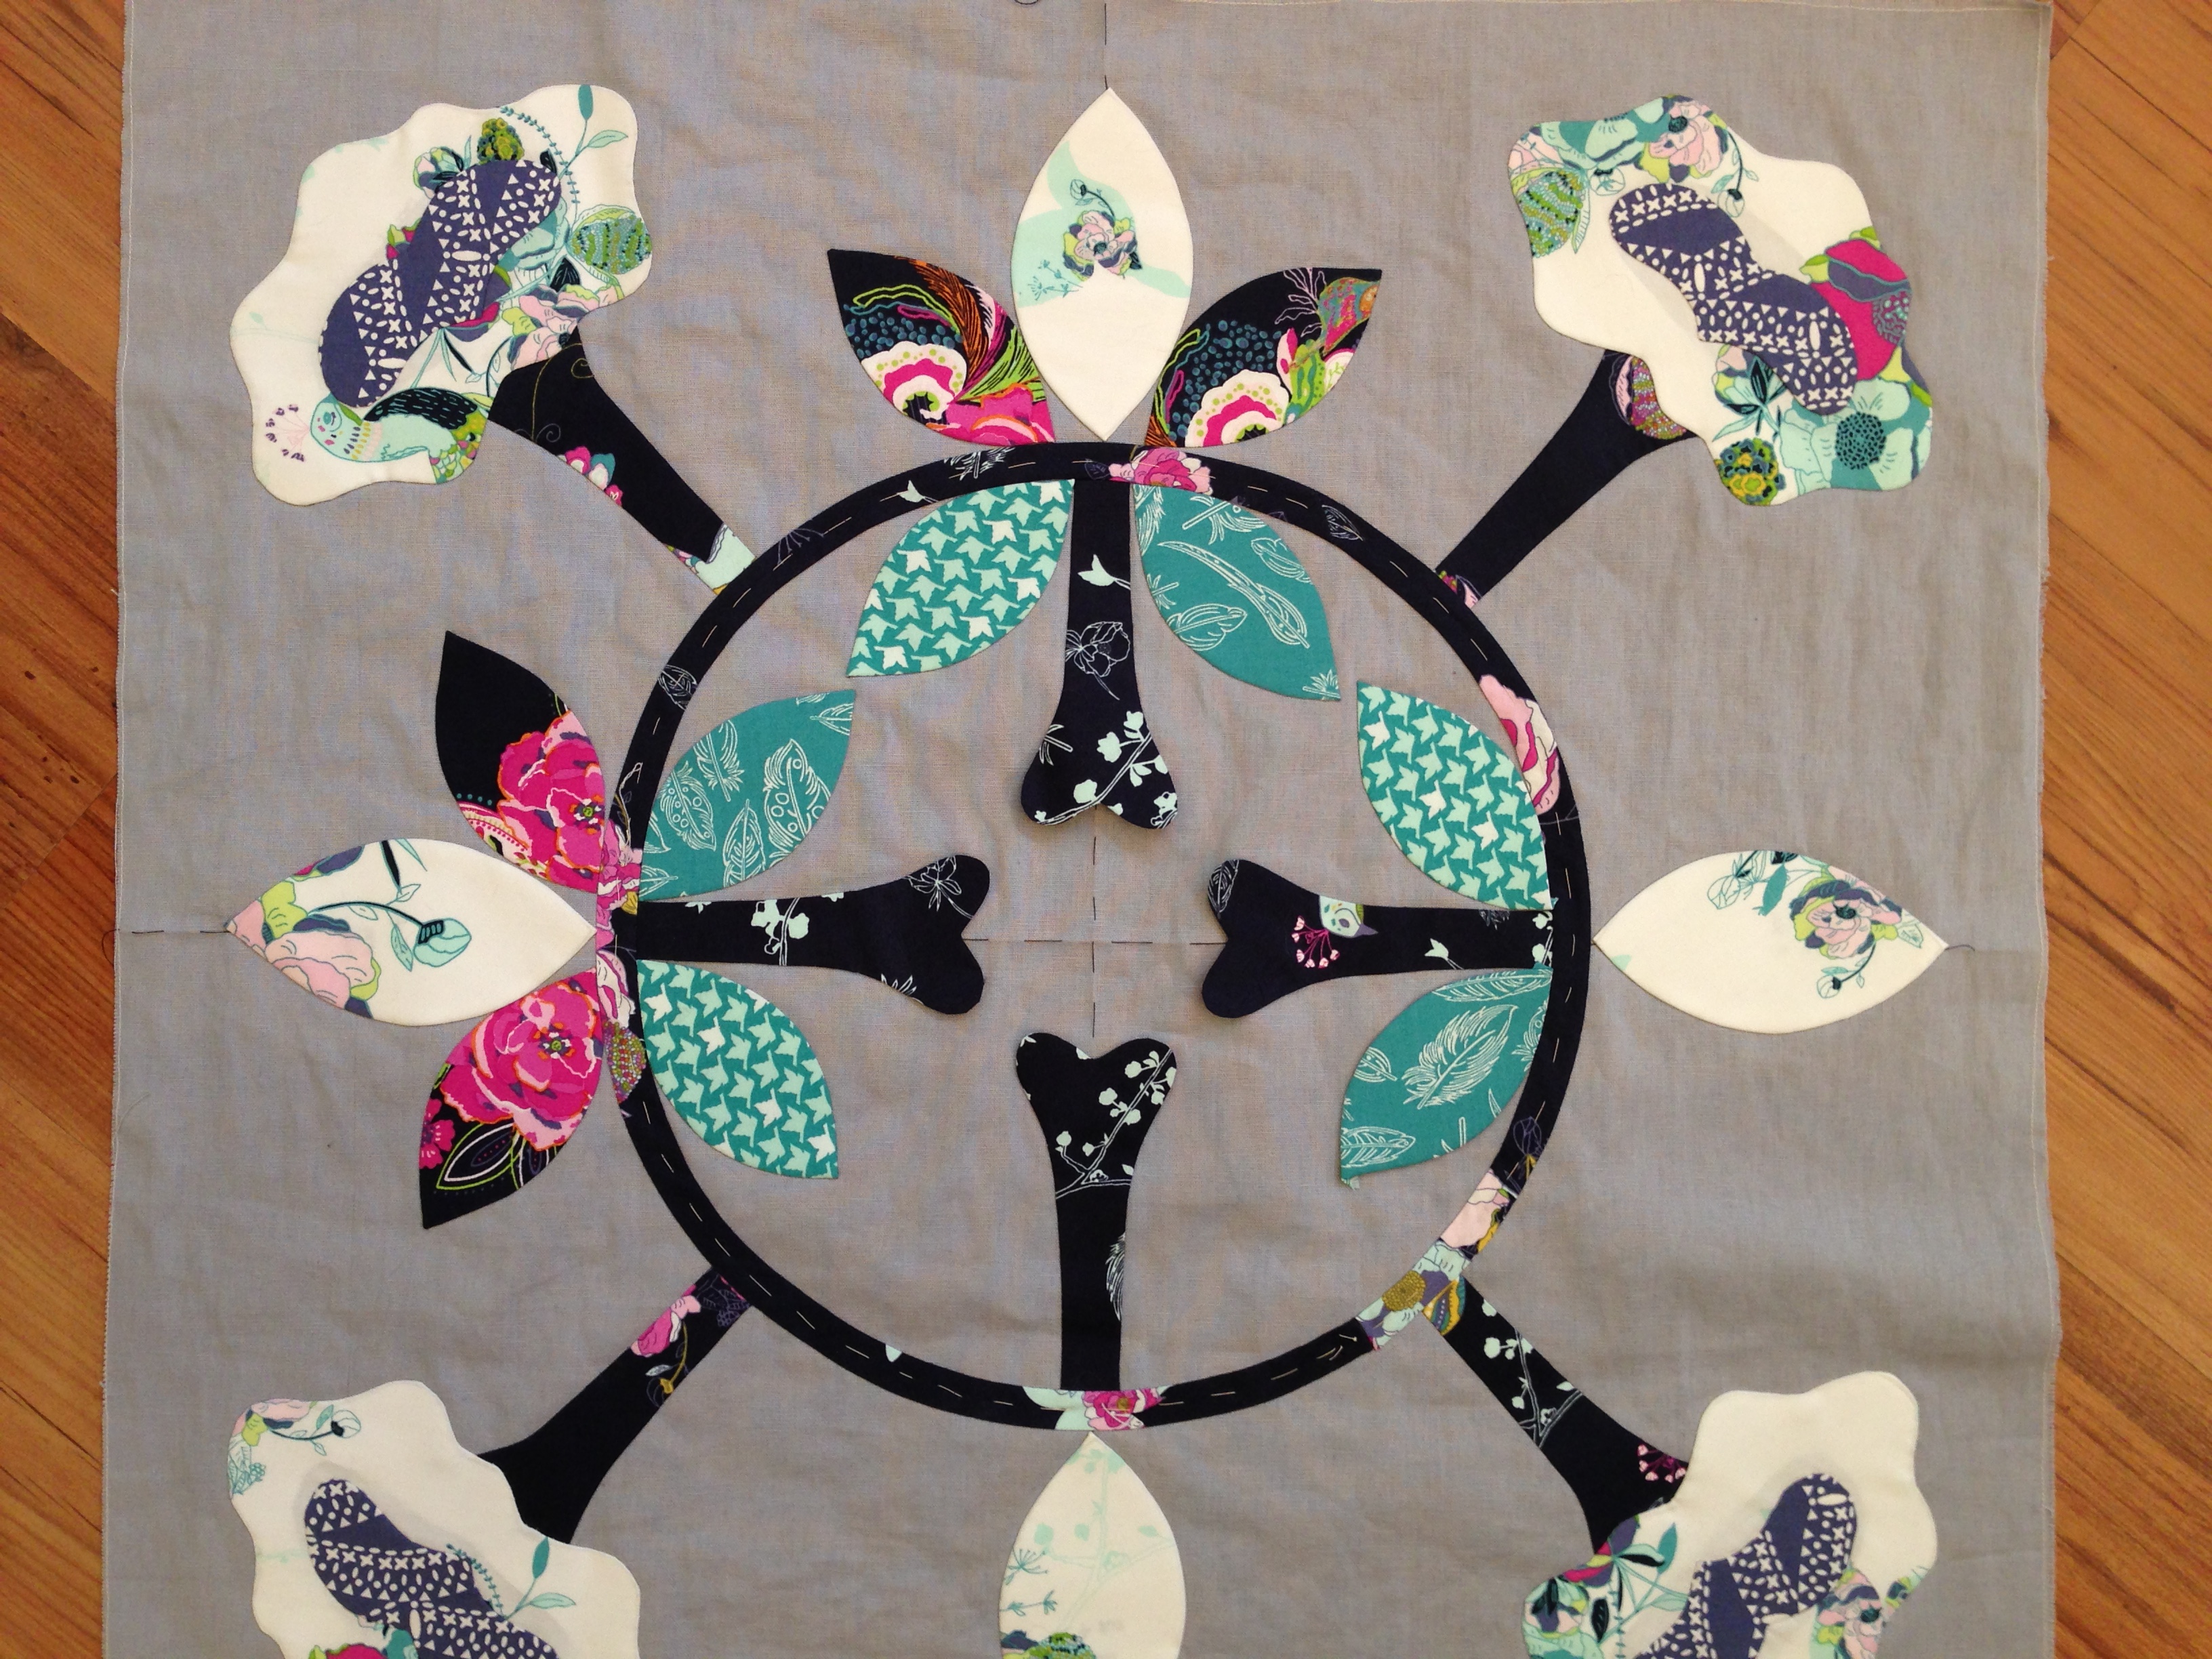
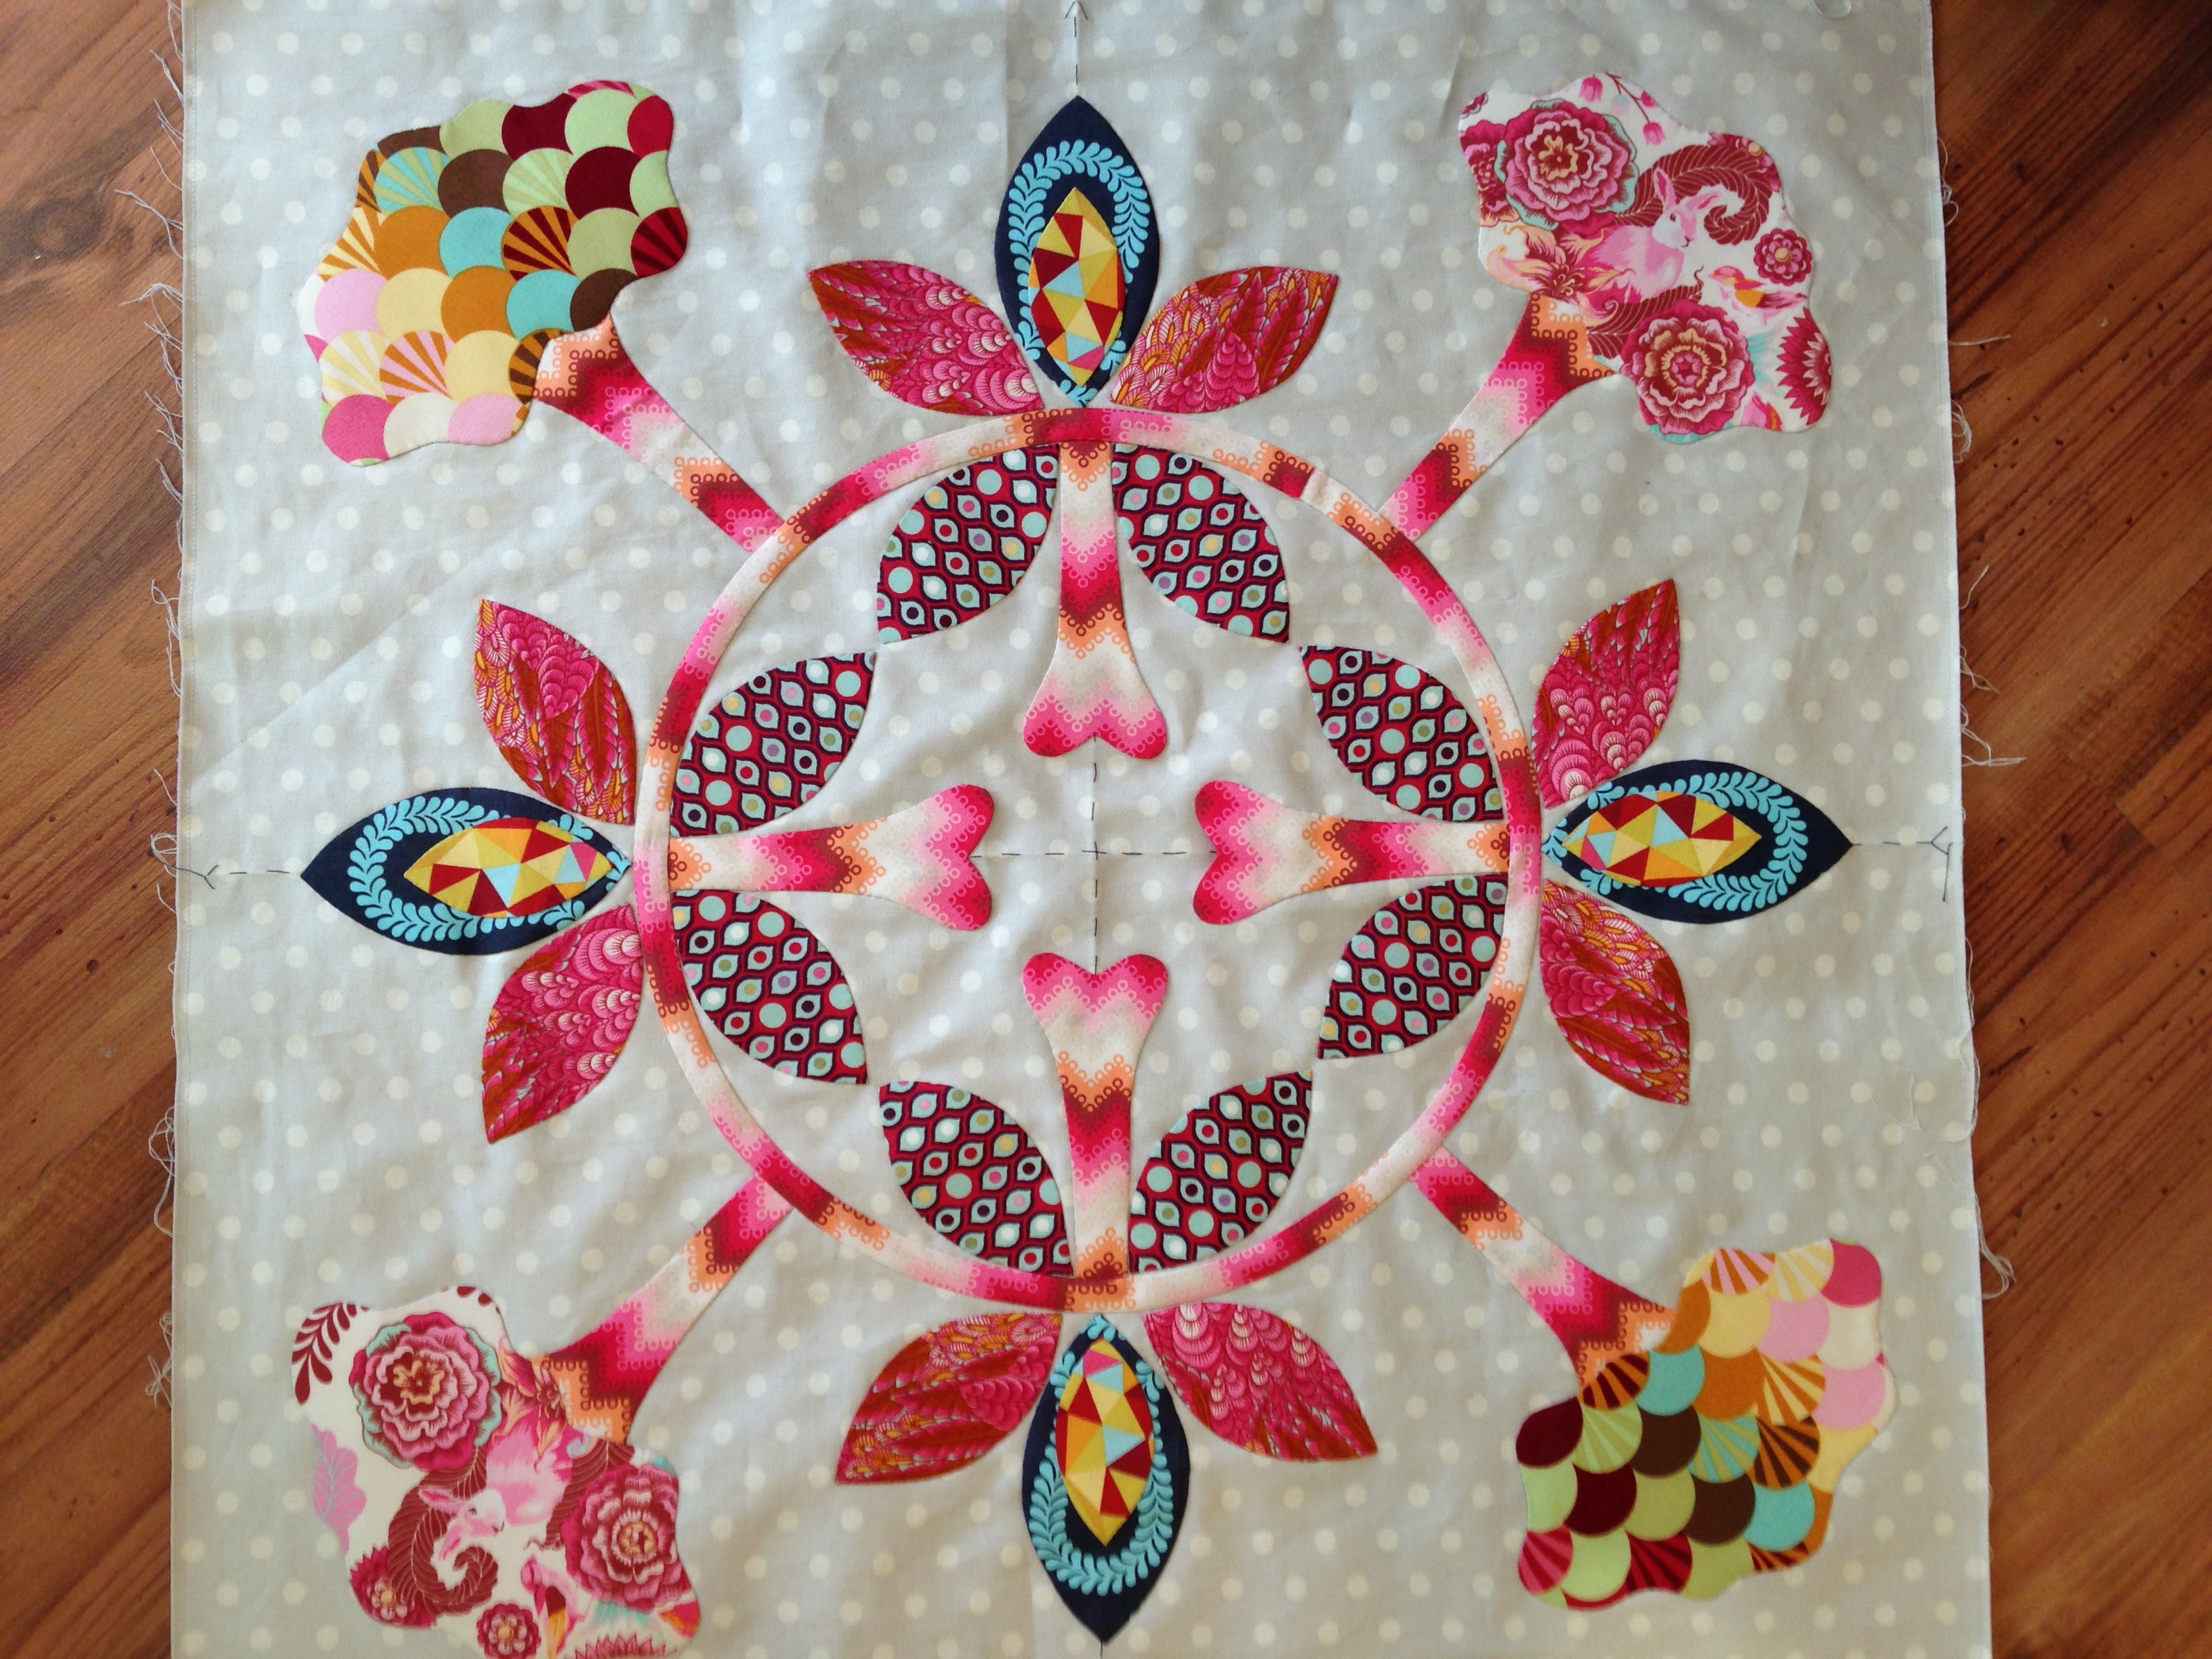
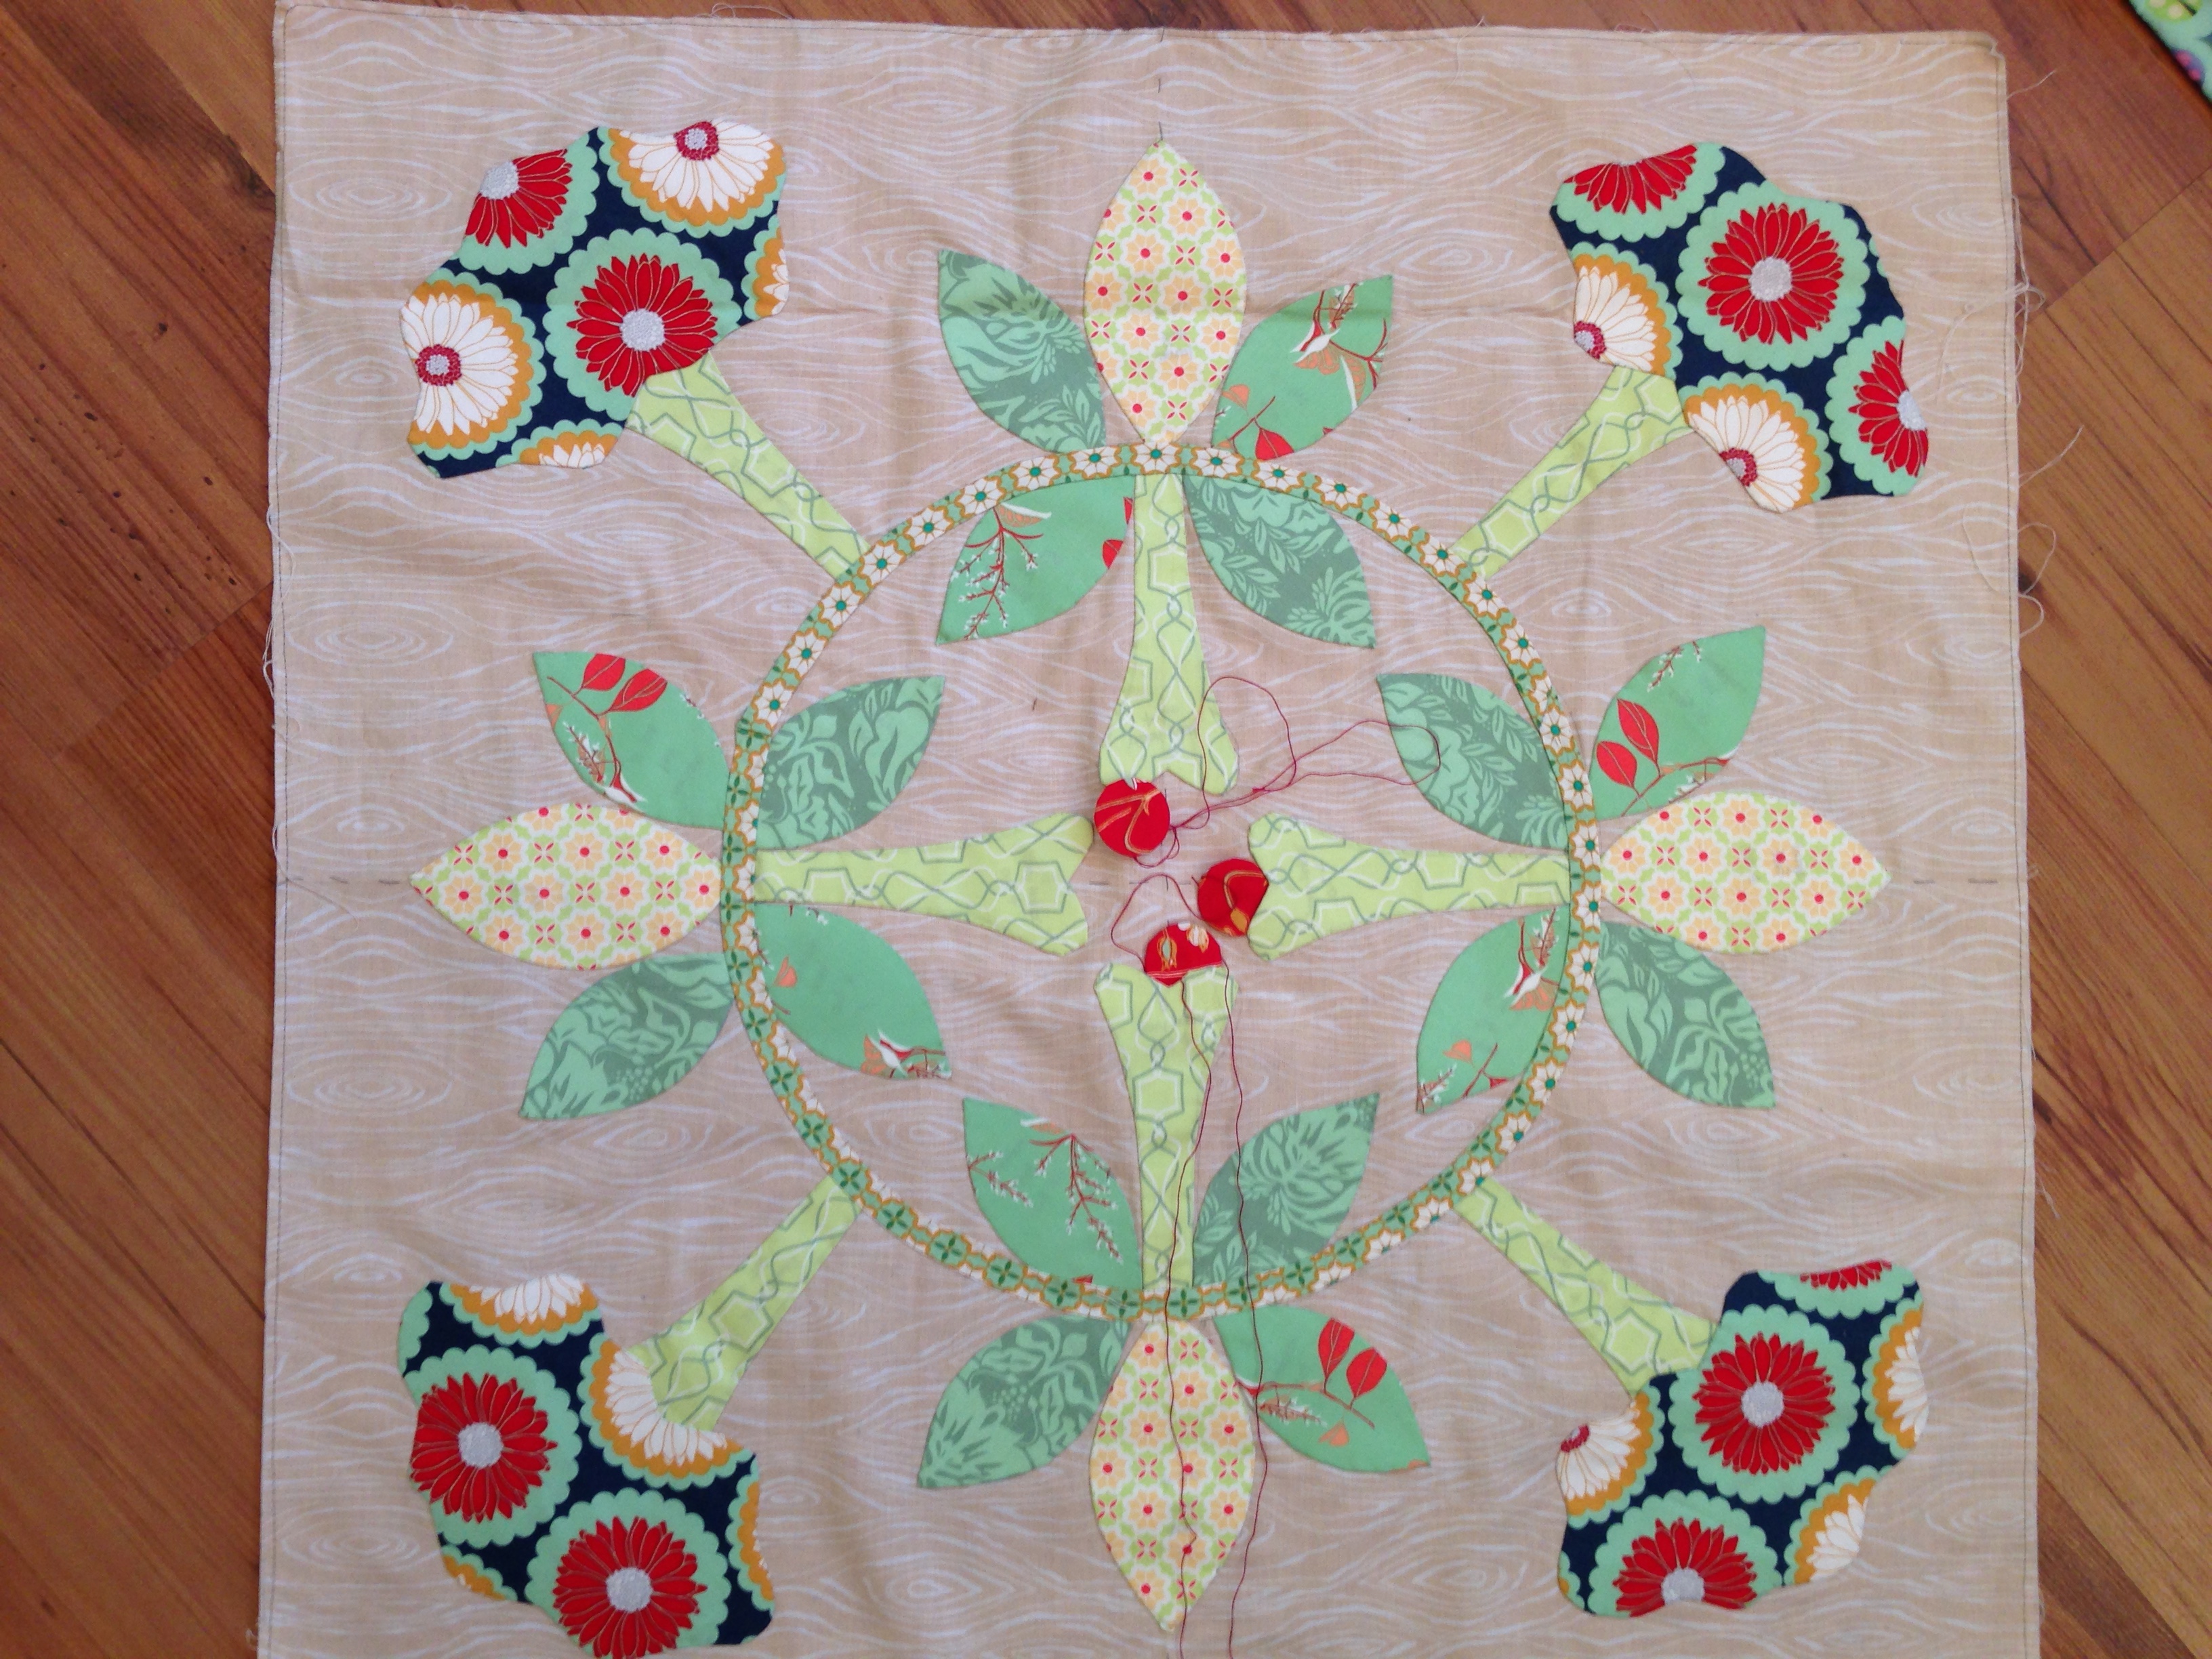
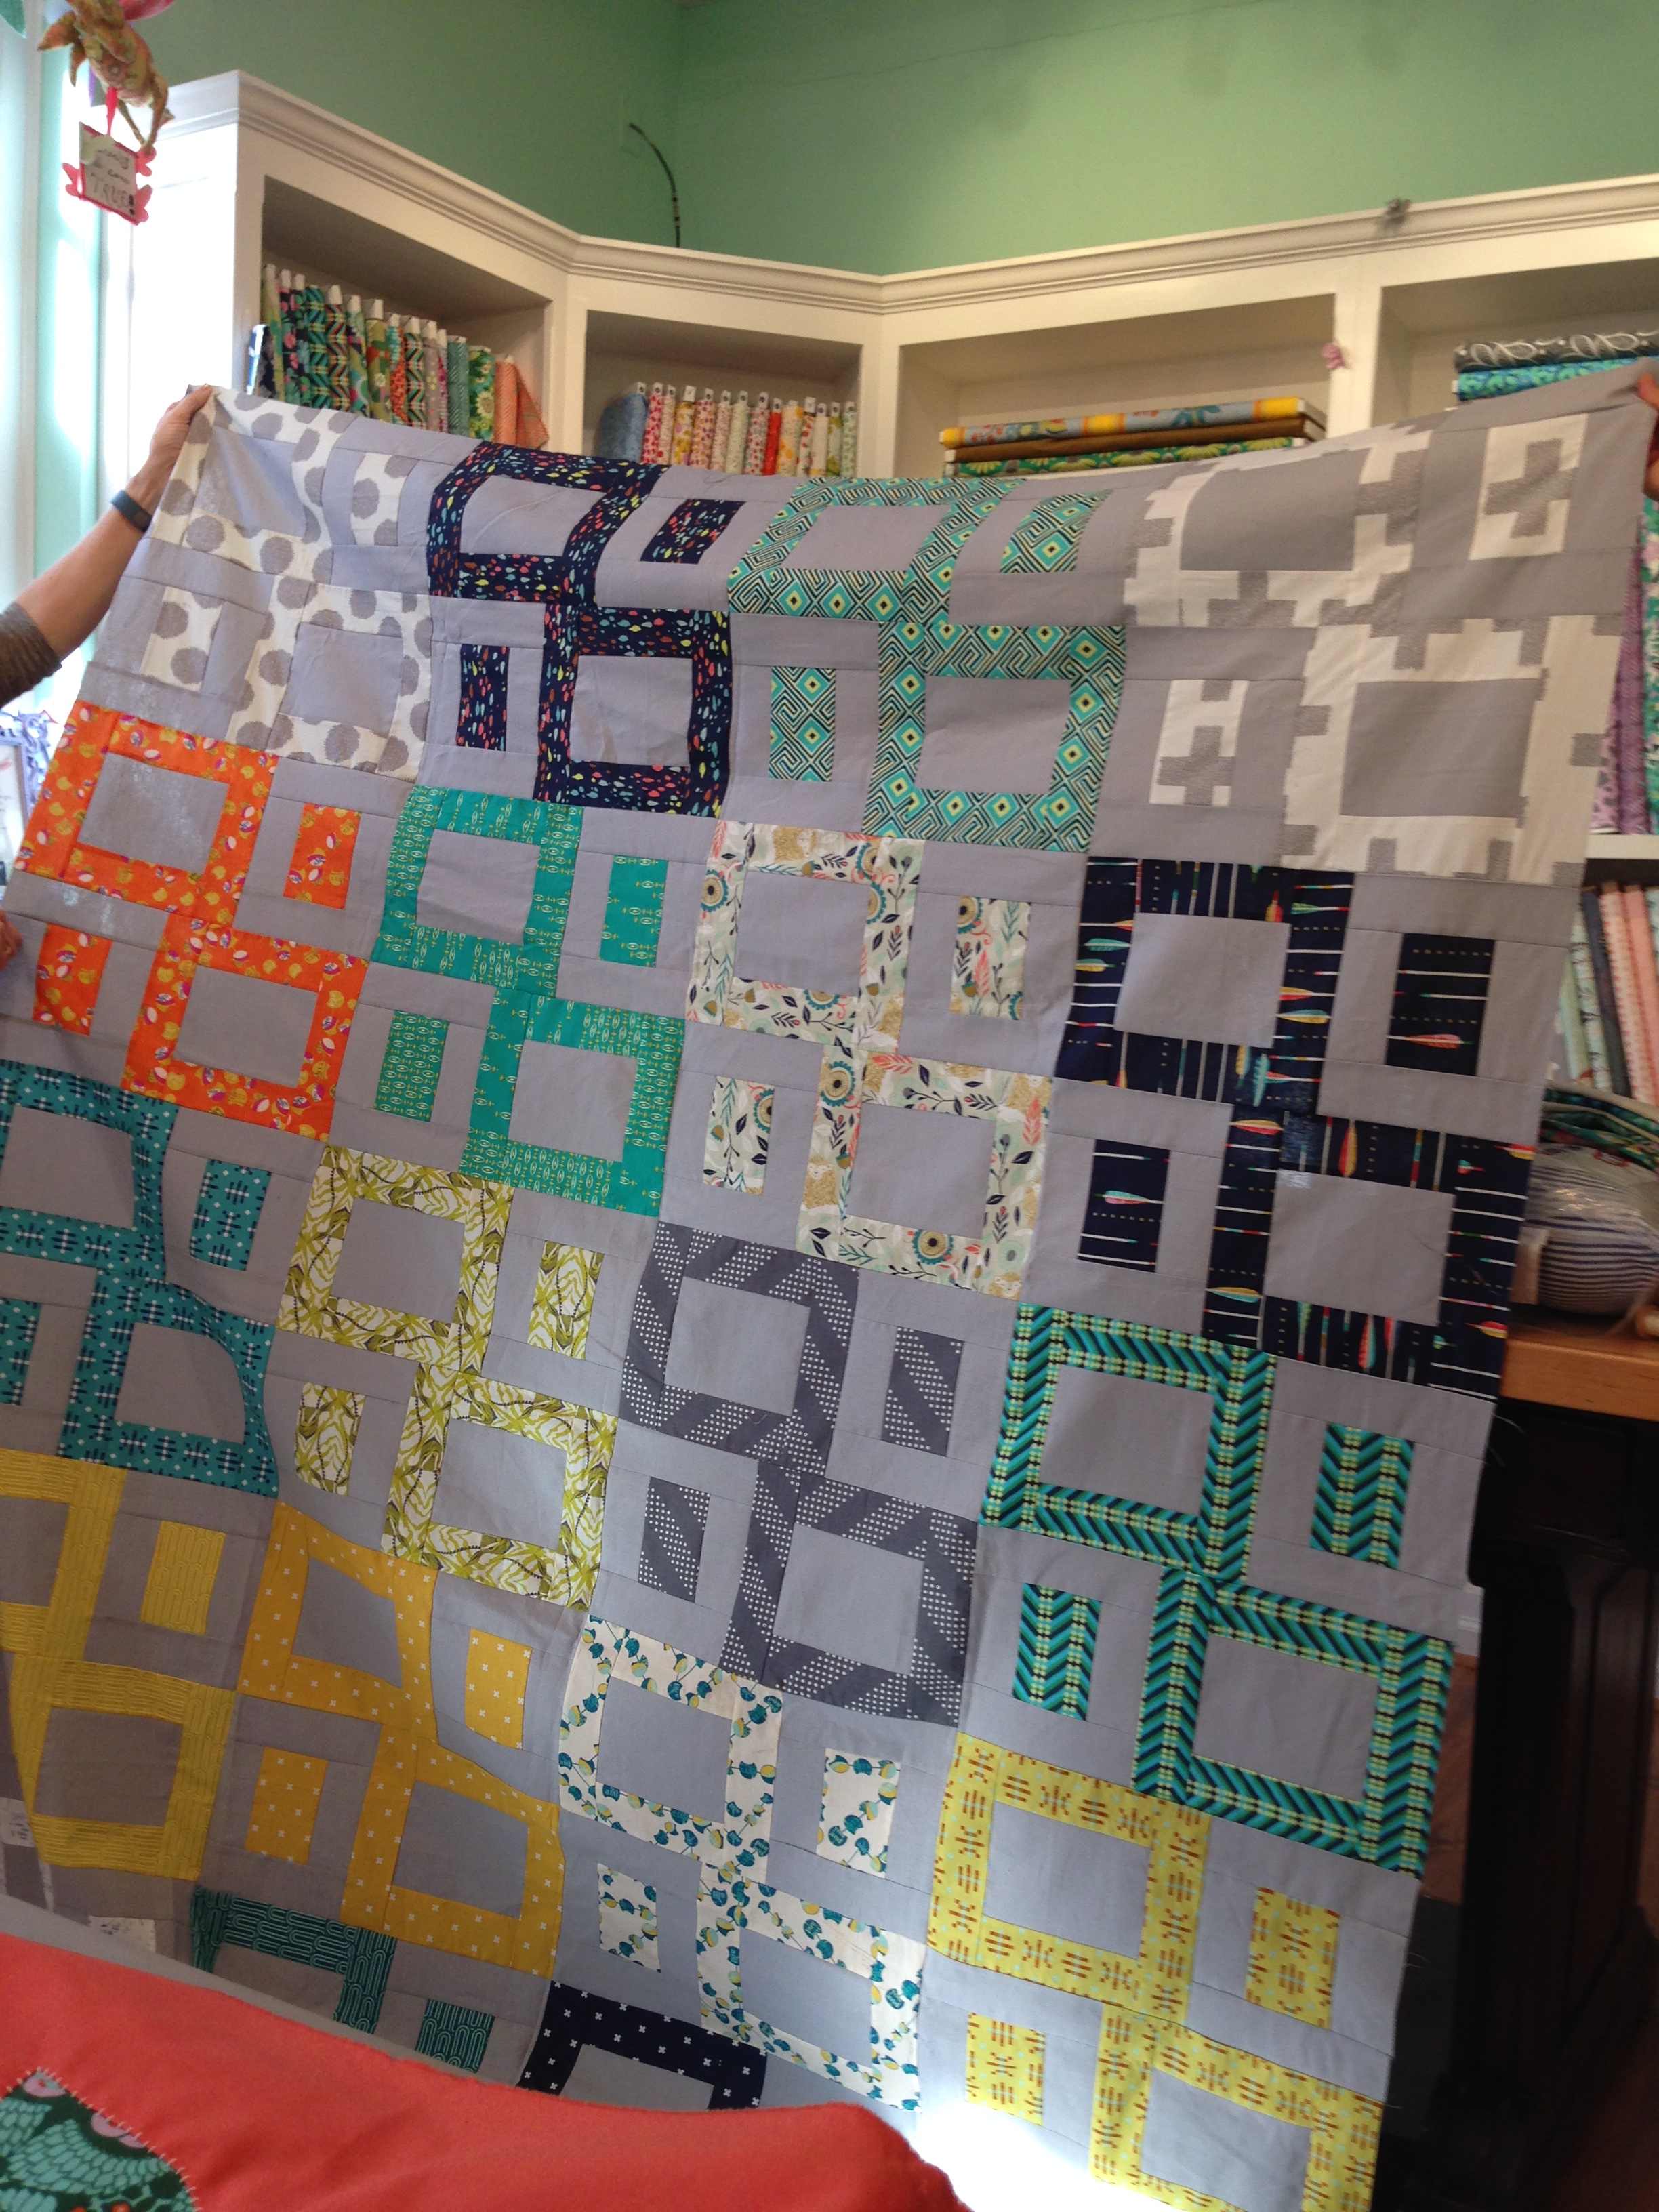
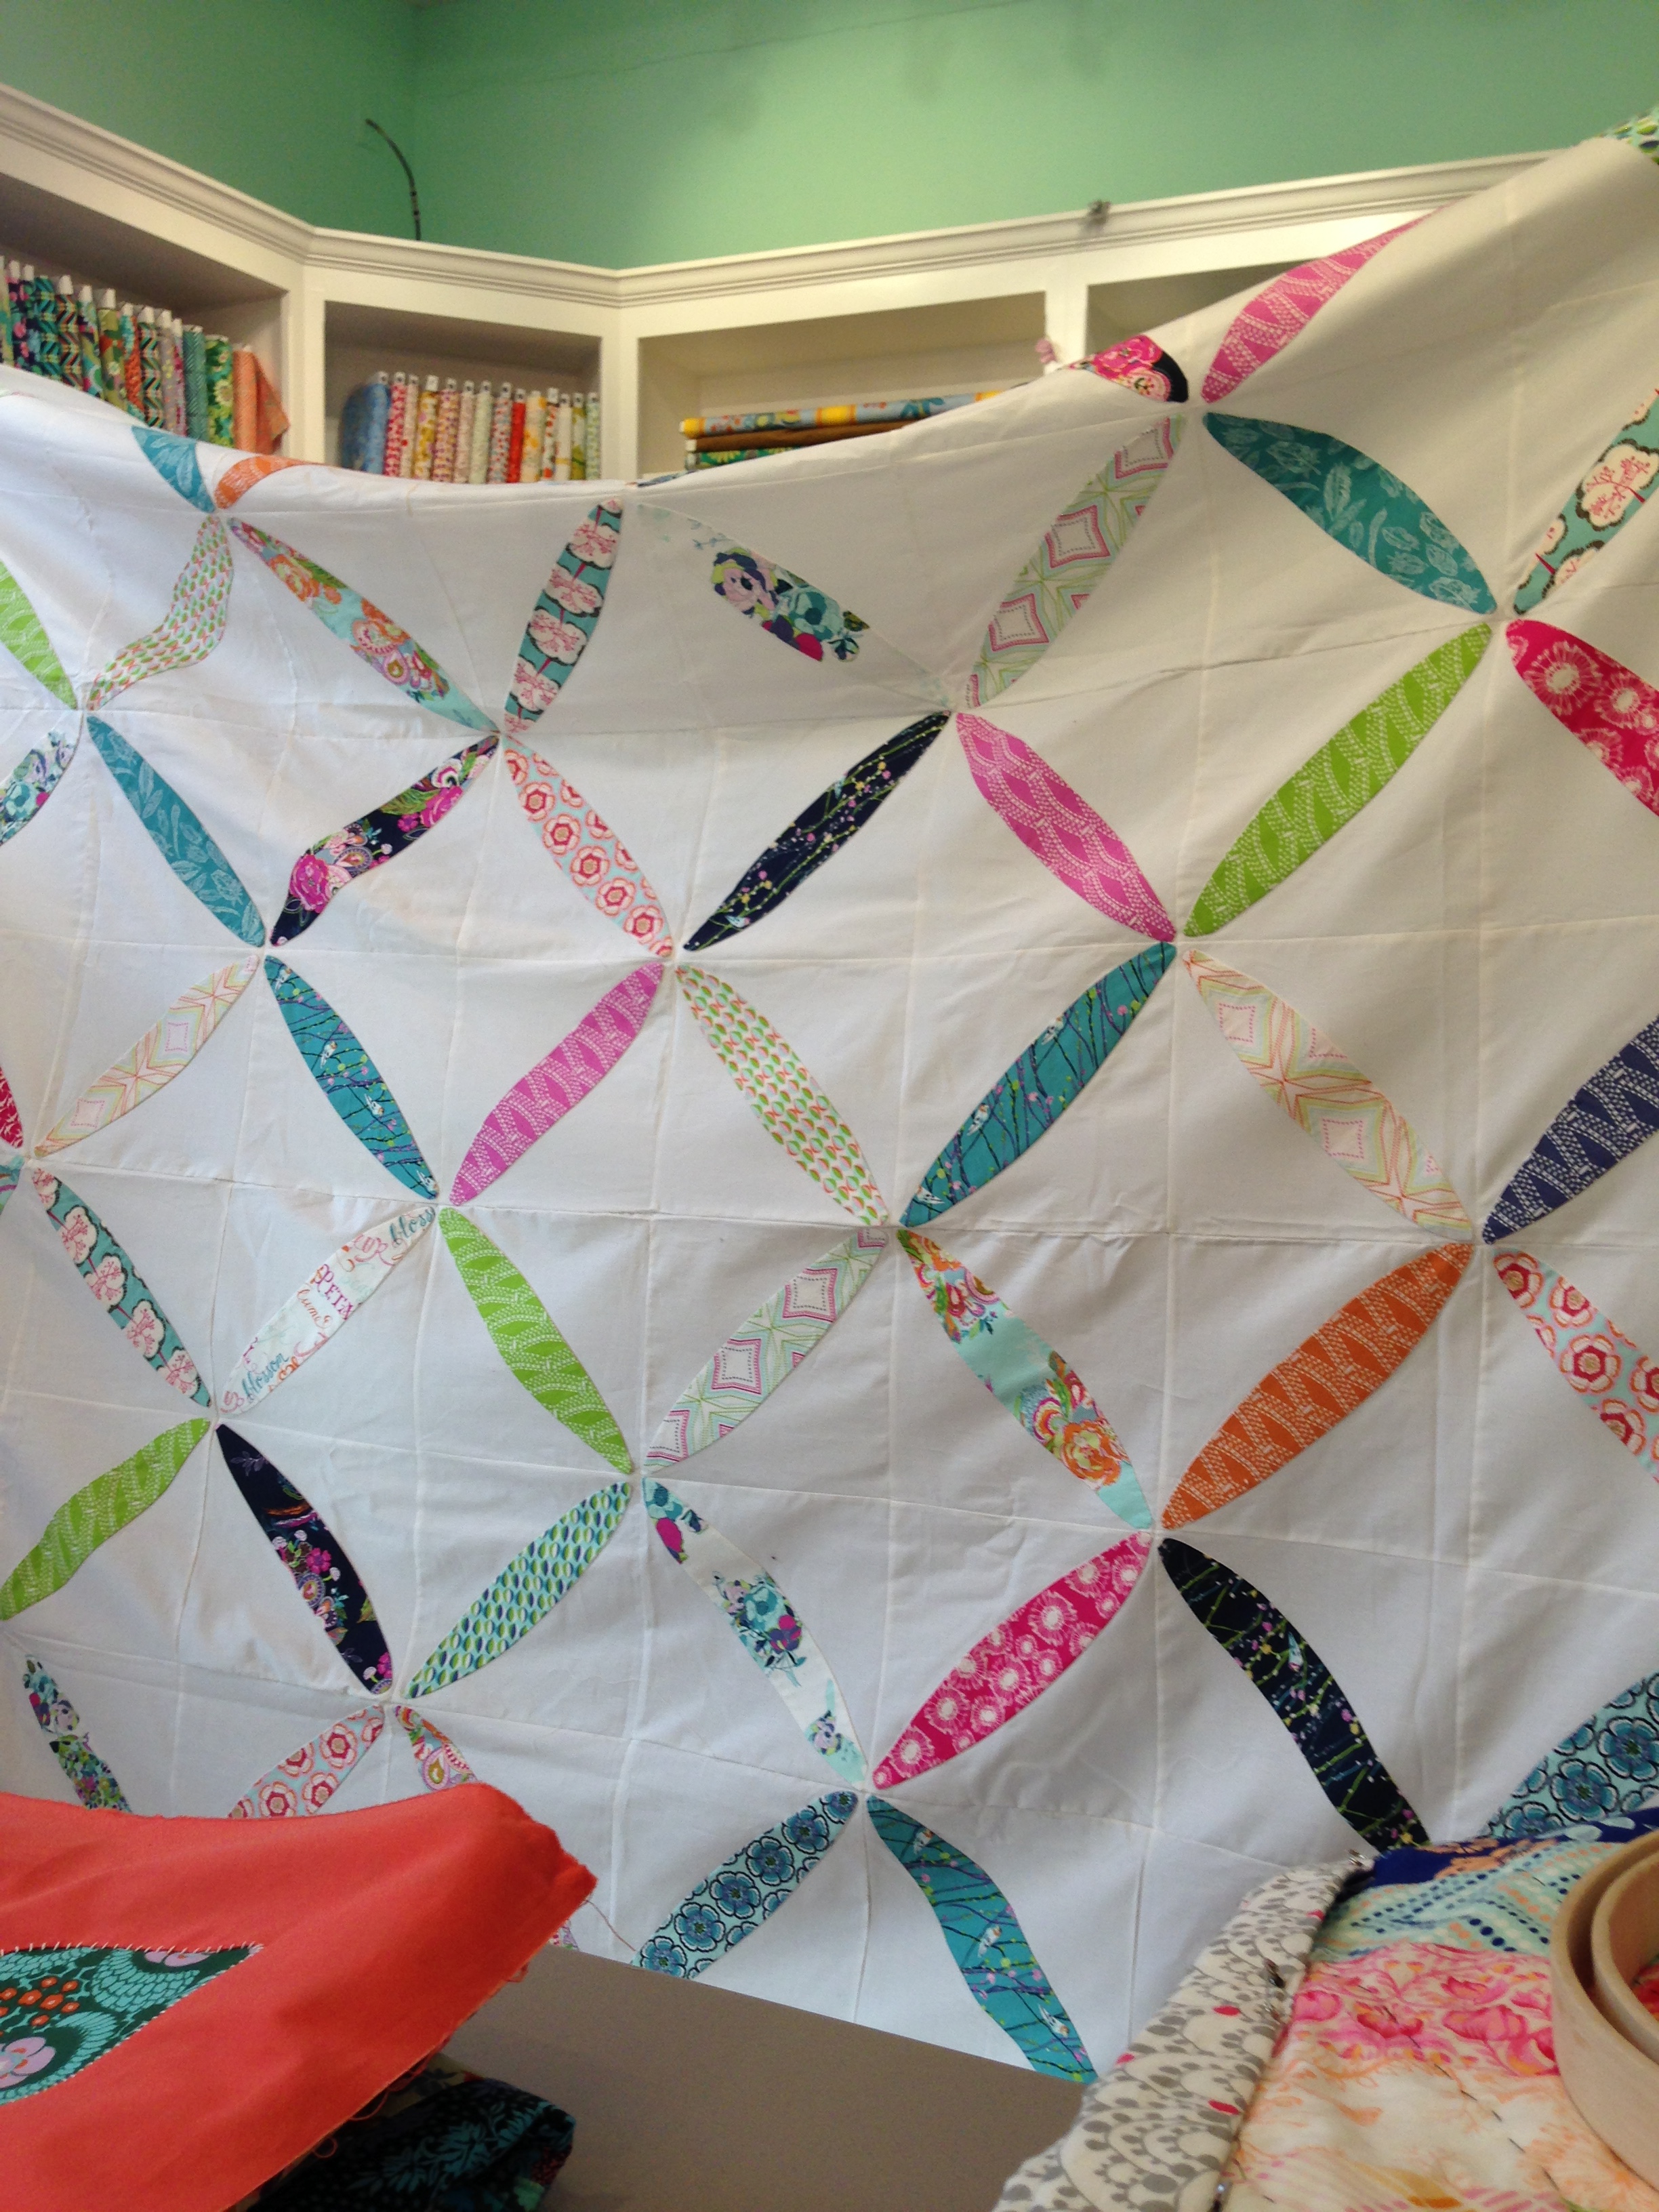
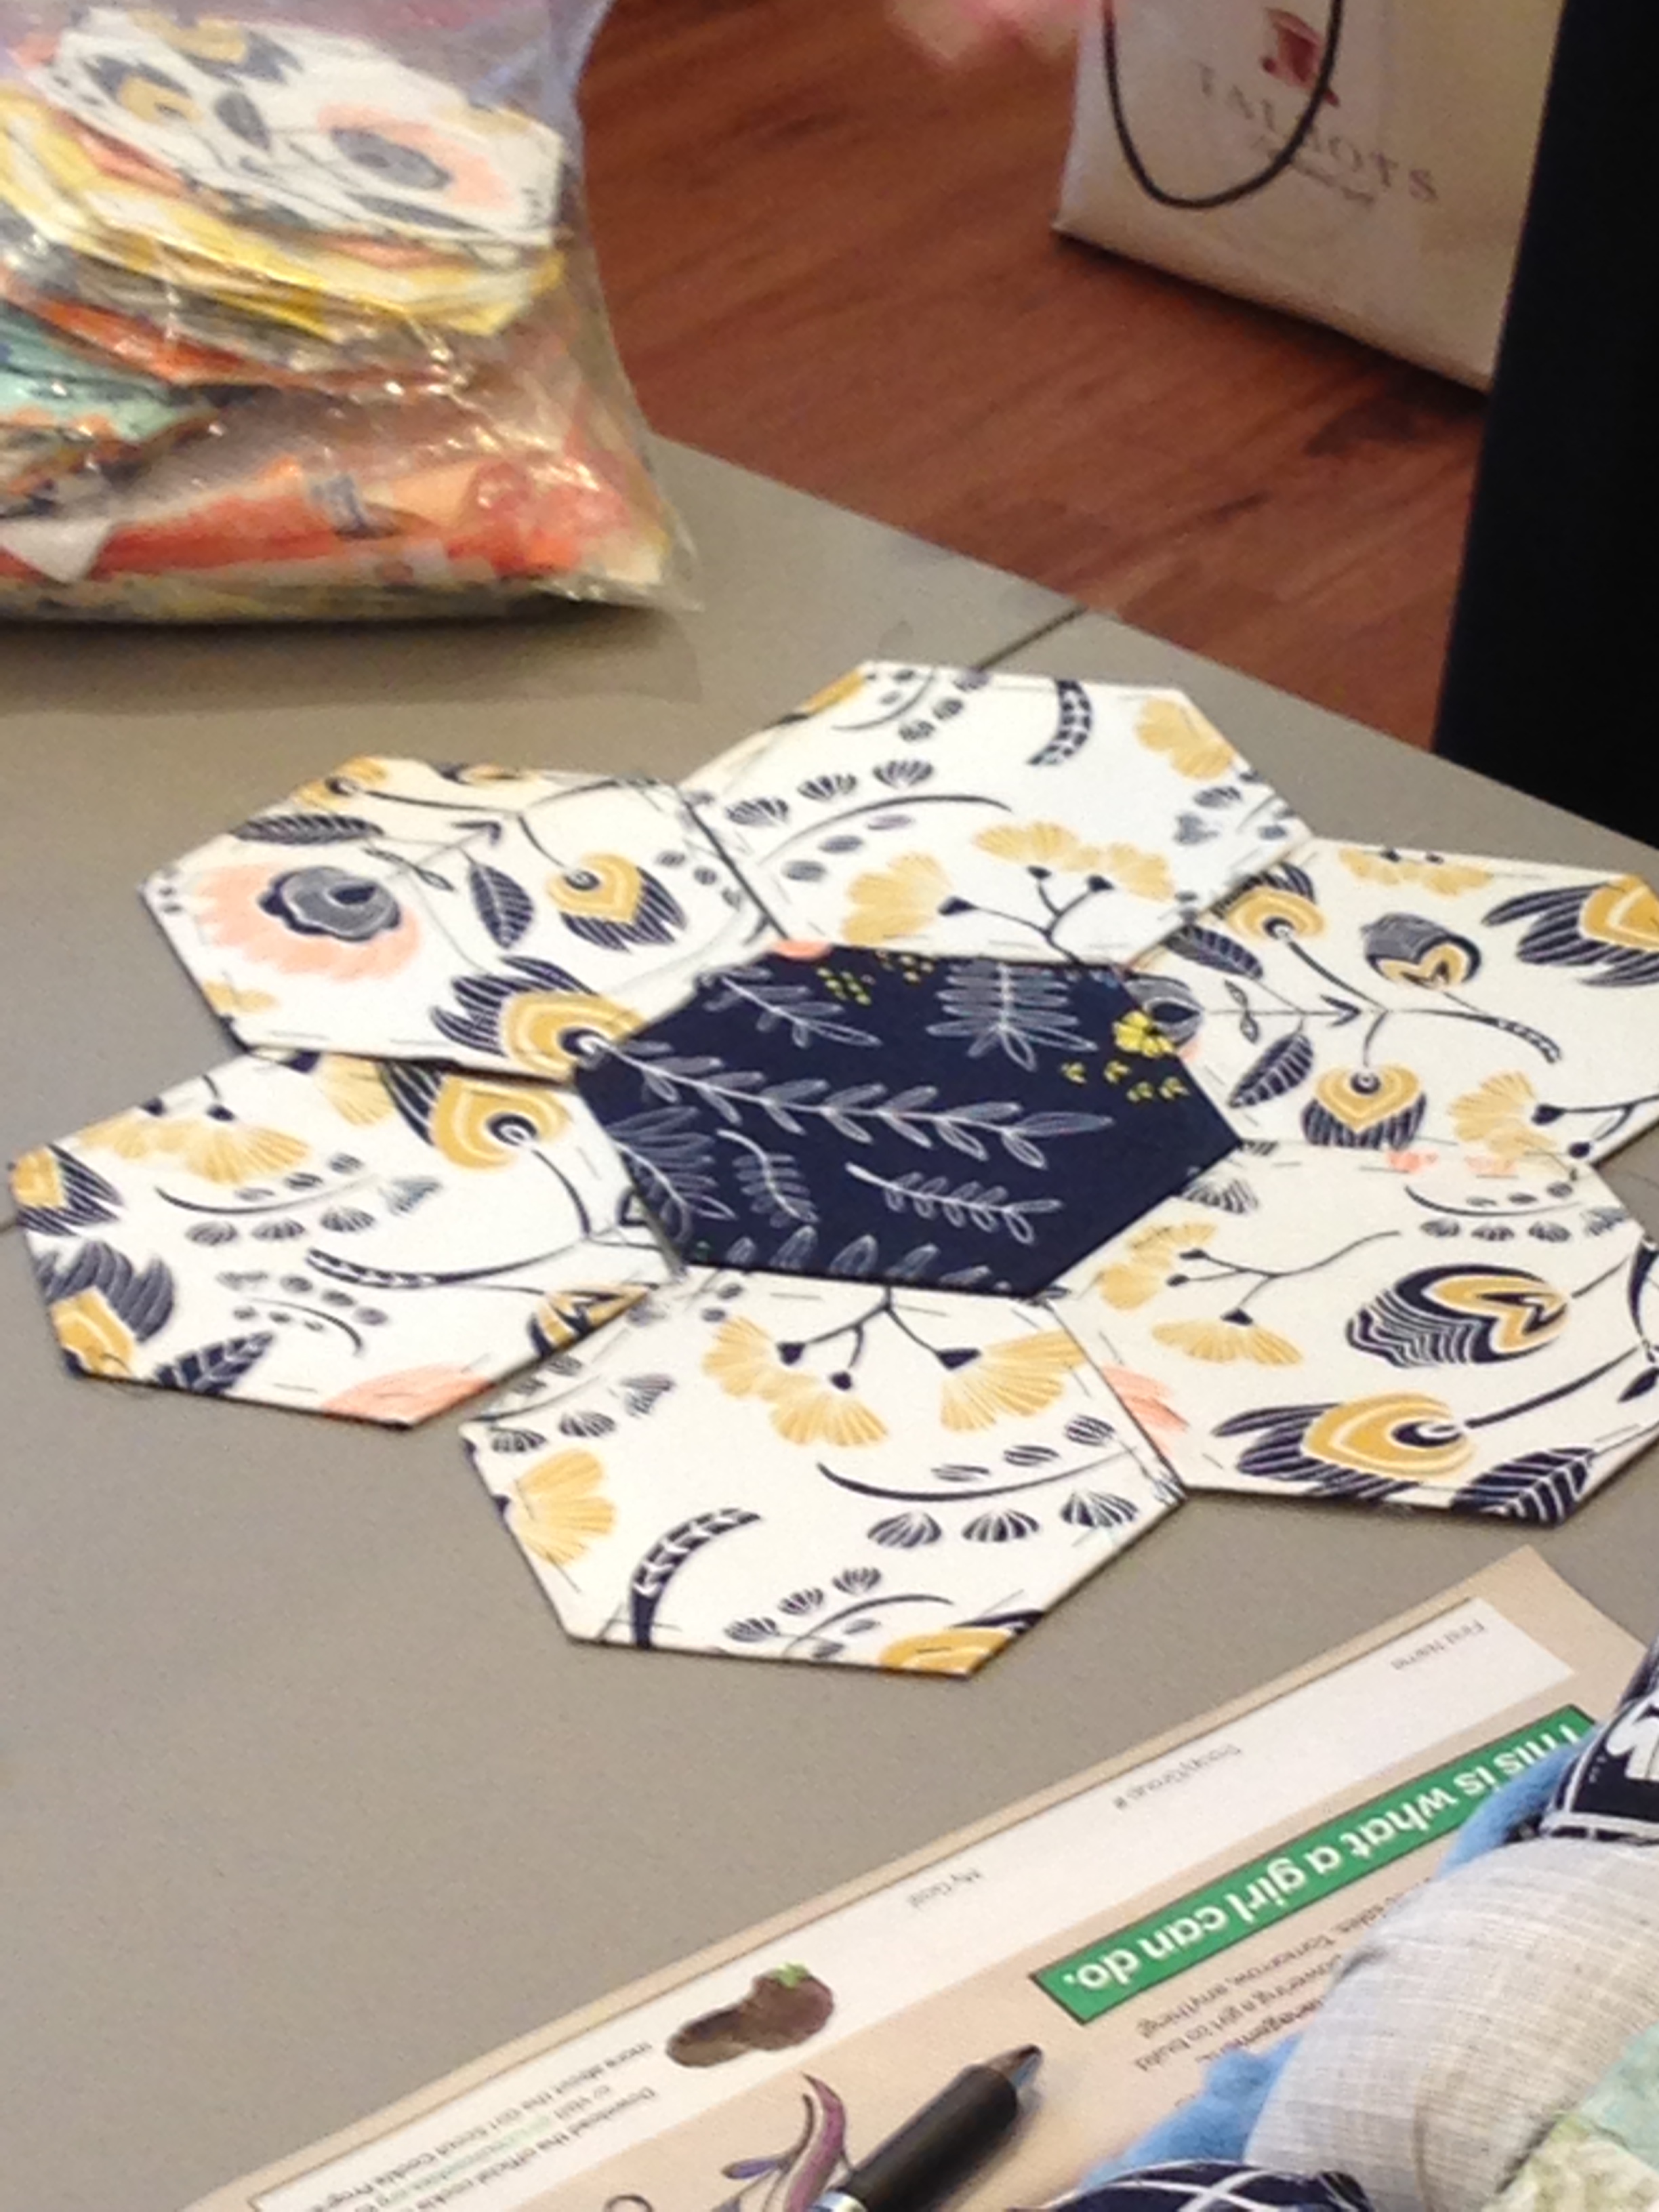
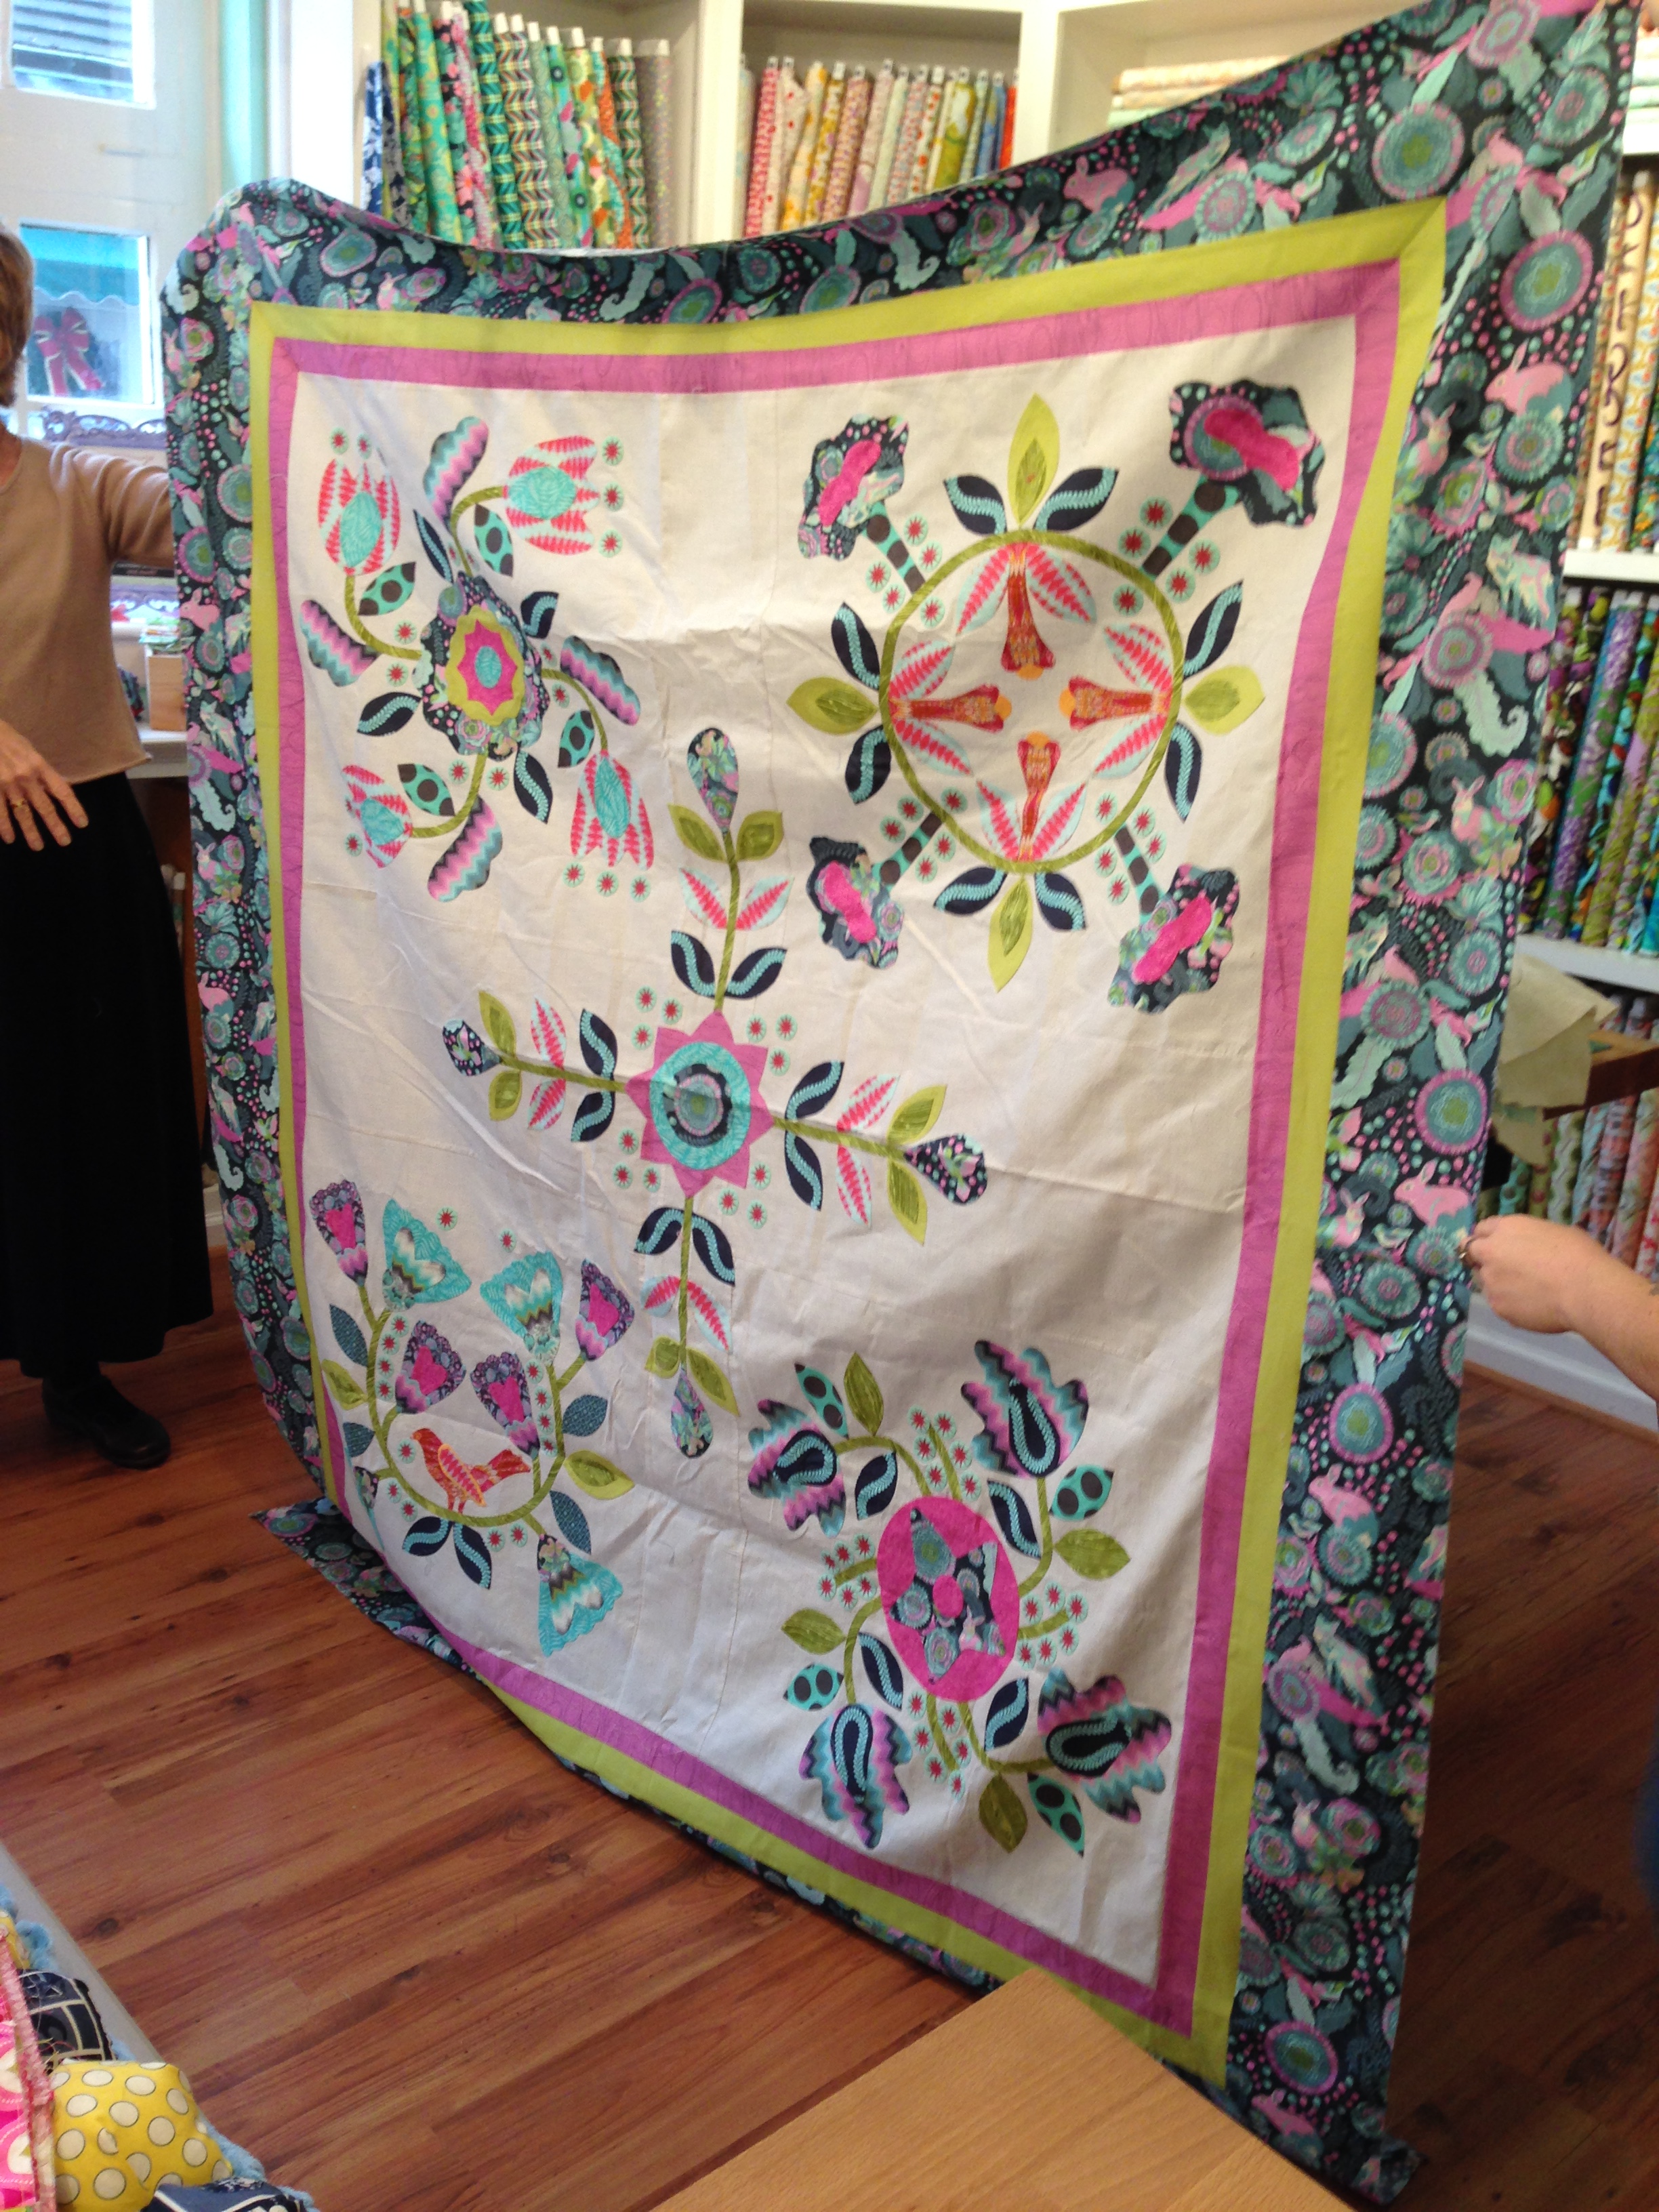
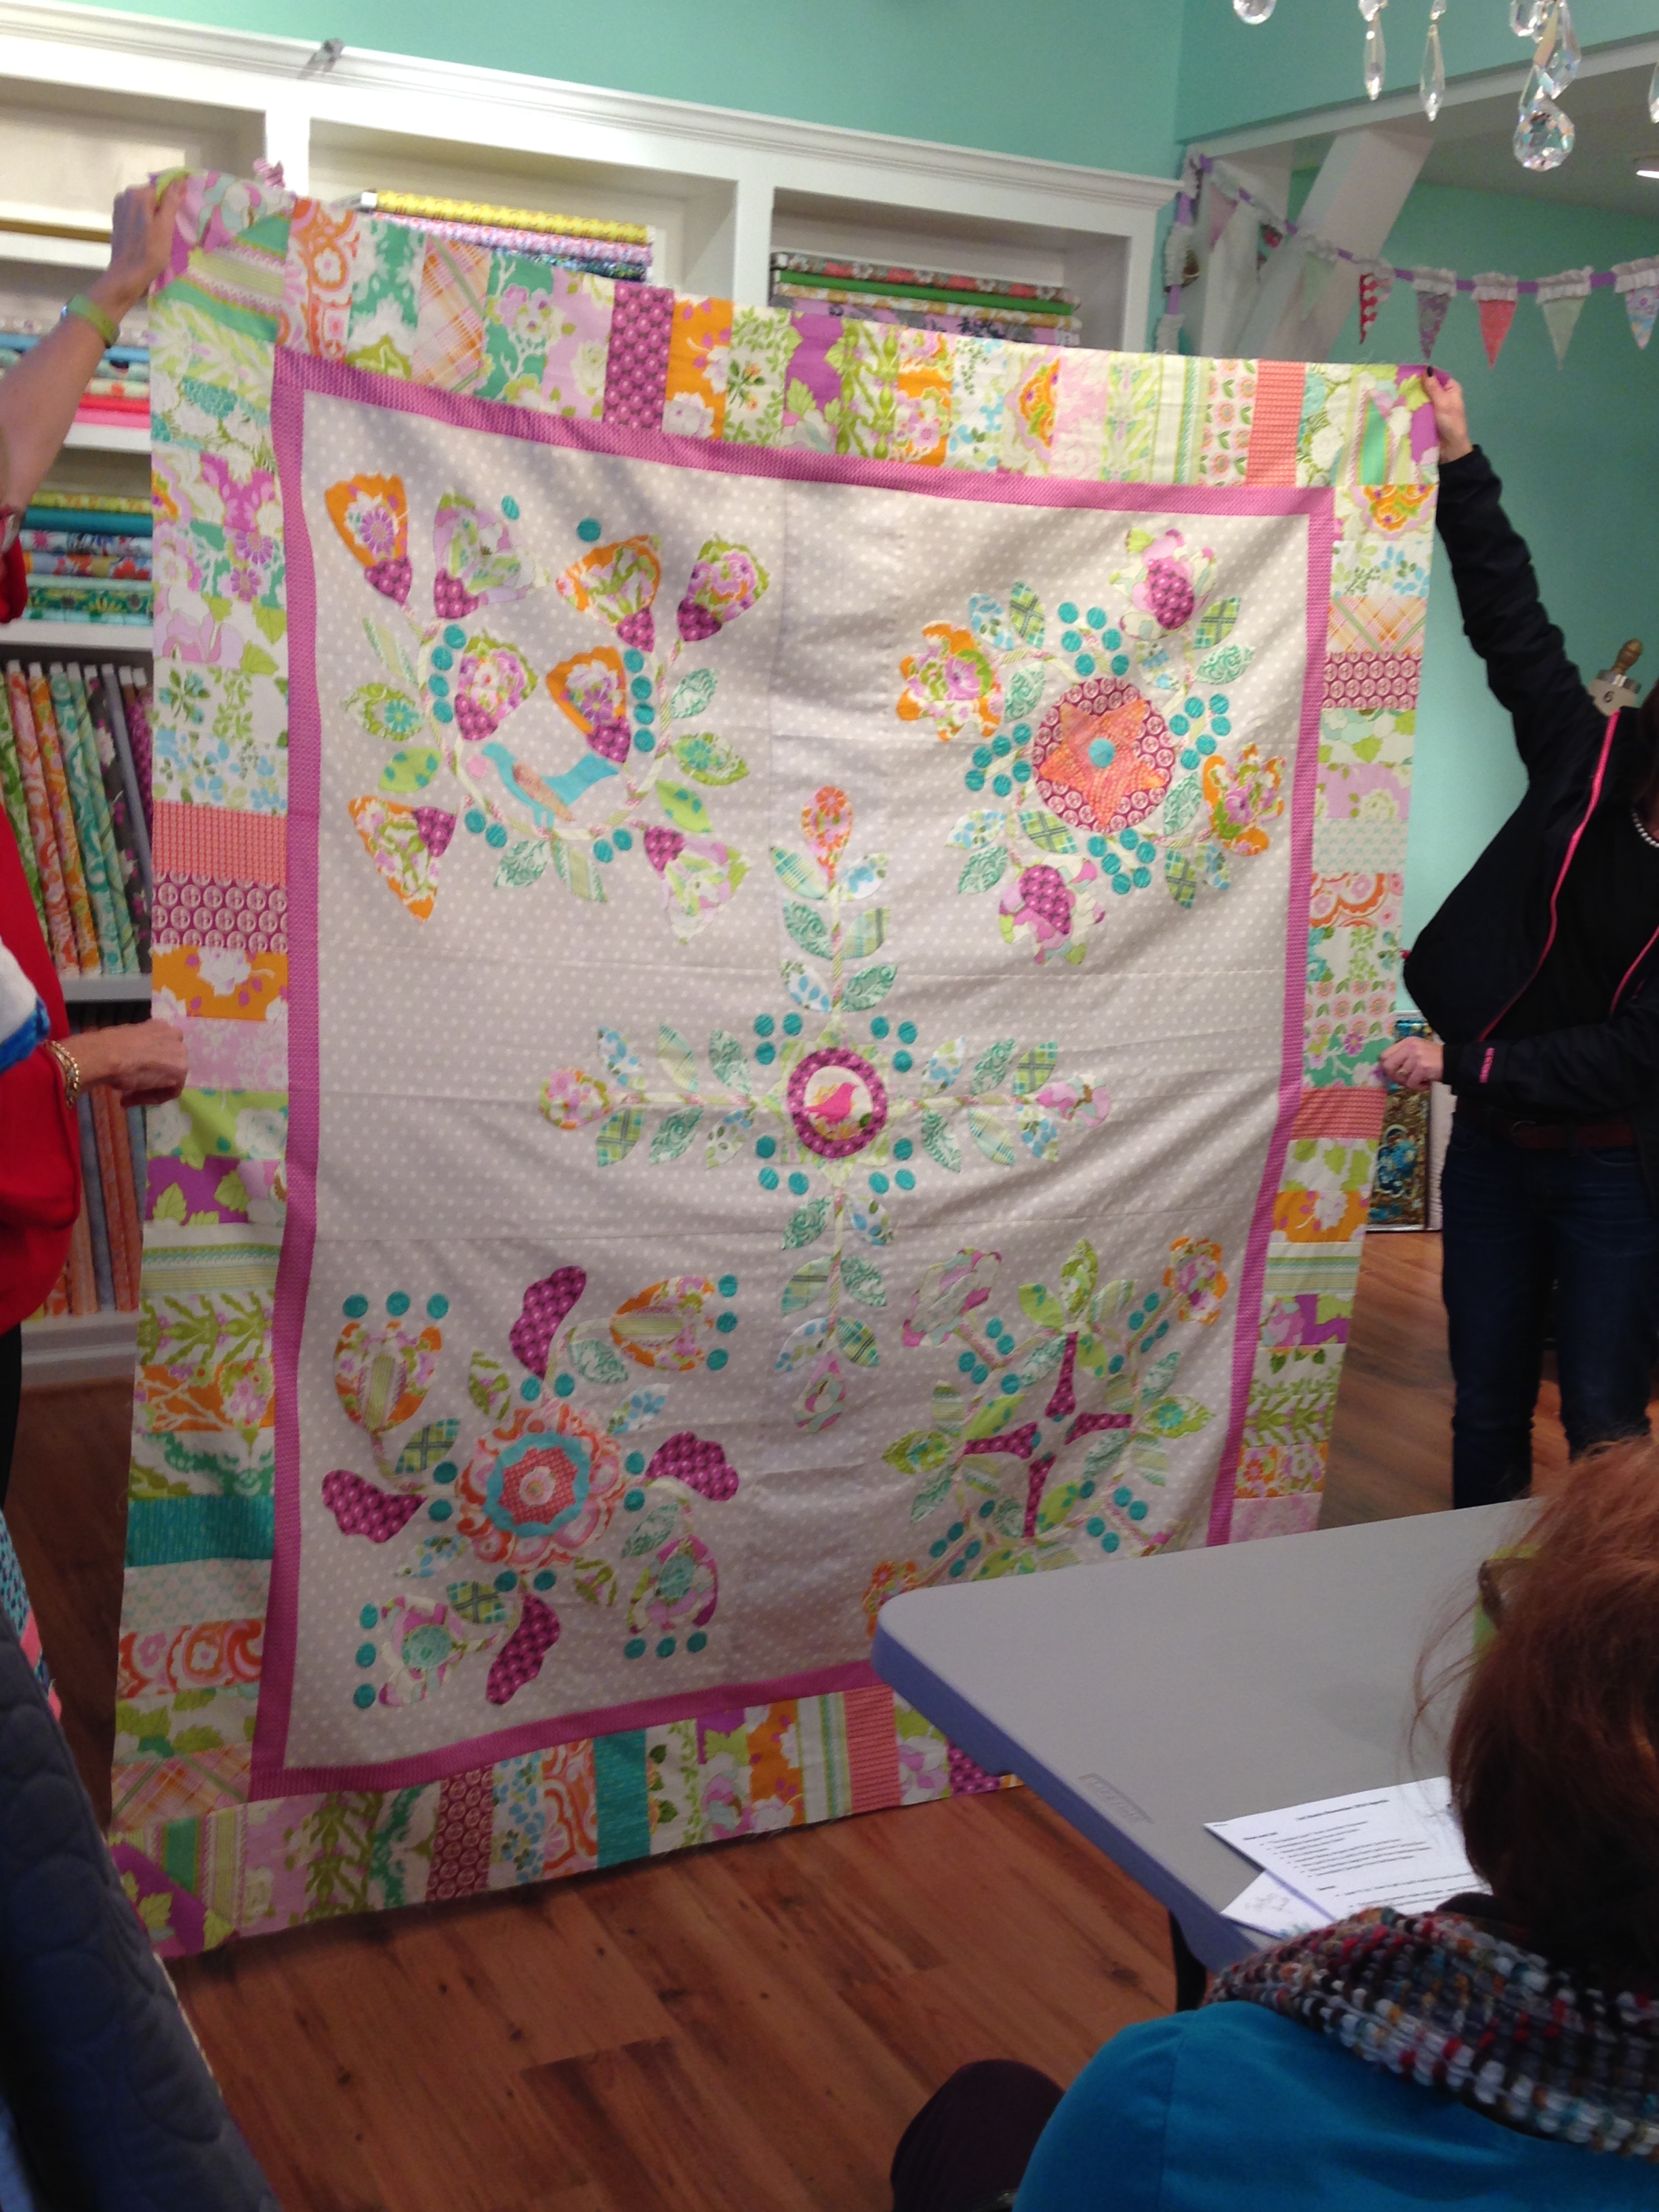
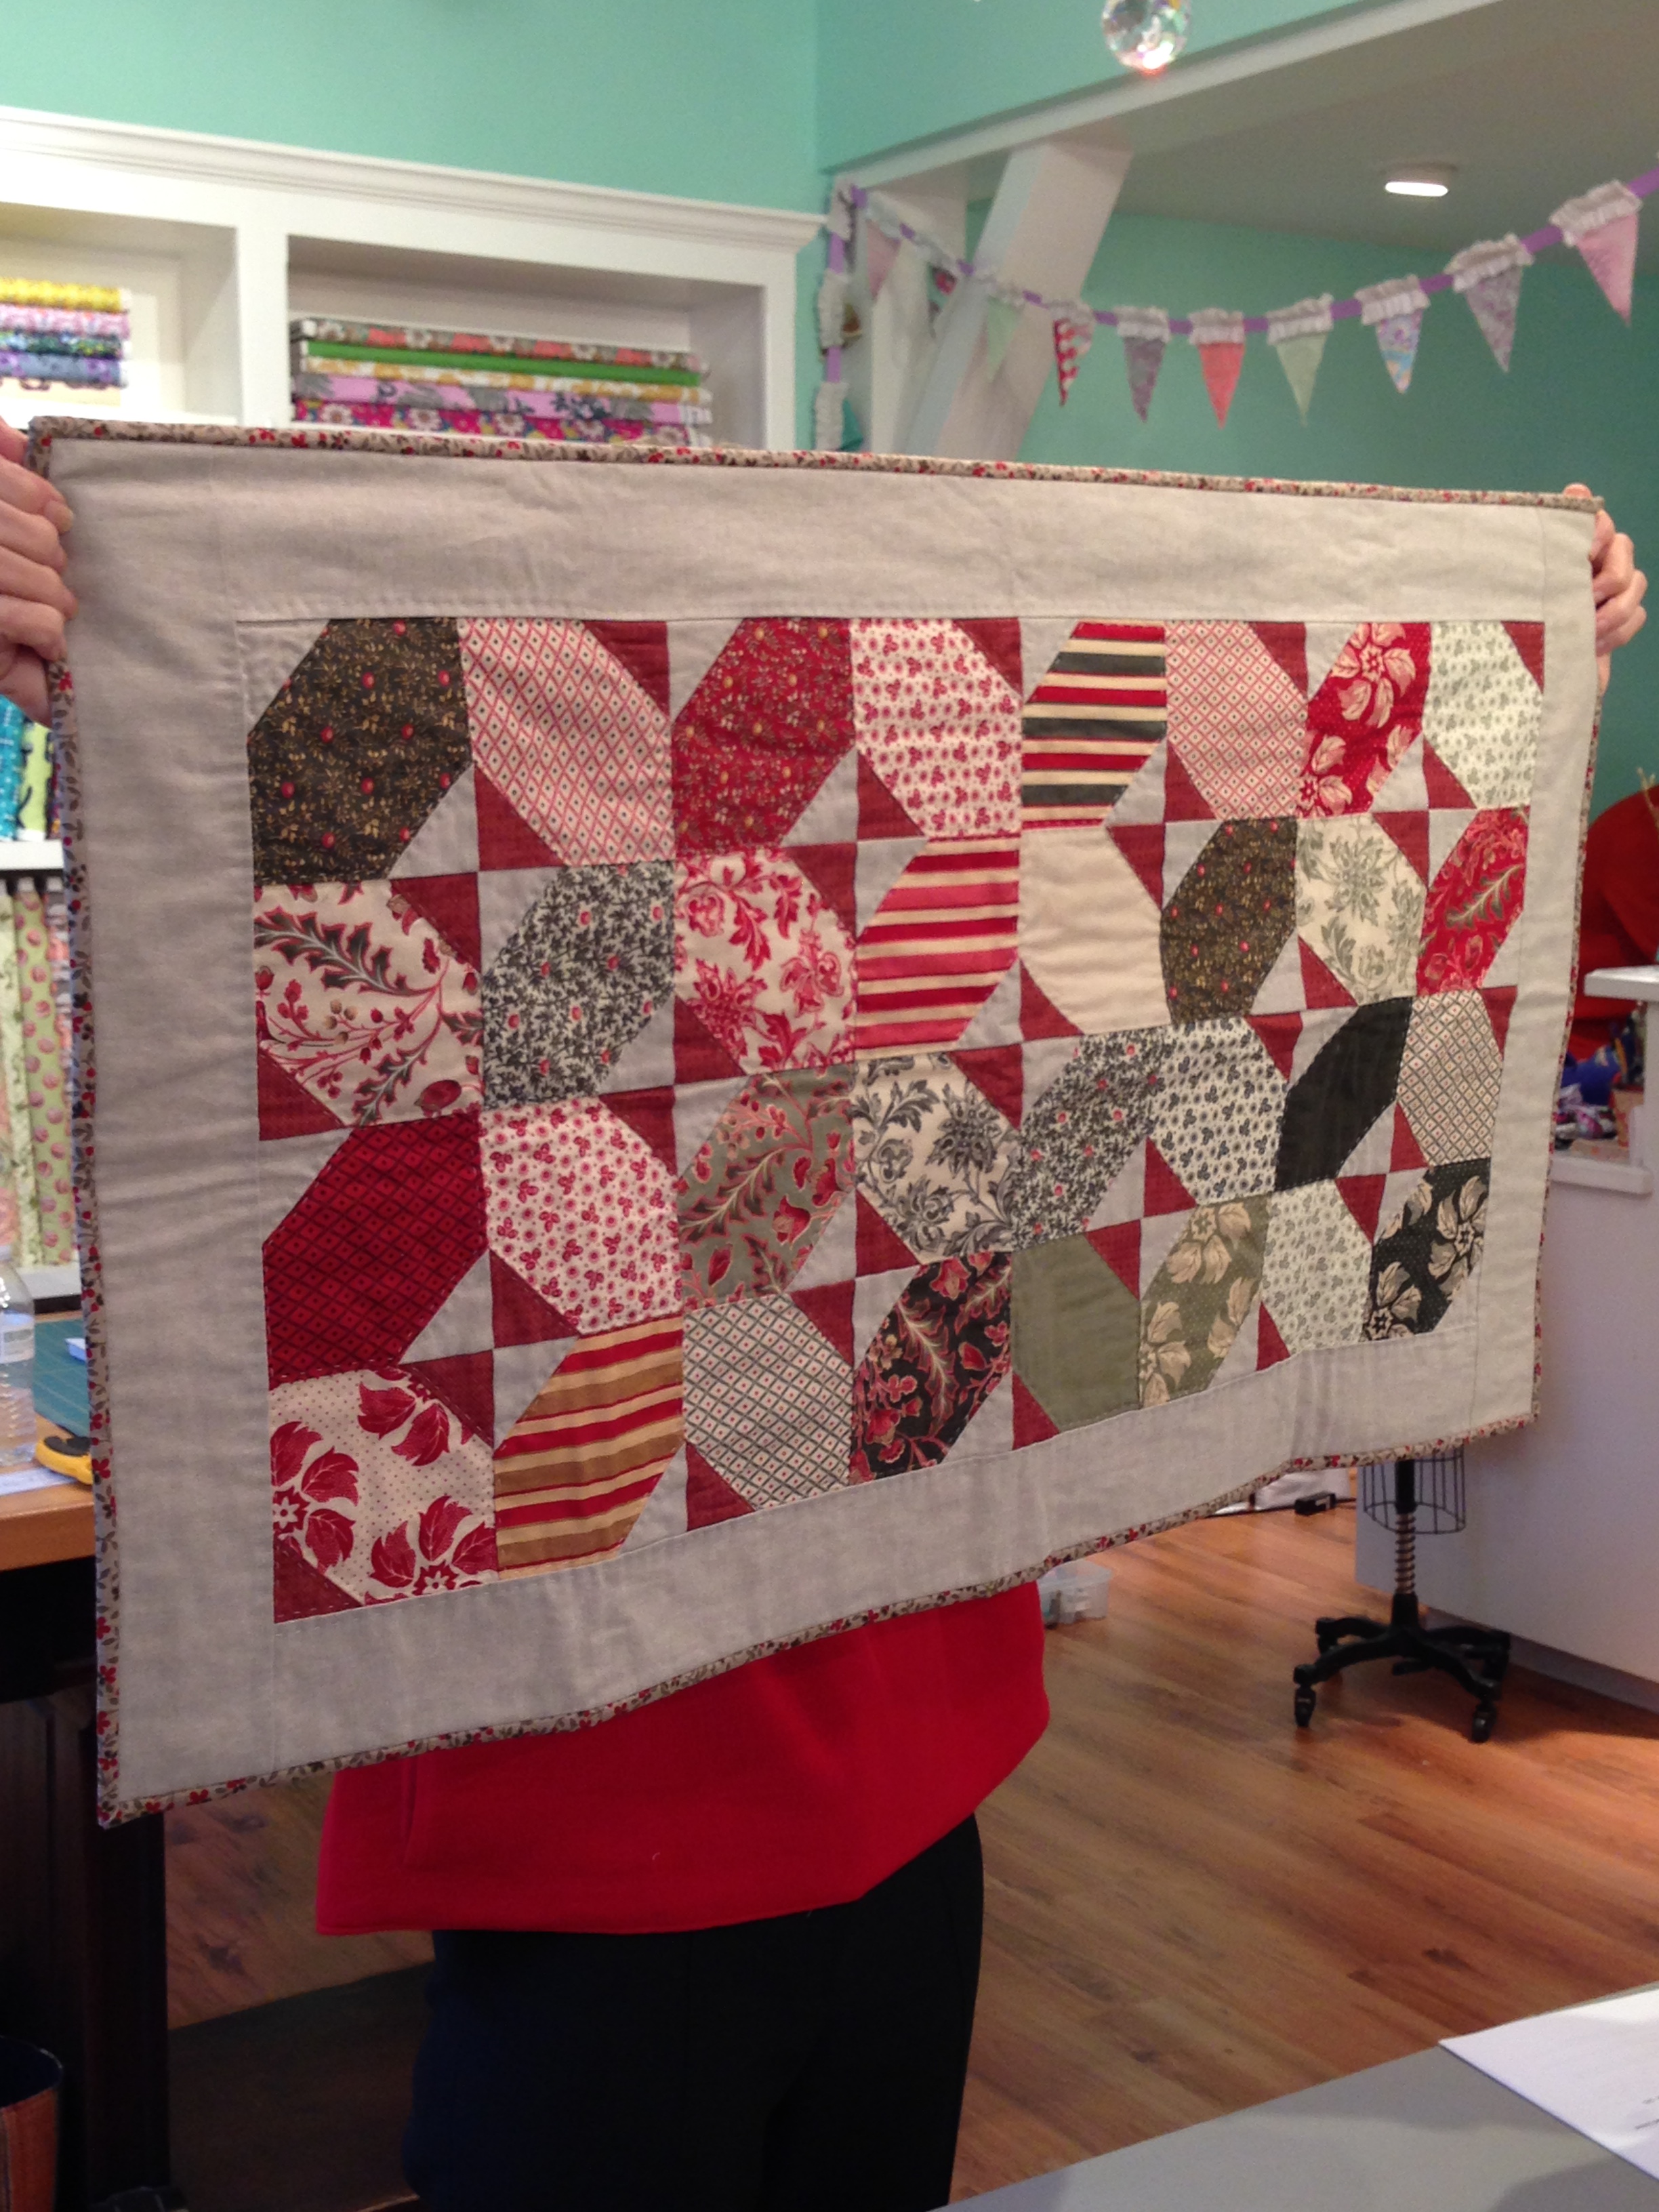
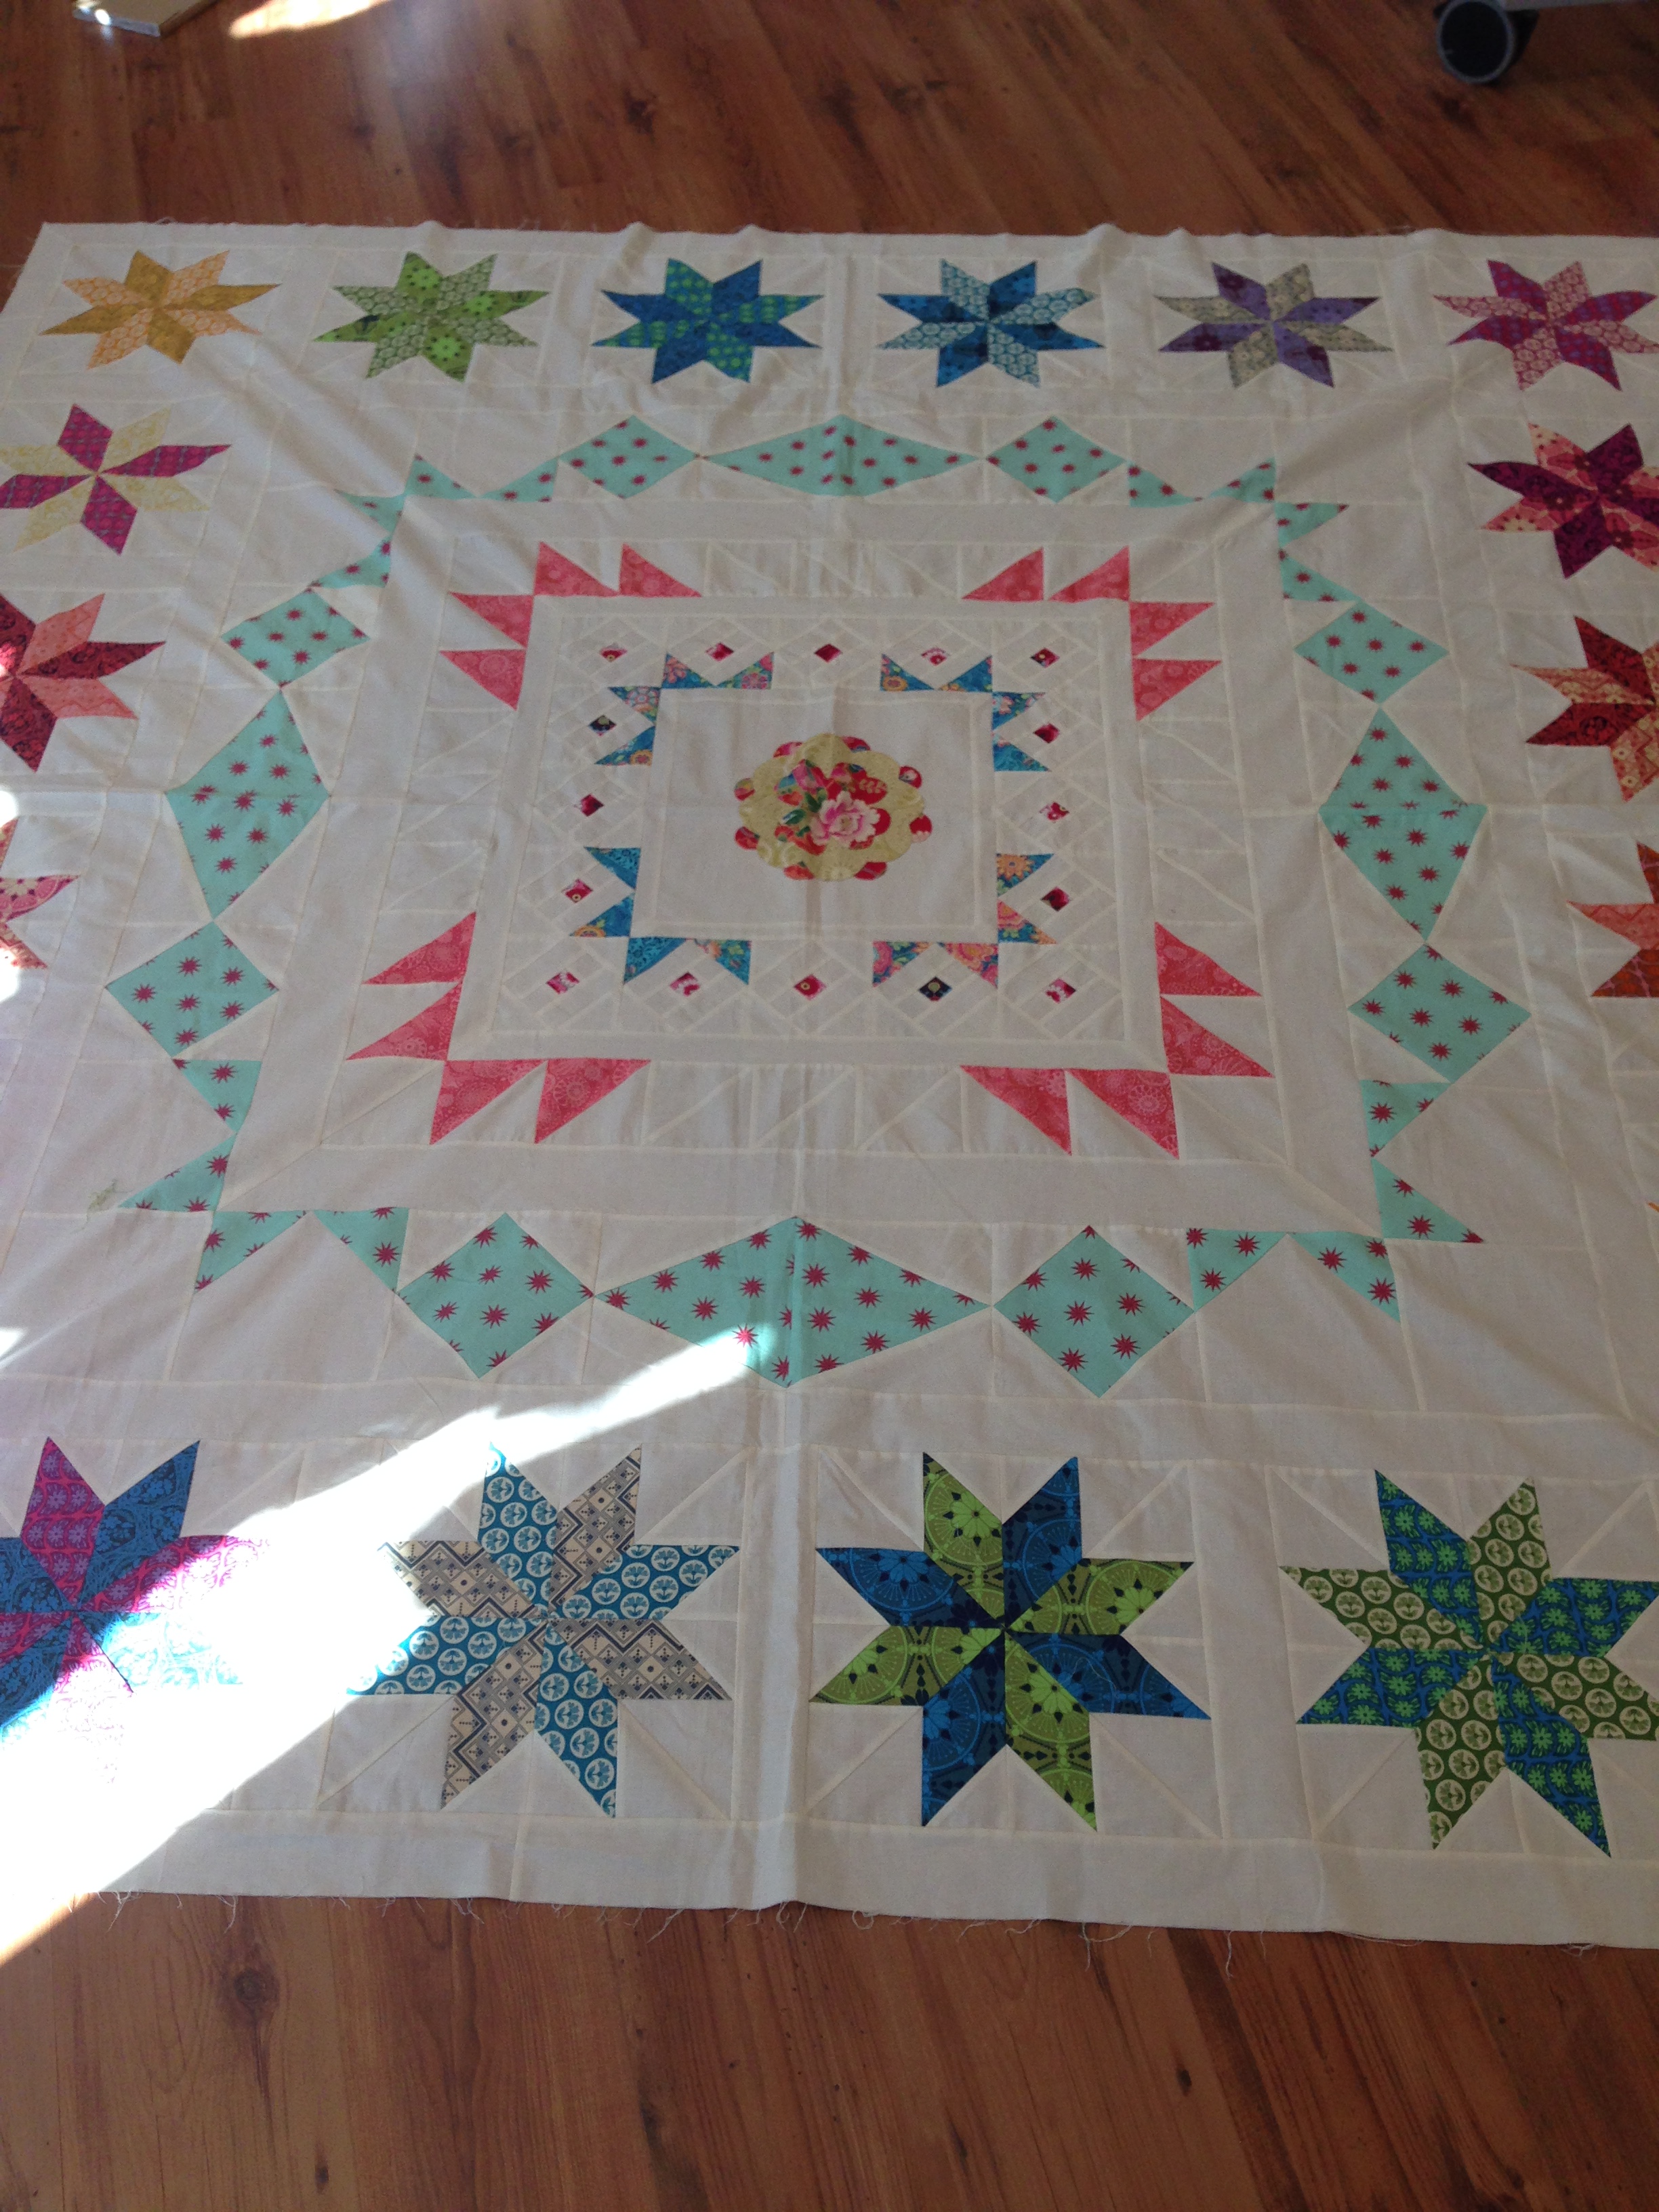
Here’s a panel from Diana’s “Glimmer” quilt from JayBird Quilts.  I love Diana’s color choices.

111


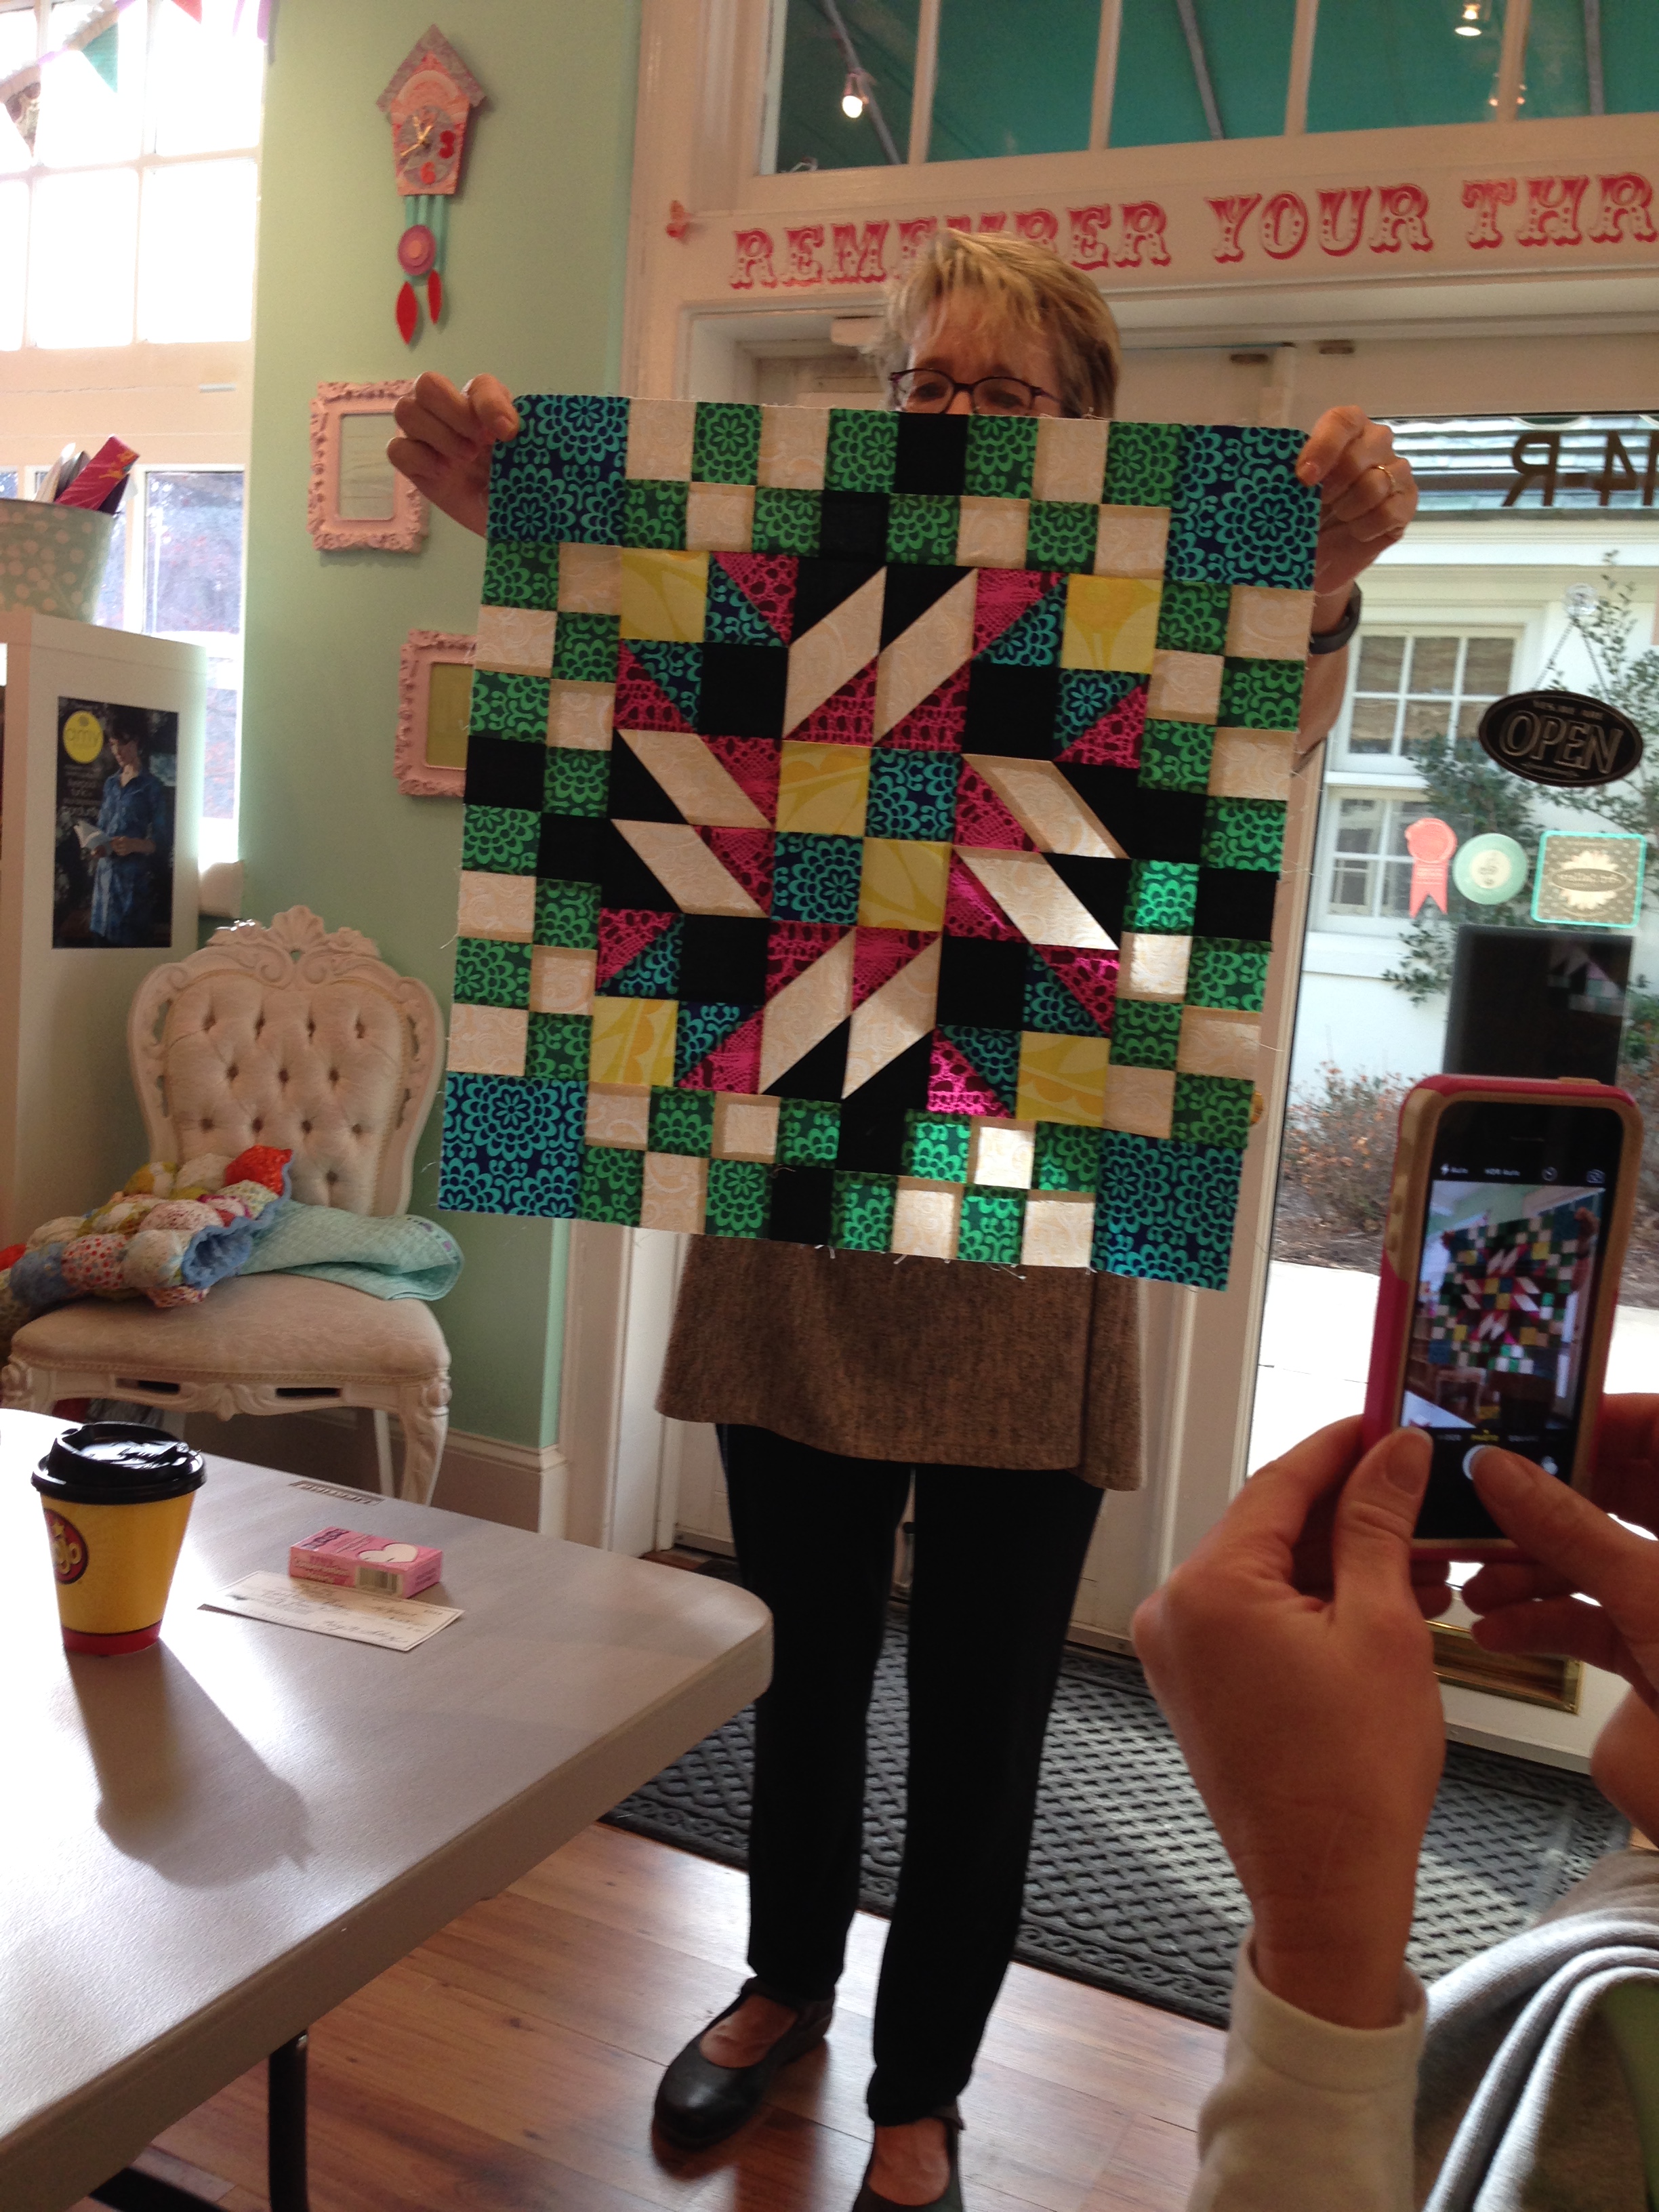
I showed my North Carolina embroidery sampler.   It’s not the greatest picture but Diana is framing it for me and I’ll share the finished project.  I like calling North Carolina home.  🙂

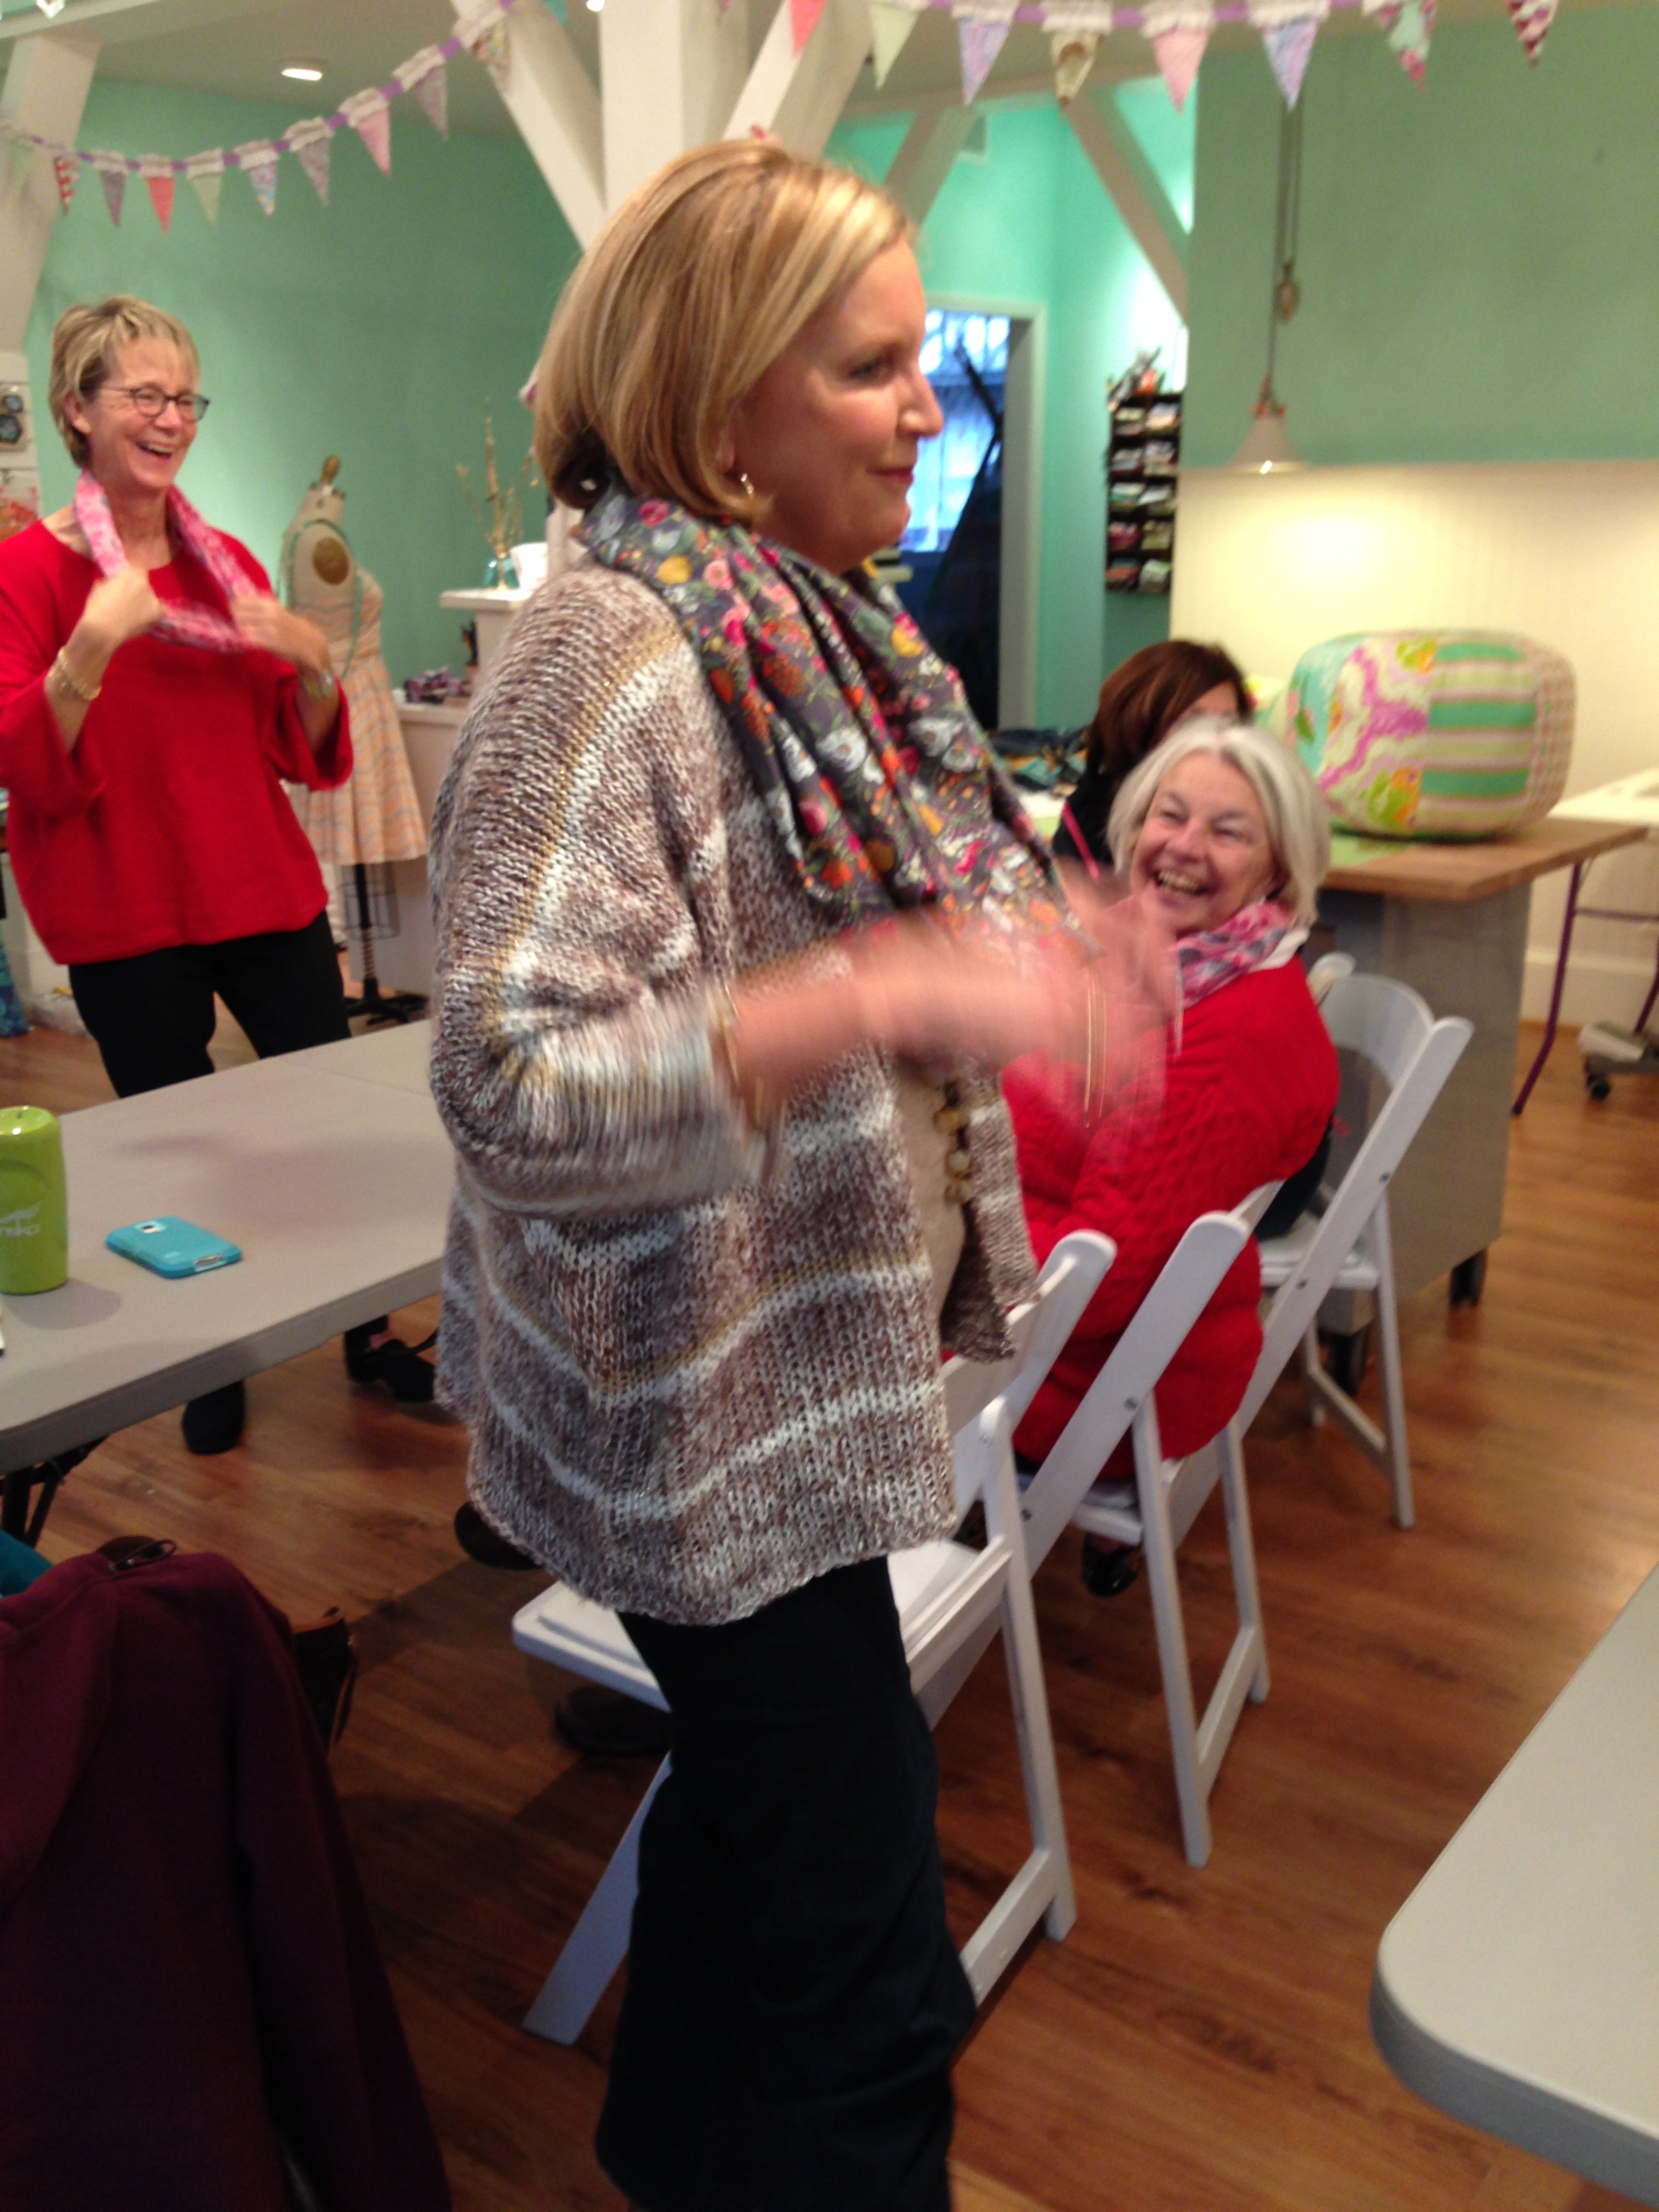
We didn’t have lots of show and tell (Debbie blamed it on the weather) but we did have an impressive turnout to welcome Amy Shively as the new shop owner.  Amy, we are so happy that  this great little fabric shop will continue!

I’ll be posting my QuiltCon pictures soon.  Like Martha Claire, I had a great time!  Stay tuned!


A pillowcase for my Valentine

IMG_4487Here’s the perfect Valentine gift.  Terri LaRue and I worked up this pattern YEARS ago 🙂  I used The Makers Fabric Collection from Cori Dantini for the body.   (Gina has it at The Little General.)  So sweet!  Enjoy!

IMG_4441Cut three pieces of fabric.  The big body of the pillowcase is 27″ long.  The pink trim is 2″ and the cuff is 9.”

IMG_4442Press the pink trim in half, wrong sides together.  Do the same to the green cuff.

IMG_4440Place the body, WRONG SIDE UP, on your work surface.  Line up the raw edge of the body with the raw edge of the cuff and then the trim.

IMG_4443Pin along the edge and then stitch a 1/4″ seam.

IMG_4447IMG_4450Press the pink trim and the green cuff up to the right side of the fabric.

IMG_4451Pin the pink trim to the body of the pillowcase.  A little spray starch helps keep everything nice and flat.

IMG_4452Top stitch along the edge.

IMG_4453It should look like this.

IMG_4454Trim off the selvedge along both edges.

IMG_4457

To make a nice finished “French seam,” fold the pillow case WRONG sides together.  My friend Debbie is responsible for showing me this technique!  Thanks Deb!

IMG_4459

Stitch a 1/8″ seam along the edge.

IMG_4460Turn the pillow case inside out and then take a 1/4″ seam along the edge and the top.

IMG_4461Give it a good press and you are finished!  Happy Valentine’s Day!


Brand New Serendipity Sampler Blocks

016I started two new Serendipity Sampler classes last month and the blocks came back this weekend.  Check these out!  This block belongs to Cheryl.  She will add more leaves and berries.   It’s a great beginning!  Those white flowers are pretty wonderful.

005Here’s Pat’s block.  She bought teal berry fabric yesterday 🙂

Lynda Morris Serendipity SamplerThis is Lynda’s block.  She couldn’t be in class so she sent me this picture.  She calls it her Lilly quilt!

004Here’s Dee’s block.  I LOVE this.  She’s berry hunting.  We talked about not using lots of berries.  We shall see…

006Sue’s glowing Tula block!  She put a LOT of thought into fabric placement and it shows.  Beautiful workmanship.  She’s thinking maybe teal berries…

011Here’s Amy’s block 🙂   After a little prodding, she produced the “parts.”

017How great is this going to be??  She calls it her red, white and blue quilt.  I’m proud of her!  Keep an eye on this one.

013We all decided we loved Alice’s block.  She used those calm greens for her leaves and then had lots of fun with the stalks, stems and flowers.  Maybe orange berries?

012Rachel…ah, Rachel.  She was meant to be an appliquer!  Perfect points, beautiful stitching.  Check out the fussy cutting in the blue center stalks.  Yay!!

015Here’s Wanda’s block.  It’s so right!  She will use that red for all her berries and wait until next month!

014Finally, here’s Jennifer’s beautiful block.  I like it for lots of reasons.  She used Amy Butler’s fabrics and you all know how I feel about Amy Butler.  She TAUGHT HERSELF how to machine applique and she did a really good job.  Finally, she took my beginner quilt class some months back.  She has a great attitude and a pretty wonderful eye for color and it has been fun to watch her do anything she wants to do!

Most of these women have not appliqued before this class.  I am so proud of them!  We had a circle tutorial in the classes so they will be making Karen Kay Buckley’s perfect circles this month.   Stay tuned.


February Fat Stacks

Our Fat Stacks group met this morning at The Little General.  Show and tell was pretty wonderful.  Enjoy!

IMG_4491Jennifer’s Denyse Schmidt Christmas trees quilt.   Yes, she pieced her trees!

IMG_4493Jennifer made some sweet flannel burp cloths from a Cloud 9 tutorial.

IMG_4495Here’s Tanna’s wonderful quilt she pieced and machine quilted.  It’s a gift for her grandmother.

IMG_4497Tanna’s wonderful back.

IMG_4499Here’s a sample of a class Tanna is taking from stitchedincolor.com  Hawaiian applique goes modern!  It’s beautiful.

IMG_4501She has started an orange peel quilt.  The little blocks are wonderful.

IMG_4504Ginny’s Science Fair.  Gina Allen quilted it for her.  I LOVE the red binding.

IMG_4508Ginny’s baby Science Fair.  She’s addicted.

IMG_4510Ginny’s Painted Windows.  Great set and a wonderful choice of fat quarters.

IMG_4512Ginny’s Serendipity Sampler.  (We haven’t seen Ginny in a while.  🙂  She is hand quilting this.

IMG_4514Here’s Kay’s first block from Quiltville.com’s newest mystery quilt.  We loved this.

IMG_4517Tillie’s quilt just back from Gina Allen.  So proud of Tillie and Gina’s quilting is so pretty.

IMG_4519Here’s Diana’s quilt from the book, Skip The Borders.  Diana replaced the four-patch with flying geese.  It glows.

IMG_4521Sandra’s Serendipity Sampler.  I taught her how to applique!  She used a Heather Bailey fat stack.

IMG_4523

Ann’s Flower Chain from Denyse Schmidt.  Wow!

IMG_4524I have spent the last couple of weeks making these four blocks.

IMG_4525I used my Amy Butler Violette fat stack.

IMG_4526The pattern is from Art Gallery.  “Astrodelic”  The blocks measure 42.”

IMG_4527Here’s my favorite.  This will chase away the winter blues!

IMG_4461

We finished up with a pillowcase tutorial.  The Little General has a great fabric called “The Makers.”  This is the perfect Valentine present!

IMG_4488And here’s the travel pillowcase for a sweet little one.

IMG_4531


Let’s end with this.   Here’s the beginning of a new quilt that someone started this morning.  Spring can’t be too far away!!

Thanks for looking.  Let me know if you have any questions!


Monday Morning Serendipity

Our four-person Serendipity Sampler class met this morning at The Little General.  Paula wasn’t able to be with us but she promises to be back in action soon.  We missed her!

This Serendipity Sampler pattern comes from Kim Diehl’s book, Simple Comforts.

Here’s the show and tell from Month 5.  These appliquers have finished their four blocks and they are ready to work on the sashing.

099Char’s four blocks.  She is NO LONGER a beginner; she is doing a really good job.

100Here’s her latest block.  Great circles Char!!


101Jane’s four blocks.  This helped chase away those February blues!!

102

Her fourth block. Love the fussy cutting and those bright orange circles.


097Deb’s fabulous four blocks.

098She will add more berries to her final block.  We loved her “black star!”

Great job ladies!  You inspire me 🙂

Bumpless Binding

My friend, Lois Jean, showed me this technique a long time ago and I shared it in a Fat Stacks demo last week.  I promised to post it on my blog so here you go…let me know if you have questions!

FullSizeRenderSo you have finished attaching the binding to your quilt and now you have two ends that need to be joined.  Hmmm…

FullSizeRender (1)Leave about 9″ between the two ends.

FullSizeRender (2)Be sure to backstitch at both stops.

FullSizeRender (3)Measure out about halfway from the left stop and pin the binding to the quilt.

FullSizeRender (4)Cut it.  (oh boy)

FullSizeRender (5)Bring the right side over to meet the left side.

FullSizeRender (6)Pin it just next to the left binding and then fold the excess over the top of the pin.

FullSizeRender (8)Measure over 2″ from the folded binding and draw a pencil line.  (I used a 2″ measurement because I cut my bindings 2.”  If you cut your binding strips at 2.25″ or 2.5″ then use those measurements.)

FullSizeRender (9)See the pencil line??

FullSizeRender (10)Now, cut right on that pencil line.

FullSizeRender (11)Your bindings should look like this.

FullSizeRender (12)OK, here’s the fun part.  Unfold the left binding.  It goes over the top of the unfolded right binding.  Draw a pencil line from the top left to the bottom right.  That will become your sewing line.

FullSizeRender (19)Take a time out here.  Pin along that pencil line and open your binding just to be sure it is not twisted.  That little step will keep you from making a big mistake later.

FullSizeRender (20)Leave the pins in the fabric and open it.  It should look like this.

FullSizeRender (13)OK, take out those two pins.  Now pin it along the seam line before you sew it.  (It’s all really bulky as you take it to your machine and it won’t slip if you pin.)

FullSizeRender (14)Sew and trim the seam to 1/4.”  (Yes, the trim is a little crooked.  I was excited.)  One more little hint from Sue…open it again before you trim it just to make sure everything is OK.  Once it has been trimmed, there’s no going back…

FullSizeRender (15)Press the seam open.

FullSizeRender (16)Fold it in half and press it.  It will be snug against your quilt.  Sweet!!

FullSizeRender (17)Add some pins to hold it in place.

FullSizeRender (18)

Stitch it down.  Your bindings are joined with no “bump.”  Yay!!

IMG_4137I don’t have a full shot of the quilt; it’s hanging at The Little General.  I’ll use it for my next beginner class.  Thanks Ginabean for the fab quilting.


January Fat Stacks

It’s a cold day in Winston-Salem but that didn’t keep people from showing up for Fat Stacks this morning!   Enjoy!

IMG_4272Jennifer made this Star Wars bubble quilt for her 6-month-old nephew!  So fun!

IMG_4274She also made this Christmas tree skirt.  I love this!  She used a 10 degree wedge ruler and the Treelicious stack.  We all want one.

IMG_4275Over Christmas she basted these great 2.5″ hexies.

IMG_4276


IMG_4277Here’s Tanna’s Science Fair.  Perfect piecing!!

IMG_4279Beverly couldn’t be there today but that didn’t stop us from showing off her Science Fair; you will love it Bev!!  She used Amy Butler’s Glow fat stack.  Gina Allen quilted it for her.

IMG_4306

Here’s Paula’s “The Painted Forest.”  Paula’s background is scrappy and she used Anna Maria Horner’s stack.

IMG_4283Well of course, I had to start one.  Here’s the top panel of mine using Enchanted Garden and a white background.

IMG_4281Carole made this one.  We talked her into loving it!  Isn’t that fun?  Thanks for inspiring us Paula!

IMG_4284

Sue made this awesome Noodlehead Divided Basket.  She used upholstery weight fabric.  It’s really nice!

IMG_4286Here’s a scrappy top of Kait’s.  That’s a pretty cool silver metallic in there.

IMG_4288Kait’s Modern Maple.  She quilted this; we loved it!

IMG_4290Here’s the back.  She used a vintage sheet…it’s pretty wonderful.

IMG_4292Joyce’s Serendipity Sampler.  Check out the mitered border!!

IMG_4252

IMG_4294Here’s my Tessellations top.  It’s an Alison Glass pattern and The Little General has them!

IMG_4296Finally, here’s Linderella’s Carousel top using Amy Butler Hapi.  Love it Linda!

December Fat Stacks

We had another great meeting at December’s Fat Stacks.  Here’s the show and tell.  Thanks to Gina for taking the pictures and to Tanna for being my “holder.”

IMG_4001

We started with Ann’s Meadow blocks.  It’s so pretty!

IMG_4003

Here’s her finished Serendipity Sampler.  This was her first applique project.  I am very proud of her.

IMG_4004 IMG_4006

Paula’s wonderful AMHorner quilt.


IMG_4009

We know how to party at Fat Stacks.  Bev and Tillie are modeling Deb’s voile scarves.  Debbie made them for Christmas presents.  Perfect!IMG_4010I look good!  🙂

IMG_4012

Kay made this great quilt for Senior Services.  The Fat Stacks group will be donating SEVENTEEN quilts for Meals on Wheels clients.  That’s amazing!


IMG_4014

Kay also managed to make this glorious Jaybird Quilts top.  I love this!


IMG_4017

Diana shared some great piecing.  These are so fun!IMG_4018 IMG_4019


IMG_4020

Here’s Carole’s original design quilt using Denyse Schmidt’s charm pack.  LOVE.


IMG_4021

Remember this beauty?  We watched Carole create it at our Open Sew.  It’s quilted and pretty wonderful.

IMG_4023

Martha Claire donated this wonderful lap quilt to Senior Services.  So soft!IMG_4024

Beverly’s Serendipity Sampler.  The bird in the middle…IMG_4028

Tanna’s hexie in a hexie in a hexie..IMG_4029

Perfect backing fabric for a Christmas gift!
IMG_4032

DONE.  Yay Tanna!IMG_4033 Tanna’s Essex flax table runner.  She hand quilted this.  Wonderful!IMG_4034

Here’s Brooks’ top.  His mom helped a little.  🙂IMG_4035

My 2015 beginner quilt.  It’s off to Gina Allen to be quilted.  I used the Utopia Fat Stack.IMG_4040Finally, my Serendipity Sampler.  I’m hand quilting it….

We finished off with a great make and take Christmas ornament from Stars Inspirations.   I hope you have a wonderful Christmas and thanks for reading my blog!


OK to take a picture?

When I see an awesome quilt or idea, I ask, “OK to take a picture?”  These quilters said yes.

IMG_3886Ginny finished this great bubble quilt.  Yay!  She used Awaiting Ada’s awesome tutorial.


IMG_3963This quilt was made by Linda in my BEGINNER class.  I’m proud of you Linda!  Gina Allen quilted it for her and I just happened to be there when Linda opened the bag.  Remember when you got your first quilt back from your longarm quilter??


IMG_3889Ginny made this great churn dash from a pattern I wrote for Karen Gray Design back in the day.


IMG_3887Check out the mitered corner.  Oh yeah….


IMG_3908Tanna is now officially obsessed with hexies.  She was binding this little original design beauty.


IMG_3937Here’s Jennifer’s wonky log cabin.  She took my beginner class but finished this one first.  I’ll take credit for giving her the confidence to believe she can do it.  🙂


IMG_3960This nice lady made the Modern Baby Quilts fishy quilt.  I don’t know her name but I loved her quilt!  She machine quilted that herself.

IMG_3935This beautiful wool quilt from Primitive Gatherings belongs to Linda.  She’s adding a triple sash border.  I taught this as a block of the month at Knit One Smock Too.   You can finish it Linda!

IMG_3888Ginny’s baby-sized Science Fair.  I LOVE this.  Ginny took my class and just keeps making these.  Cotton + Steel never looked so good.

IMG_3933Diana likes making flying geese so she is making blocks for them.  This is going to be a beautiful quilt!


IMG_3903Gina’s Imari Plate.  This quilt is huge and beautiful and finished!  That aqua border is her original design.


IMG_3961Finally, here’s Carole’s sweet 2″ strip quilt top using Heather Bailey fabrics.  I love her transition.  We will see this again at Fat Stacks I hope!


Poufs

It all started with Margaret’s pouf.

IMG_3829

It’s the Amy Butler 18″ gumdrop pillow; the pattern has been around since 2007!  Margaret picked out the four fabrics and I stitched and stuffed it and now it sits in her office.

So  a couple of people asked about a pouf class and I organized one at The Little General.  Here’s Jennifer’s.  She used four 1/2 yard cuts of Cotton + Steel.  I experimented on her and she was very patient with me!

IMG_3876


Kay made a two color that we loved.

IMG_3972


Here’s Beverly’s four color for her granddaughter.

IMG_3971

And finally Ginny’s one fabric pouf using Anna Maria Horner’s Honor Roll.  It’s upside down; sorry Ginny!

IMG_3973Aren’t they pretty??  They make really fun Christmas presents for nurseries or offices or just to show off a pretty fabric in a corner.  Best of all, everybody plans on making another one!

If you decide to make one, be sure to double stitch each seam.  They take A LOT of fiberfill and it’s really discouraging to hear stitches pop as you stuff.  Stitching the same seam twice takes care of that big problem.

The amount of stuffing is up to you.  Jennifer used just three 16 oz. bags of fiberfill and hers looked great.  We could not get one more handful into Kay’s and we tried!  HA!  I pull the fiberfill apart before I stuff it because somebody told me to do that a long time ago…

Want to make one??  You probably don’t need a class but if you decide you want to hang out with other pouf makers and just have a big time, I just added a class on Friday, December 12 at 9:00 am at The Little General.   There’s more info under my class schedule tab.  I would love to have you!

Finally, I hope you have a wonderful Thanksgiving!  Travel safely and make happy memories!