My friend, Lois Jean, showed me this technique a long time ago and I shared it in a Fat Stacks demo last week. I promised to post it on my blog so here you go…let me know if you have questions!
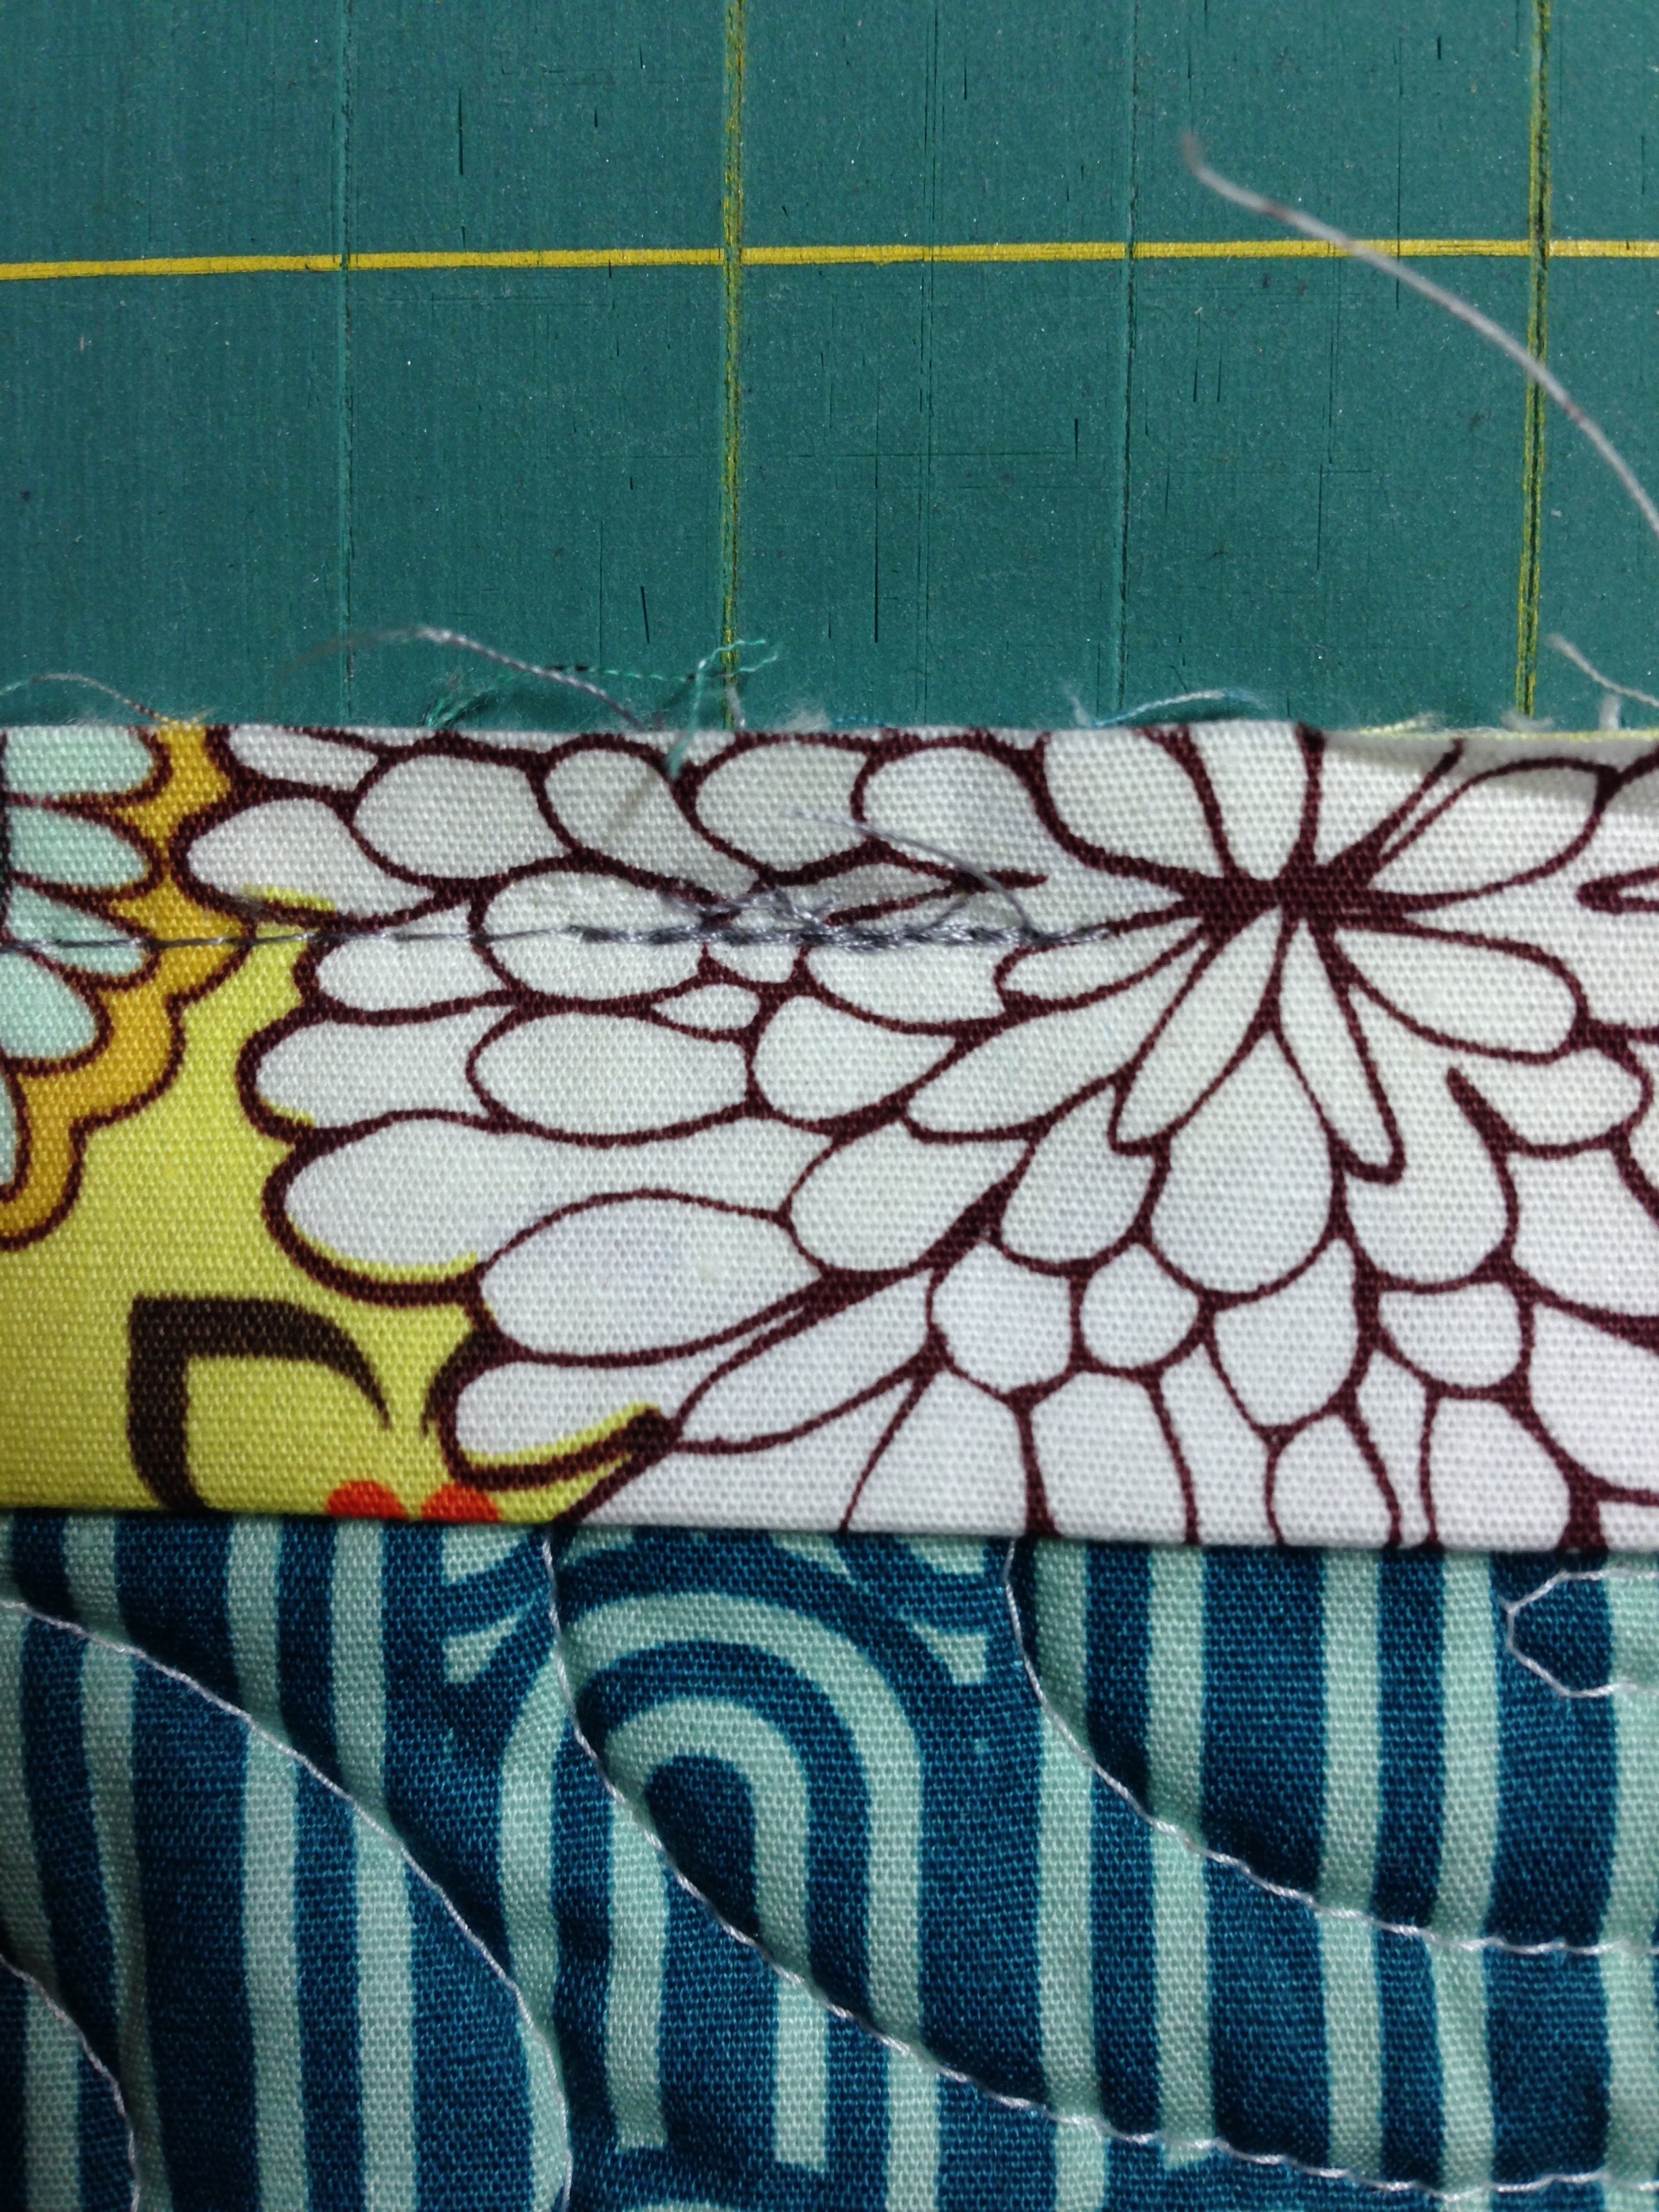
 So you have finished attaching the binding to your quilt and now you have two ends that need to be joined. Hmmm…
 Leave about 9″ between the two ends.
 Be sure to backstitch at both stops.
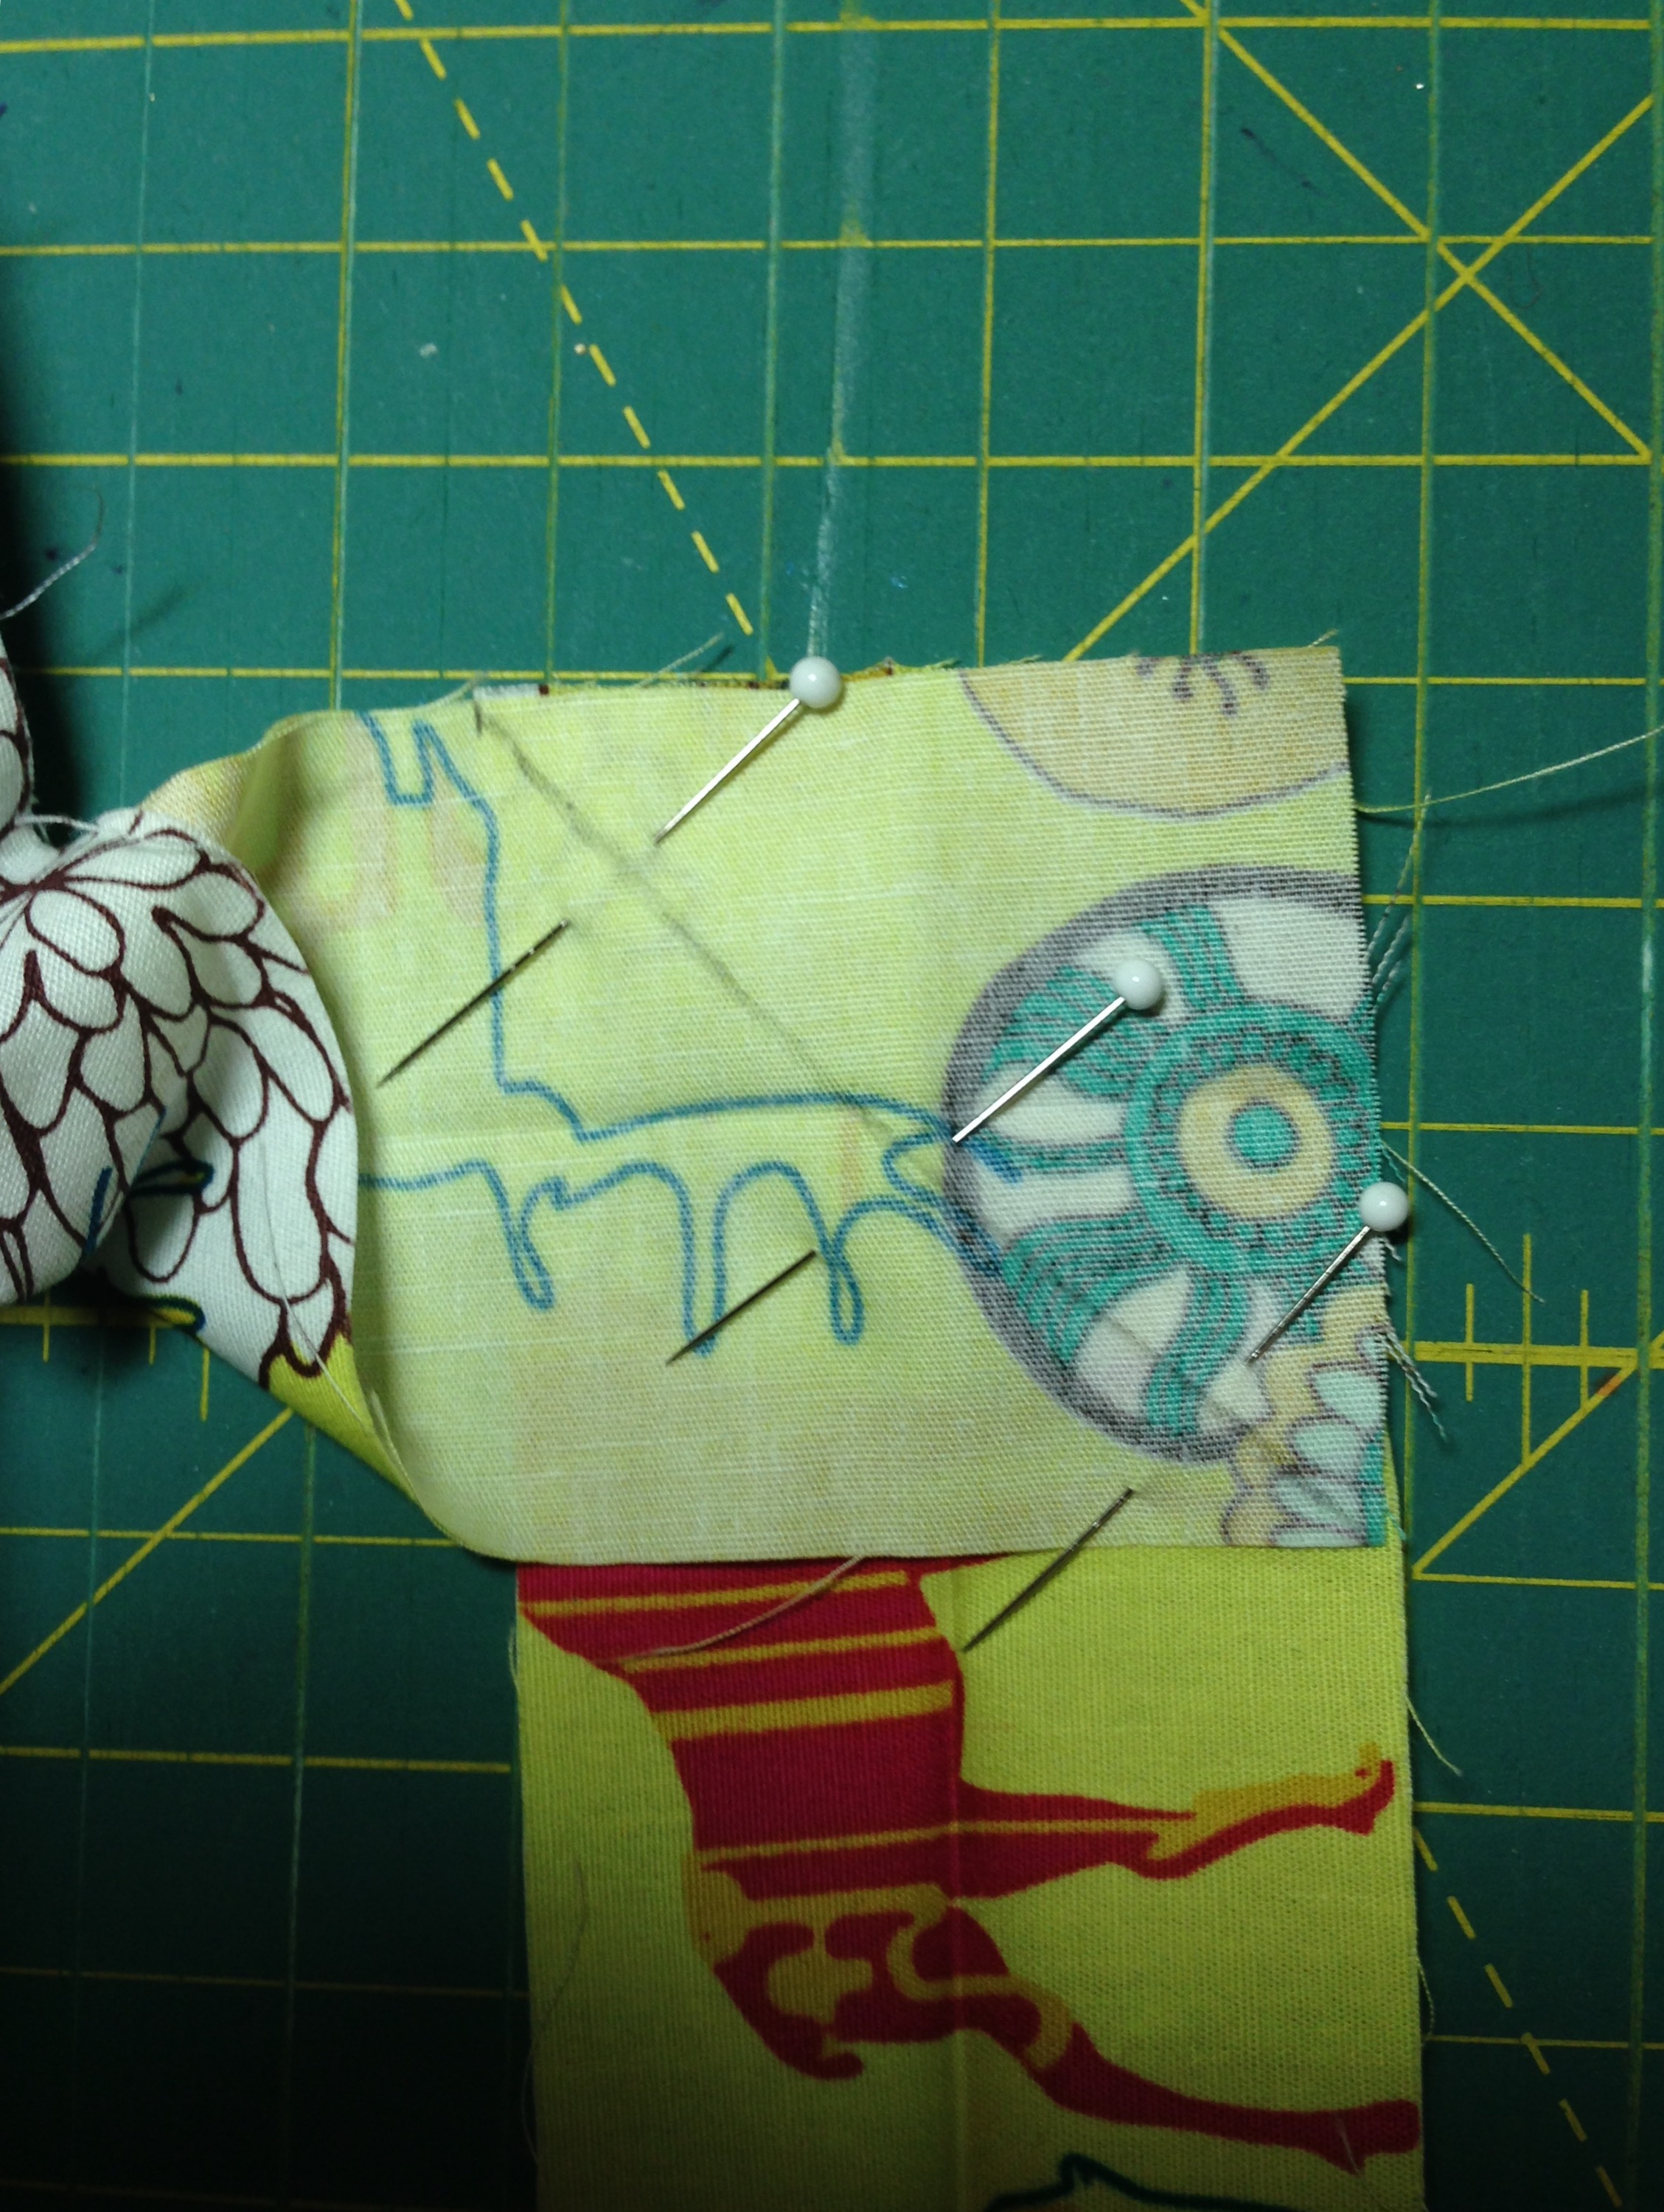
 Measure out about halfway from the left stop and pin the binding to the quilt.
 Cut it. (oh boy)
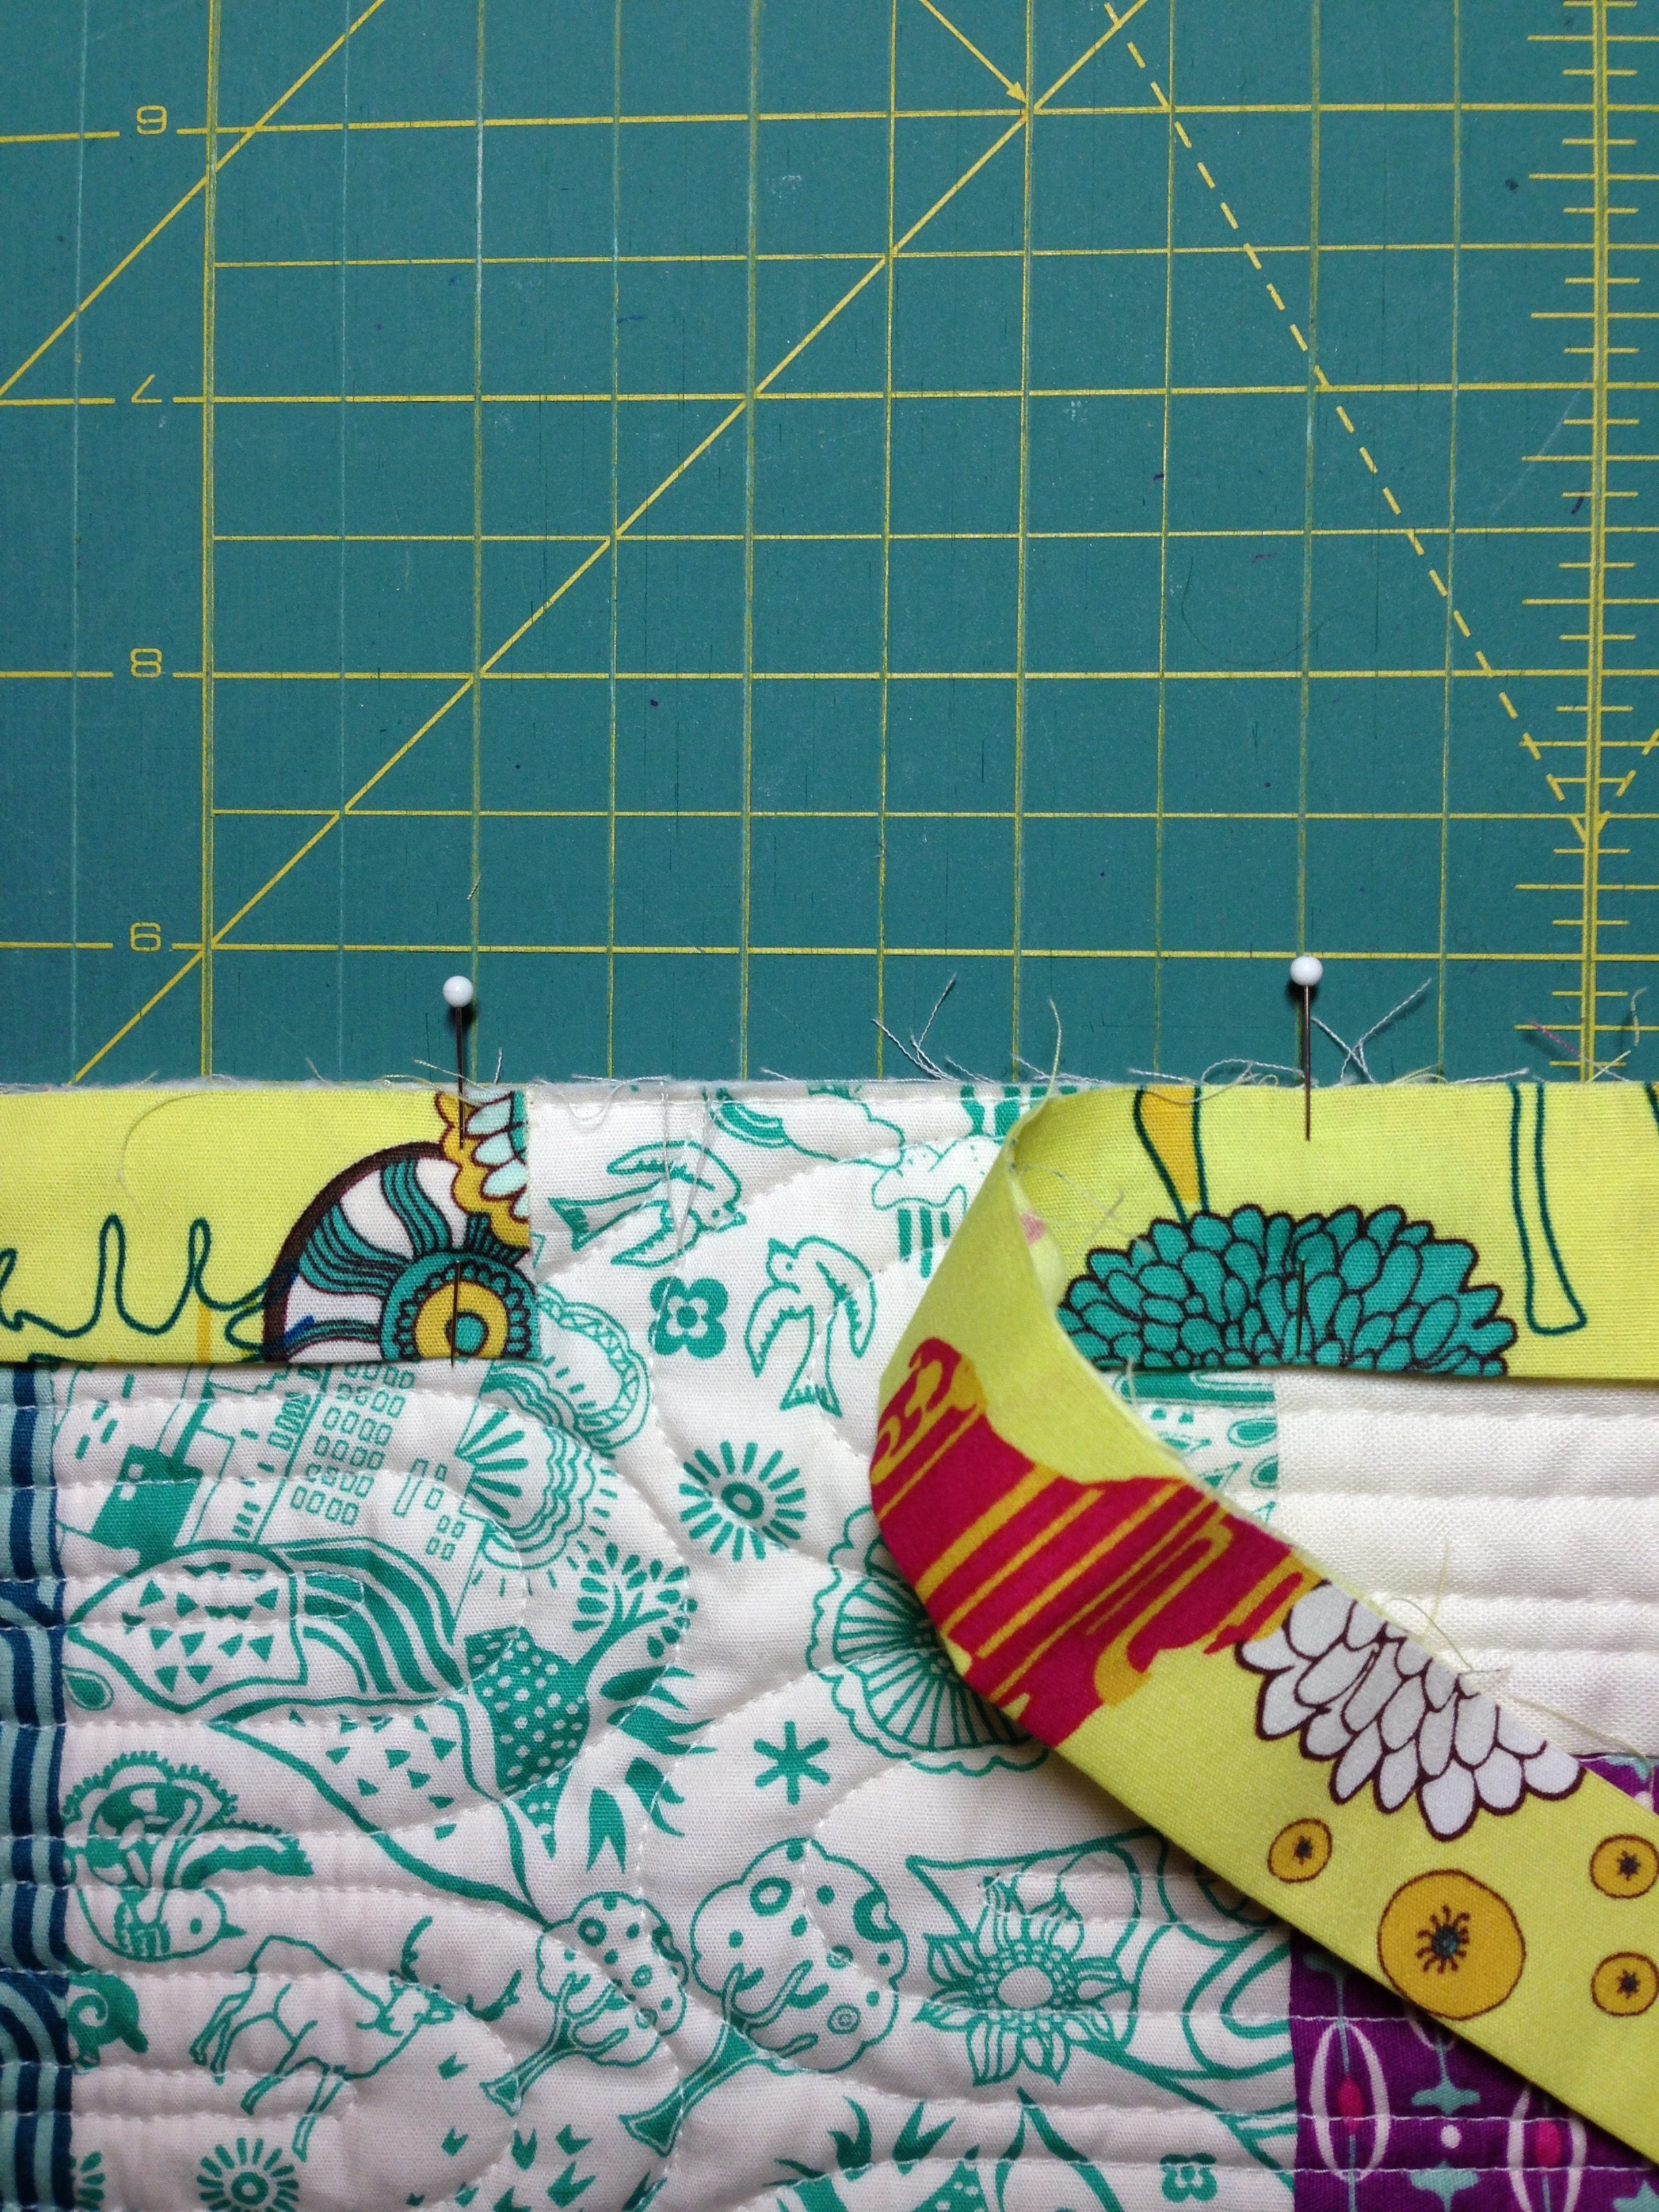 Bring the right side over to meet the left side.
 Pin it just next to the left binding and then fold the excess over the top of the pin.
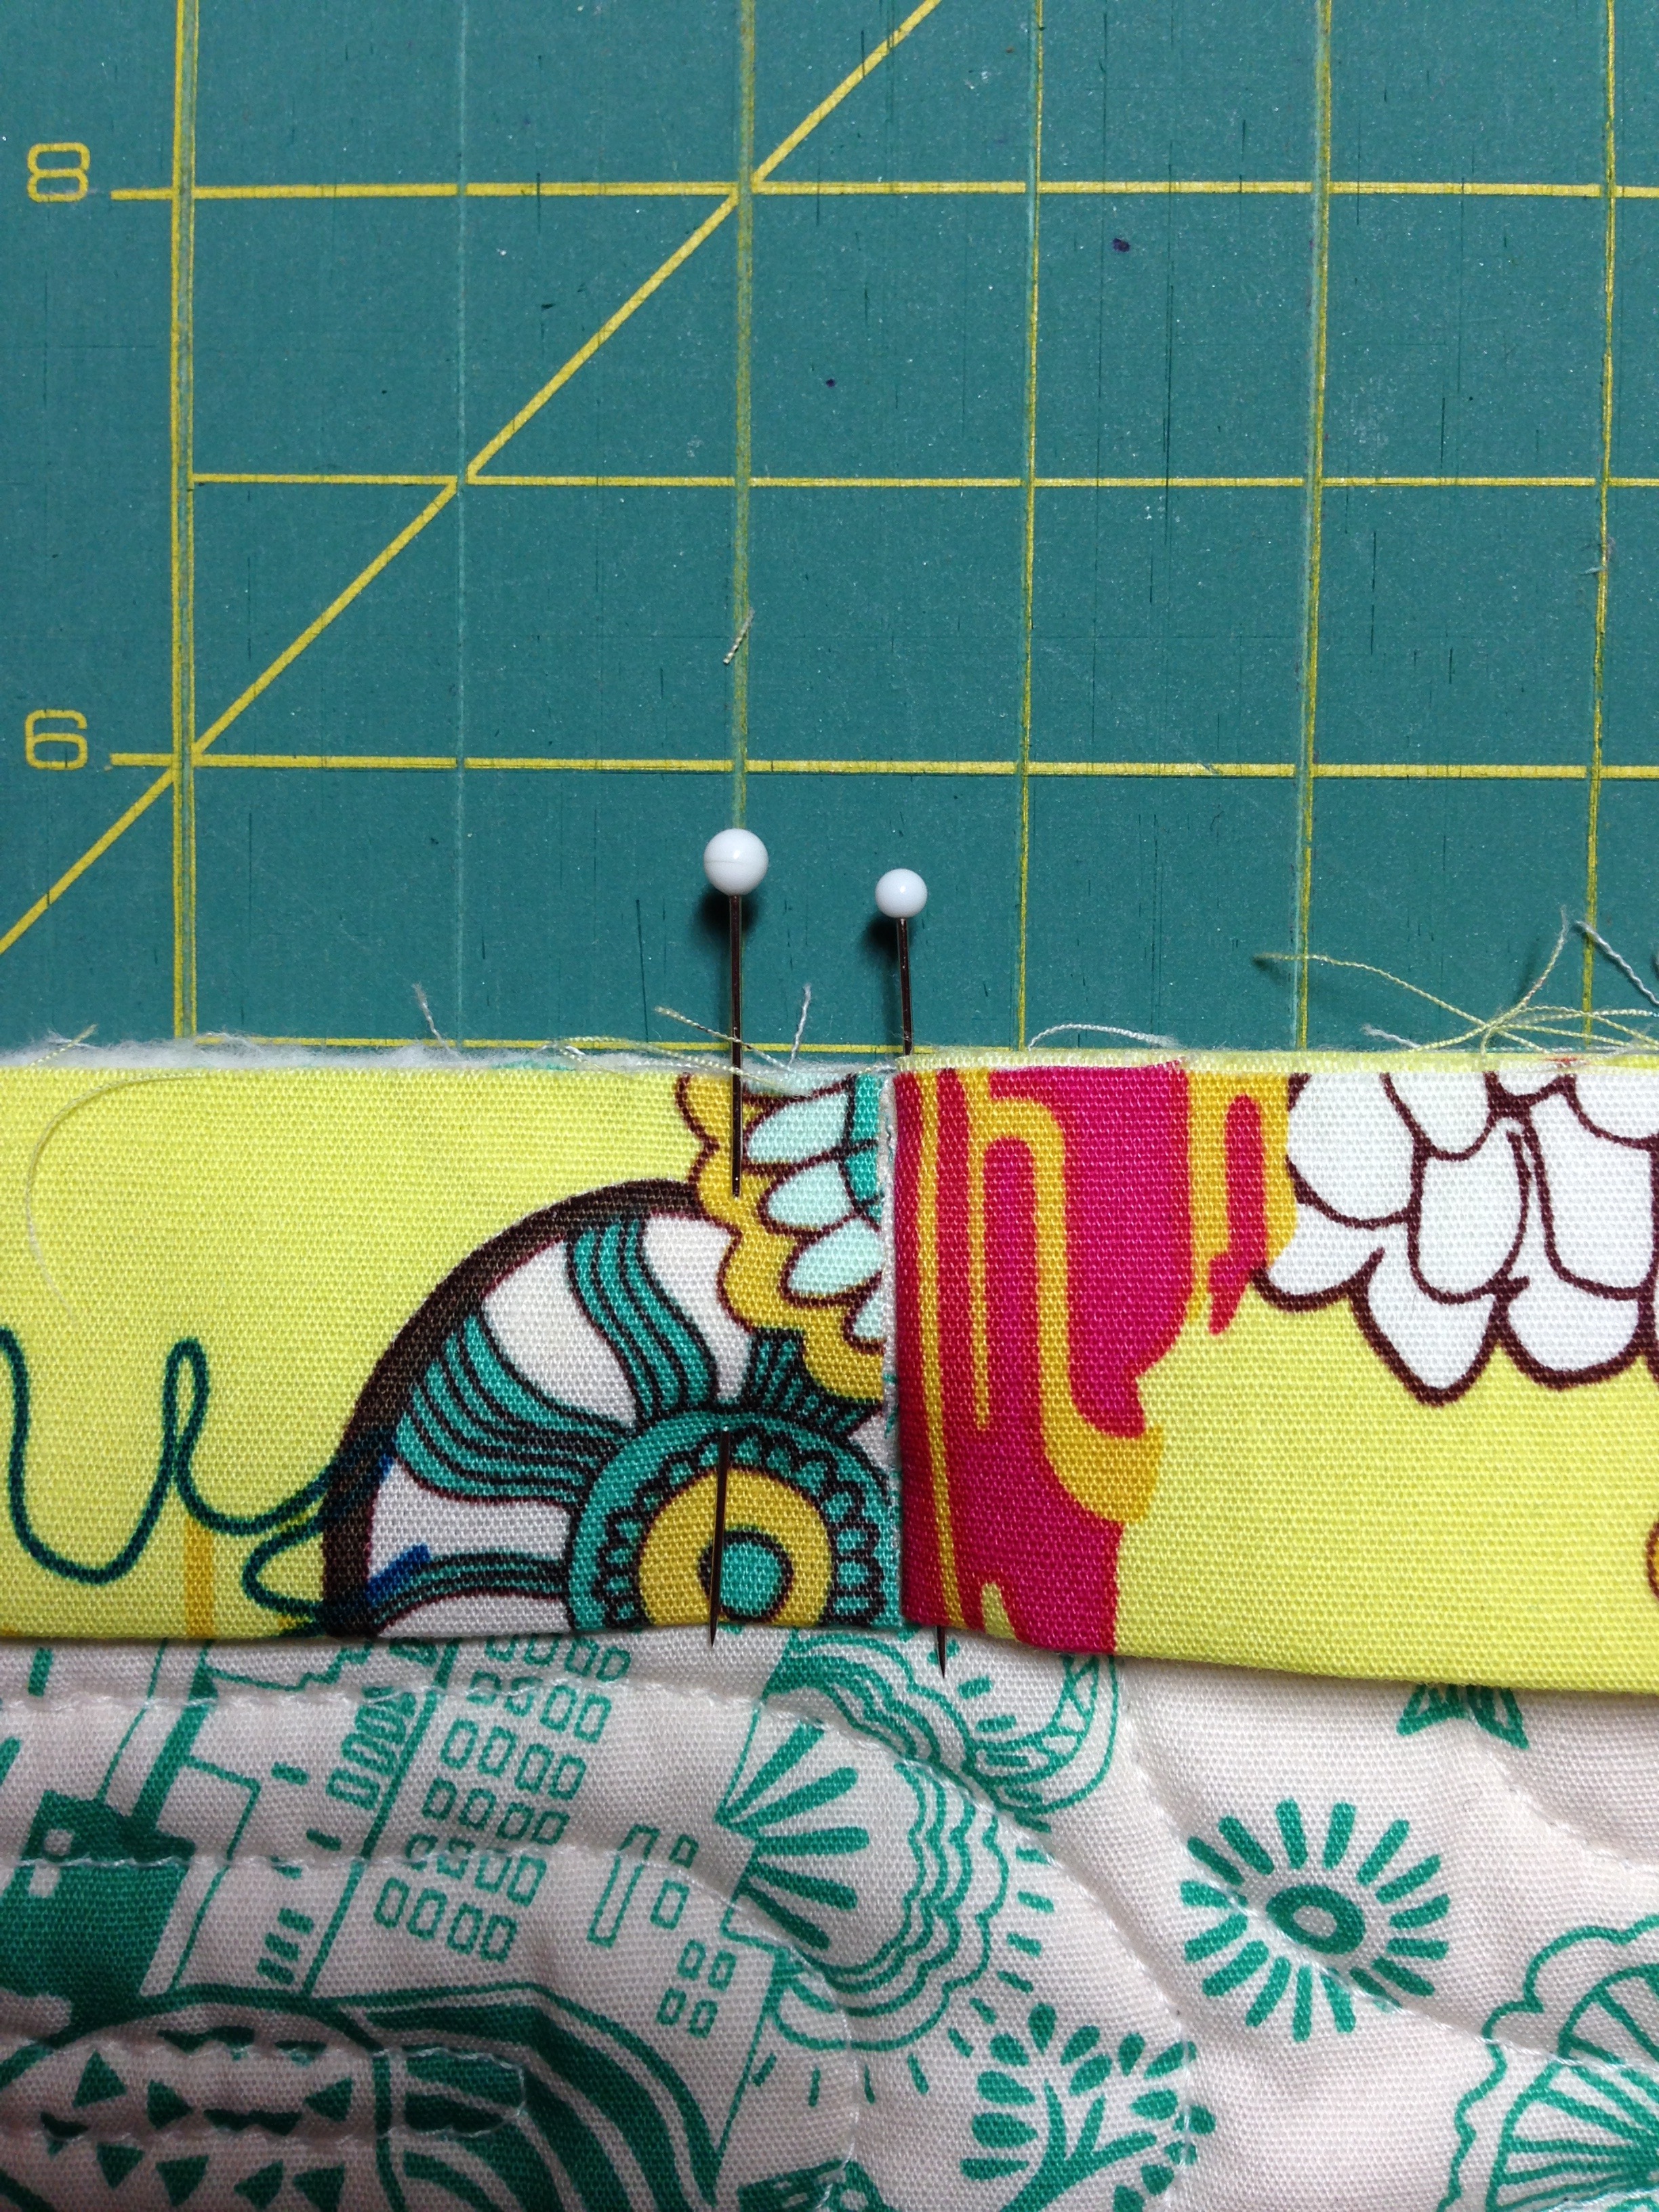
 Measure over 2″ from the folded binding and draw a pencil line. (I used a 2″ measurement because I cut my bindings 2.” If you cut your binding strips at 2.25″ or 2.5″ then use those measurements.)
 See the pencil line??
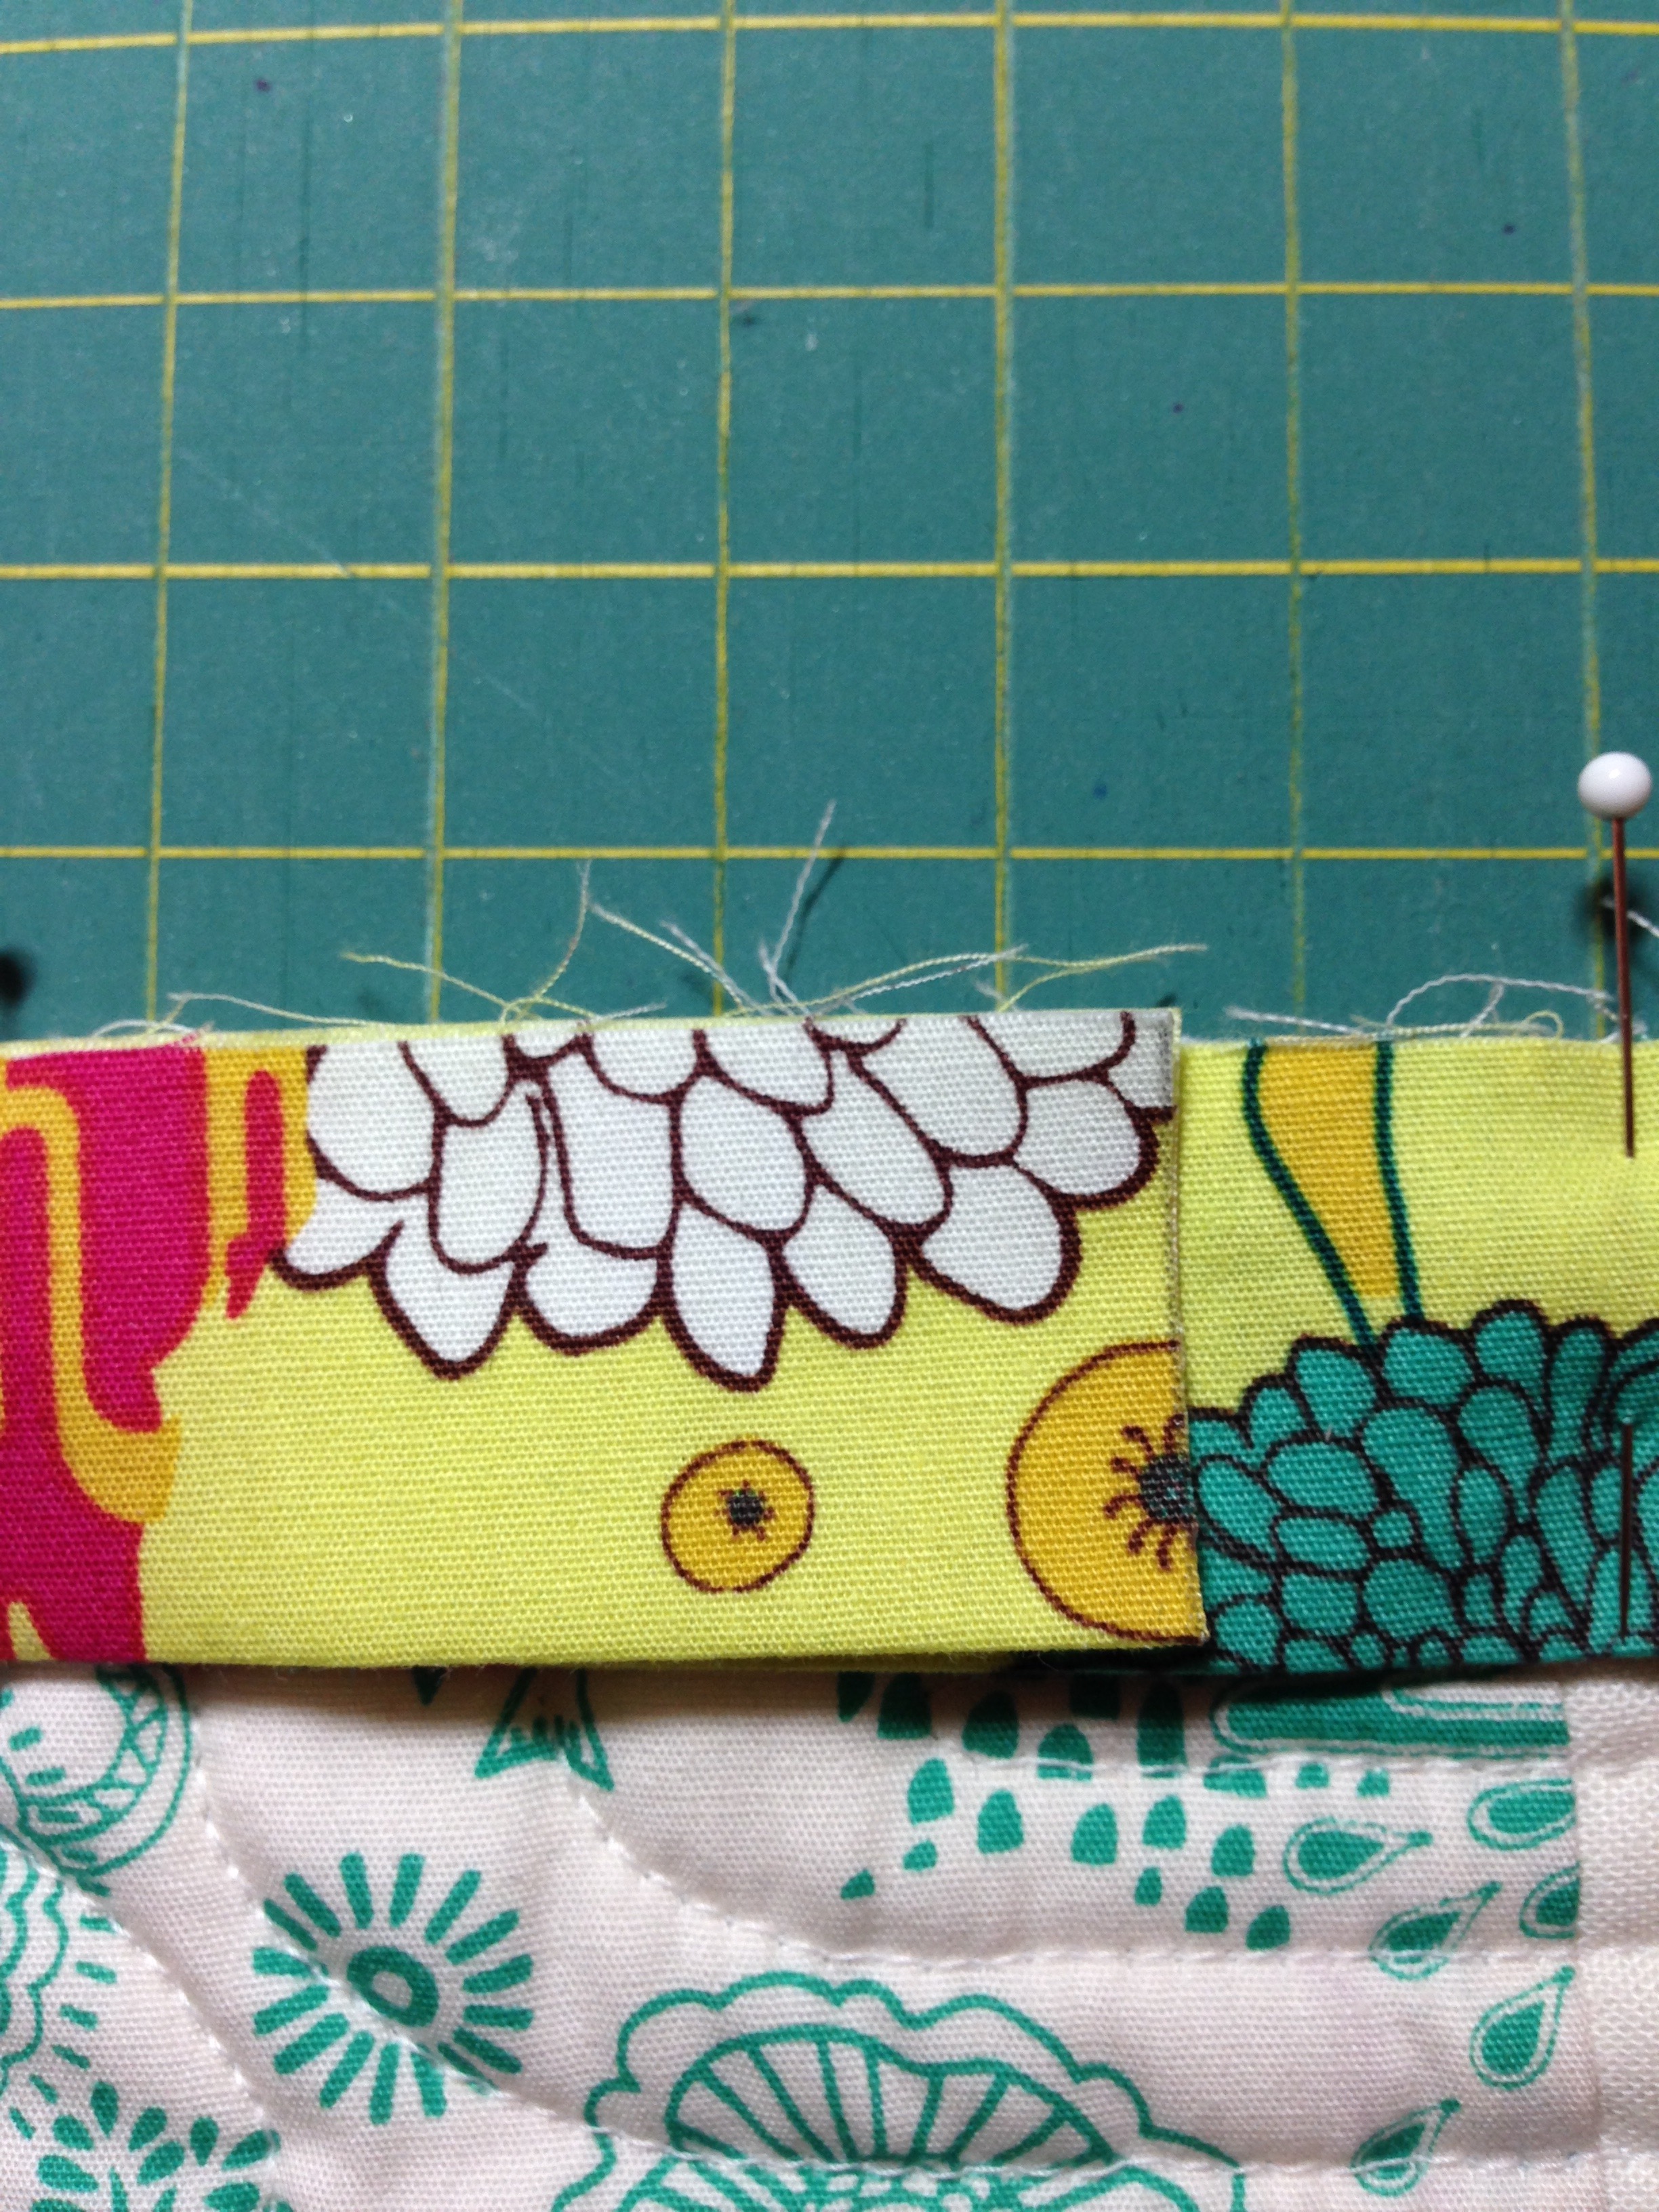 Now, cut right on that pencil line.
 Your bindings should look like this.
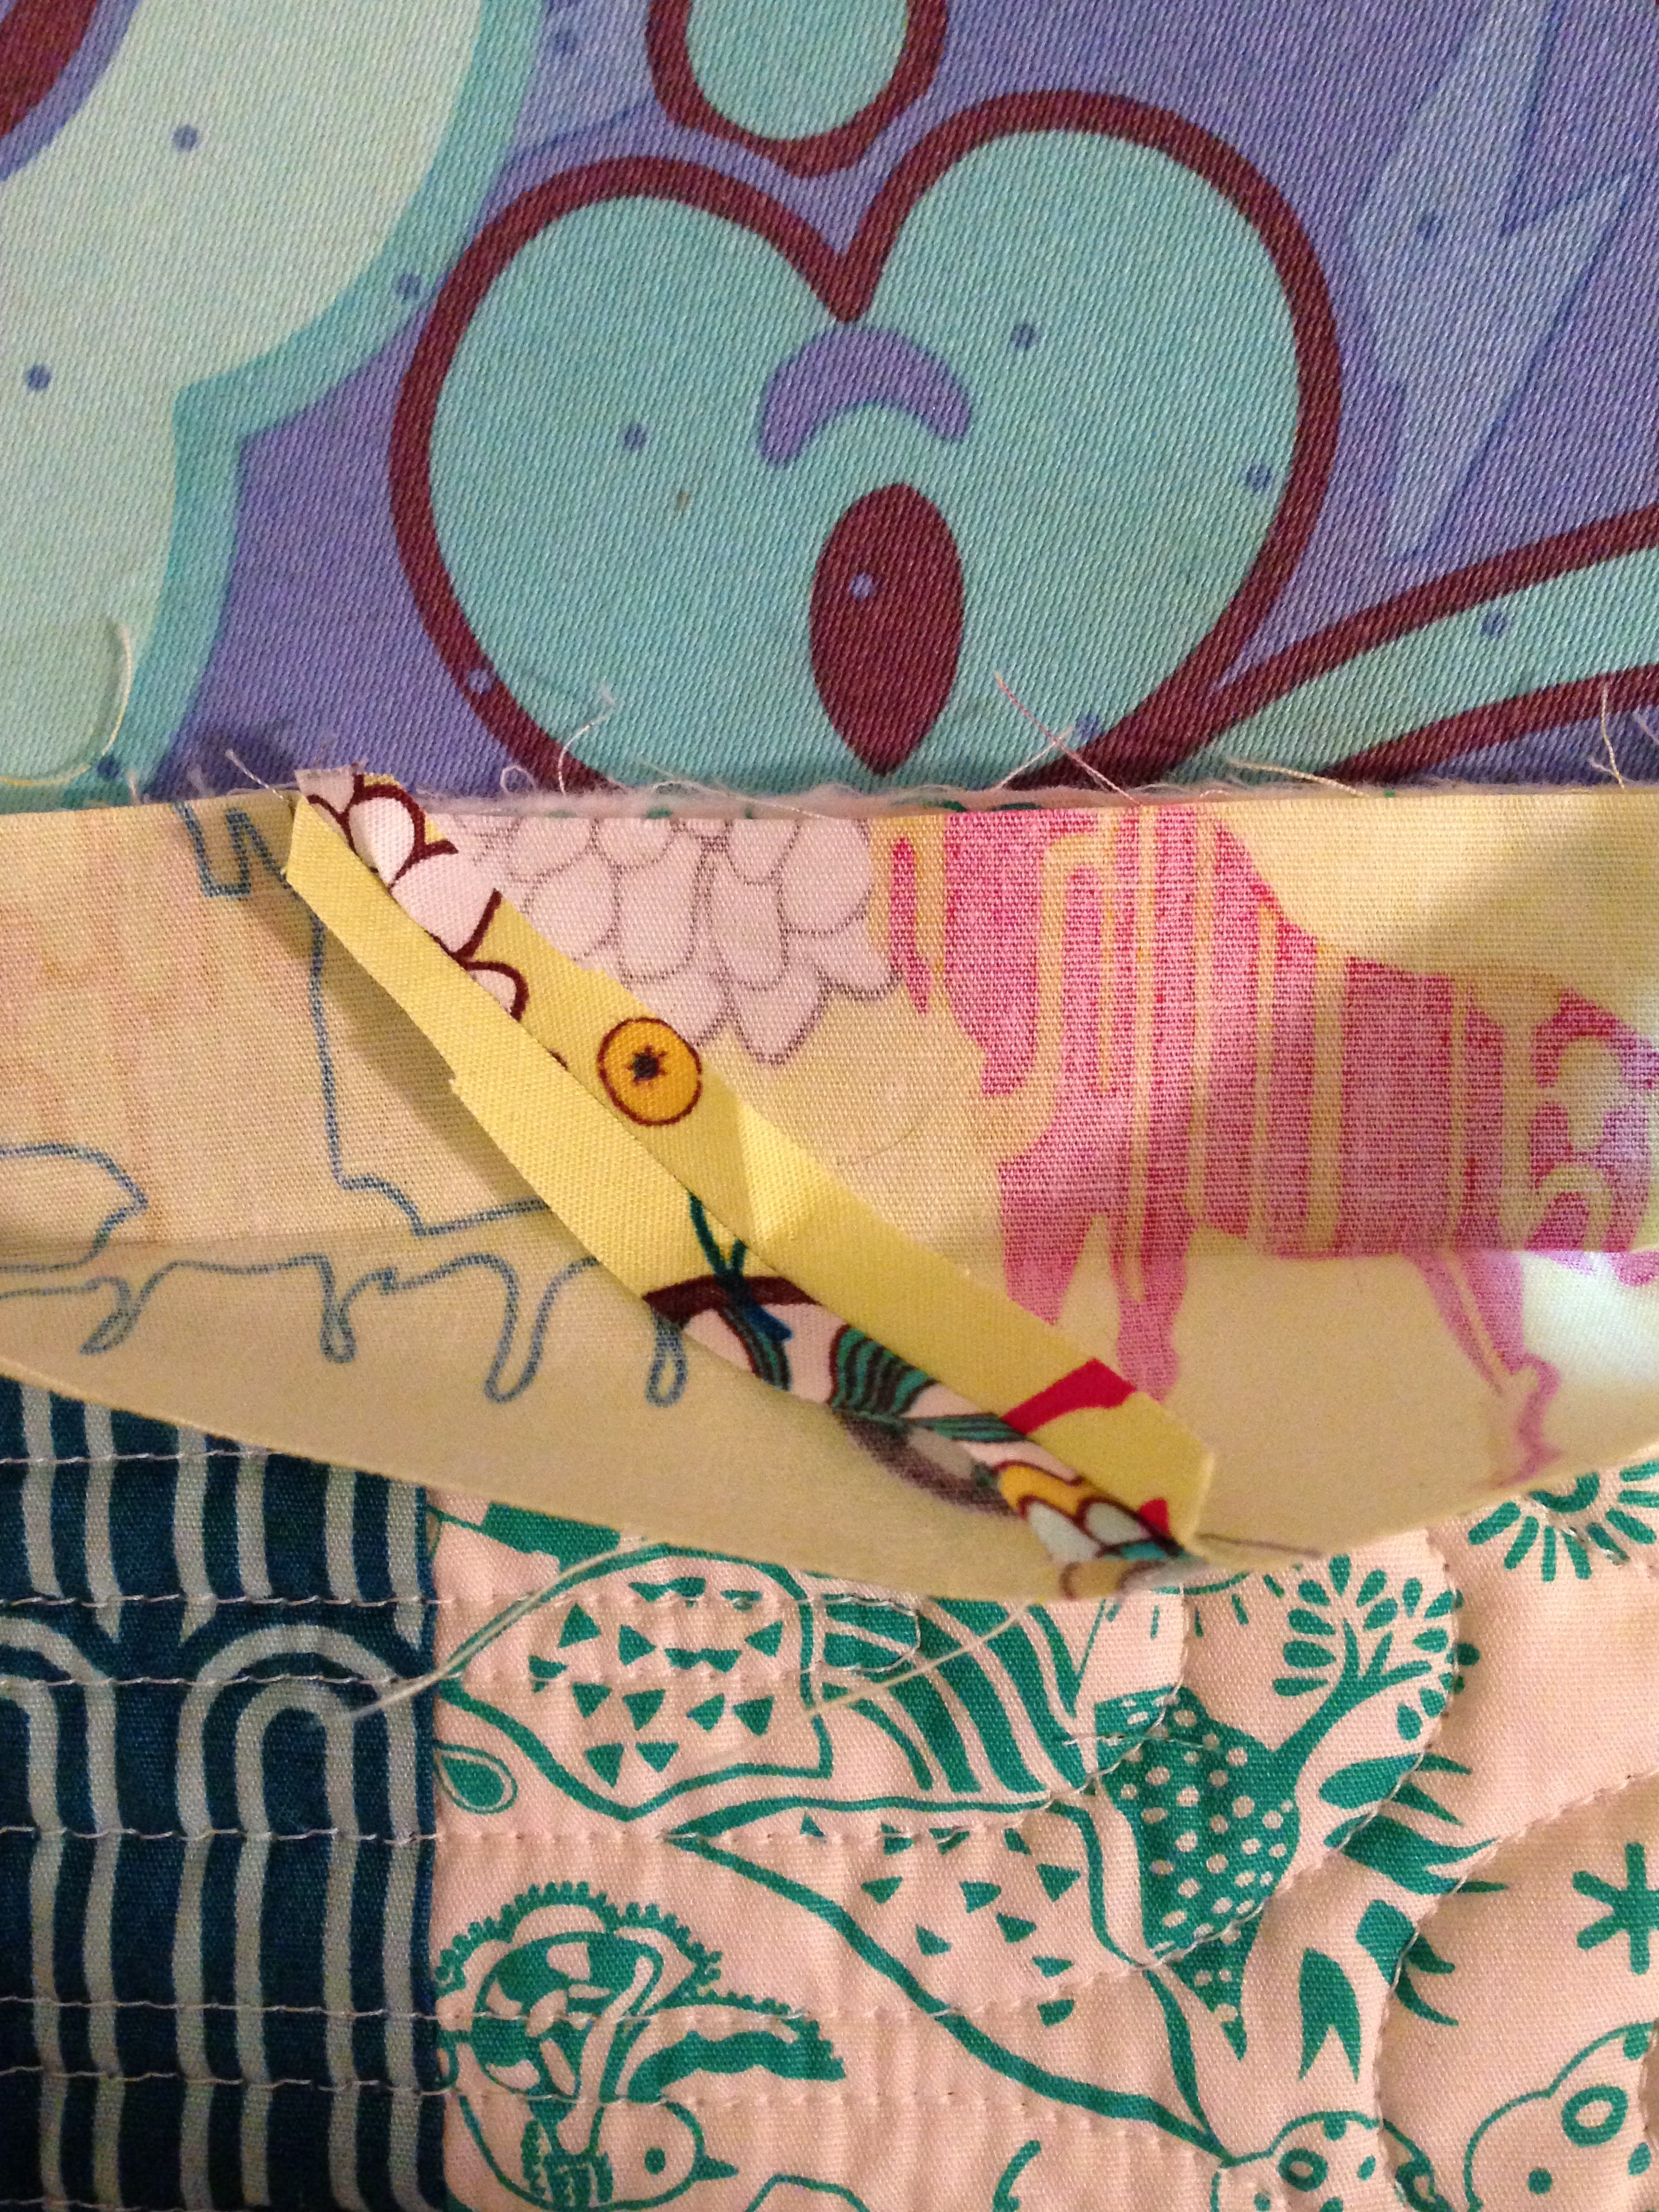
 OK, here’s the fun part. Unfold the left binding. It goes over the top of the unfolded right binding. Draw a pencil line from the top left to the bottom right. That will become your sewing line.
 Take a time out here. Pin along that pencil line and open your binding just to be sure it is not twisted. That little step will keep you from making a big mistake later.
 Leave the pins in the fabric and open it. It should look like this.
 OK, take out those two pins. Now pin it along the seam line before you sew it. (It’s all really bulky as you take it to your machine and it won’t slip if you pin.)
 Sew and trim the seam to 1/4.” (Yes, the trim is a little crooked. I was excited.) One more little hint from Sue…open it again before you trim it just to make sure everything is OK. Once it has been trimmed, there’s no going back…
 Press the seam open.
 Fold it in half and press it. It will be snug against your quilt. Sweet!!
 Add some pins to hold it in place.

Stitch it down. Your bindings are joined with no “bump.” Yay!!
 I don’t have a full shot of the quilt; it’s hanging at The Little General. I’ll use it for my next beginner class. Thanks Ginabean for the fab quilting.

Great review, Kathleen, thanks. I am trying to get a few quilting projects finished up. I think I’ve pretty much settled on being a knitter!
Thanks Shirley! Binding is the last step in finishing! I love to knit too…